This post may contain affiliate links. I only recommend products or services that I personally use or trust, promise!
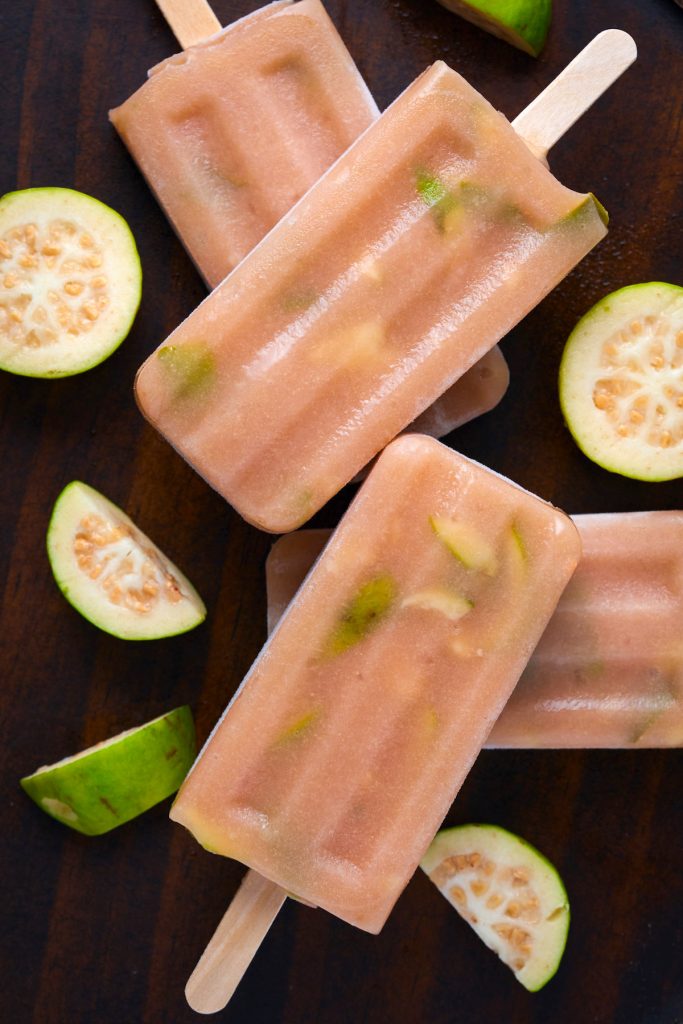
These paletas de guayaba (gauva popsicles) are super refreshing & delicious! Guava is one of my favorite fruit flavors, especially during the summer months. Tropical fruits always hit in the summer!
What is guava?
Guava is a fruit native to Mexico, the Caribbean, and Central & South America. I would describe the taste as sweet, tart, and a bit tropical!
The skins are typically green or yellow, and there are two main kinds of guava- pink and white. Pink guava is not as sweet as white guava, so we will be using the white variety for this recipe.
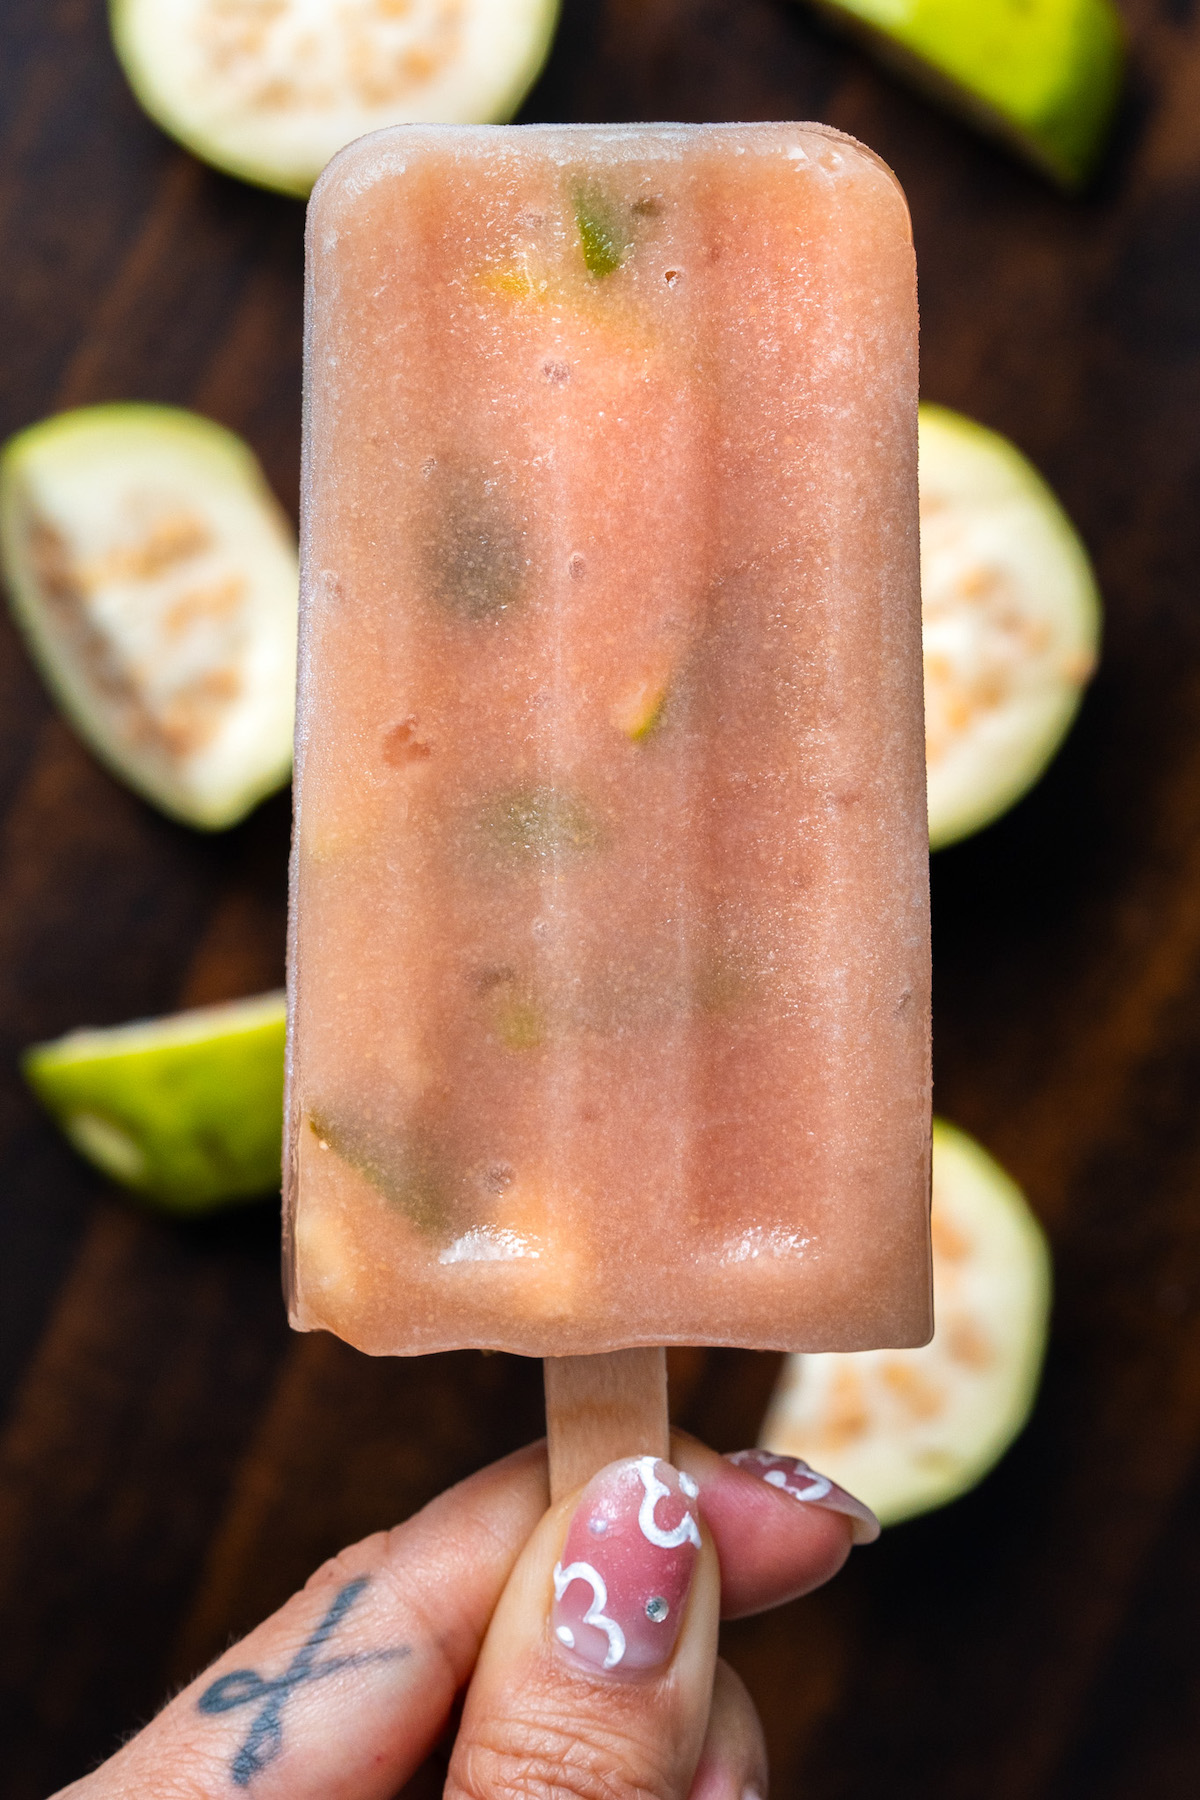
Table of Contents
Ingredients:
Guava- pink or white, it’s up to you or whatever is available. I recommend white guava because it’s much sweeter, and you won’t need as much sugar.
Sugar- cover the guava in sugar (I prefer turbinado sugar) for about 20 minutes. This process is called maceration. It softens the fruit and brings out more of a fresh fruit flavor. You can also make adjustments to the amount of sugar used depending on your taste and natural sweetness of your guavas.
Guava nectar or water- if you don’t have the nectar its totally fine to use water. When making fruit paletas I try to find a nectar to amplify the fruit flavor since fruits tend to lose a little flavor when frozen.
Lime juice- add the juice of one lime (or lemon if you prefer).
Salt- just a pinch of salt to bring out the flavor. I know this sounds wrong but a tiny bit of salt actually amplifies the fruit’s natural flavor.
- Stabilizer- optional but highly recommened! You honestly dont need a stabilizer for water-based paletas that use a lot of fruit flesh (such as this one), but I am very particular about popsicle texture and I find that a stabilizer like cellulose gum can really help to improve the mouth-feel. Think of a smooth, icy treat rather than a hard block of large ice crystals.
How to tell if your guavas are ripe
White guavas are harvested when they are light green, and one visual cue to when they have ripened is when they turn yellow. However, this is not always the case.
In my opinion, guavas taste the sweetest right before they are about to spoil, and by this time they are usually speckled with brown spots. Sometimes they do not turn yellow! A better way to tell if they are ripe is by texture. It should feel soft to the touch, easy to squeeze through them with your fingers.
You could also just taste them 🙂

Seeds or no seeds?
Paletas de guayaba are usually made with chunks of flesh and seeds inside. I like the chunks of flesh & skin, but I absolutely HATE the seeds! Which is unfortunate because they are very nutritious. I just can’t get past the texture- they are hard and kinda starchy…yuck!
I have provided a few options in the recipe card on how to make this with or without seeds and/or chunks of guava skins. There are a few options here:
- A completely smooth paleta, with the seeds blended into it (a nutritious option but keep in mind the seeds will still add a little texture and starch).
- A completely smooth paleta WITHOUT the seeds blended into it.
- Chunks of guava skins AND seeds without blending at all.
- Chunks of guava skins, in a blended mixture, WITHOUT the seeds at all (which it what I made here!)
Equipment needed:
To make paletas, you will need a popsicle mold, popsicle sticks, and plastic bags for storing. You will also need a blender.
I recommend a silicone popsicle mold because they are easier to remove the popsicles from. The exact one I have is no longer available on Amazon, but I found a similar one that you can purchase. It also comes with the popsicle sticks and baggies. Here is the link to purchase:
Popsicle mold, sticks, & baggies
What is the difference between a popsicle and a paleta?
Though very similar, paletas and popsicles do have some key differences that make paletas way better, in my opinion.
Popsicles are mass produced and have lots of additives and artificial flavoring. Paletas use natural ingredients like fruits and are made fresh, so they don’t require additives or preservatives to extend shelf life.
Paletas also have a rich history and are culturally important to Mexican street snacks. Nowadays, you will find plenty of brick and mortar paleta shops but it is still common to get your paletas on the street from paleteros (ice cream carts).
Two Types of Paletas:
There are MANY paleta flavors & combinations, but there are generally 2 types of paletas made:
Water based (paletas de agua)- these are typically fruit pops that have a water or juice base. These paletas are more true to the integrity of the fruits, and are also healthier (and vegan too!). Some of my most popular water-base paletas on the blog are lime, strawberry, and mango & chamoy!
Cream based (paletas de leche)- these are creamy paletas with a texture that is more similar to ice cream than a popsicle. They usually have some combination of heavy cream and/or milk, mexican crema, and sweetened condensed milk. These also tend to have more flavors available because it isn’t limited to fruits- some common popular flavors are coconut, coffee, arroz con leche, and, pecan.
Try some of my other paleta recipes:
Click here to see a list of ALL of my paleta recipes!
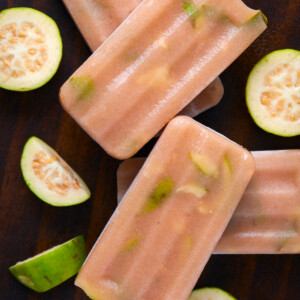
Paletas de Guayaba (Guava Popsicles)
Ingredients
- 1 1/2 lbs guava, white guava recommended
- 2/3 cup sugar
- 1 1/4 cups water or guava nectar
- 1 lime
- 1/4 tsp salt
- 1/4 tsp cellulose gum
- 1 tbsp baking soda or vinegar, for washing the guava
Instructions
- Soak the guavas in a bowl of water with 1 tbsp of baking soda or vinegar (not both) for 5-10 minutes.1 tbsp baking soda or vinegar
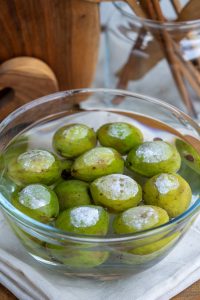
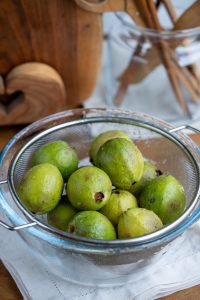
- Thoroughly rinse the guava, scrubbing the surface to remove any dirt or pesticides.
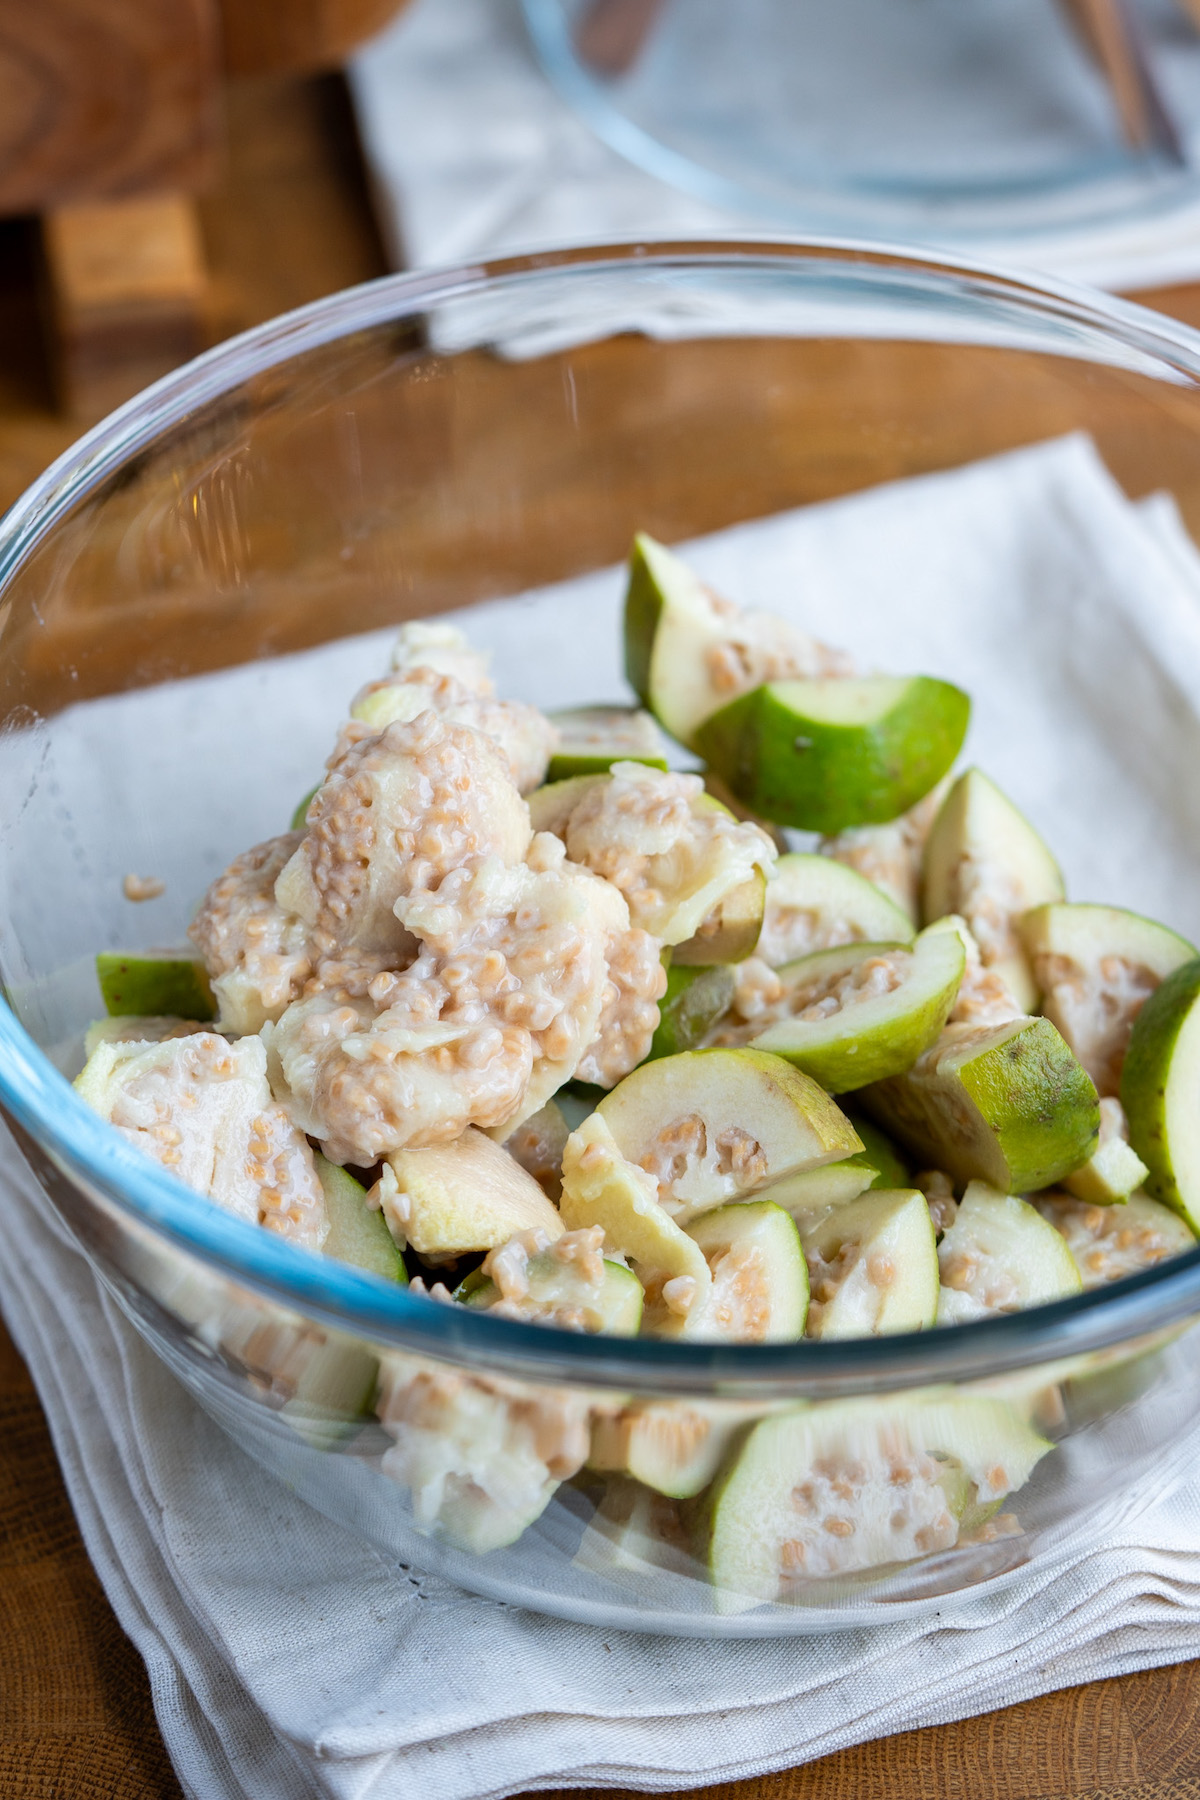
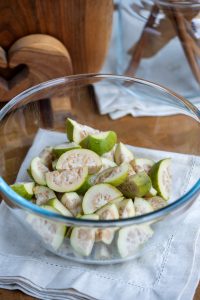
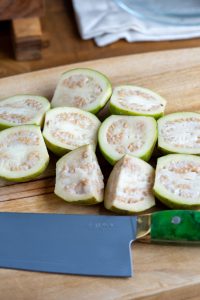
- Set aside 4 to 5 guavas, and cut the rest into quarters.*If you do not want any chunks of flesh in your paleta, you can skip this step and the next 4 steps (steps 3-7), and just quarter all of the guavas.1 1/2 lbs guava
- Cut the 4-5 guavas you set aside in half.1 1/2 lbs guava
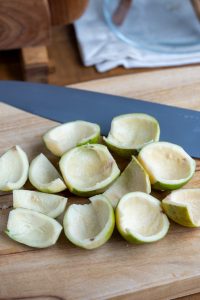
- Scoop out the seeds in the center
- Combine the scooped out seeds with the rest of the quartered guavas.

- Cut the scooped out guava skins into small pieces

- Add most of the sugar into the bowl with the quartered guavas and seeds. Reserve about 2-3 tbsp of sugar to add to the chopped up pieces of skin, if using.2/3 cup sugar
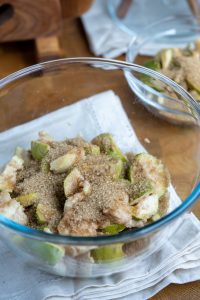
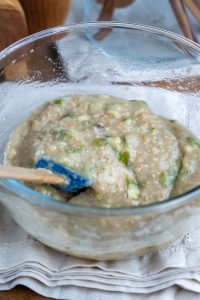
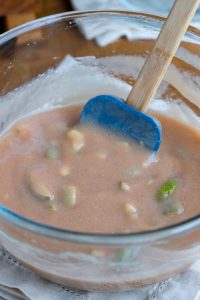
- Mix together, cover and let it sit for about 30 minutes to macerate. After 30 minutes, use a masher or your hands to squeeze the mixture, breaking it down as much as you can. Leave the bowl of macerated guava skins as is and just set that aside for now.
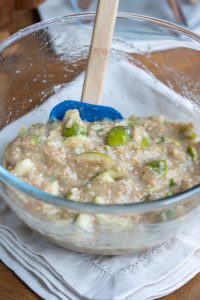
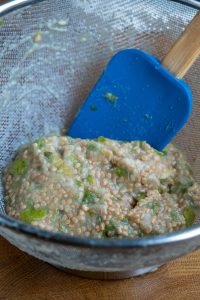
- Add water to loosen the mixture so it's easier to strain.1 1/4 cups water or guava nectar
- Push the mixture through a sieve until there are only seeds and some skin remaining, then throw those away.* If you prefer to keep the seeds in your paleta, you can skip this step. The seeds are very nutritious, but I personally do not enjoy eating them.
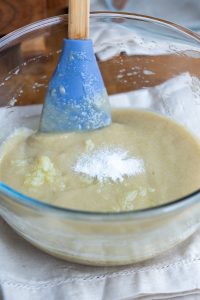
- Add the salt, juice of 1 lime, and cellulose gum if using. Then blend the mixture thoroughly, so the cellulose gum dissolves properly. I used an immersion blender, but you can also use a traditional blender. *cellulose gum is a stabilizer and it is totally optional. It prevents large ice crystals from forming, which makes the texture much smoother with a better mouth-feel.1 lime, 1/4 tsp salt, 1/4 tsp cellulose gum
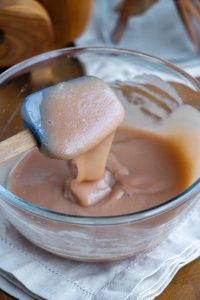
- Optional: for aesthetic purposes only, you can add whatever type of red food coloring you prefer. You can use beet juice or food coloring. I used Watkins Food Coloring because it doesn't contain any artificial dyes.
- Fold in the reserved macerated guava skins (if using).
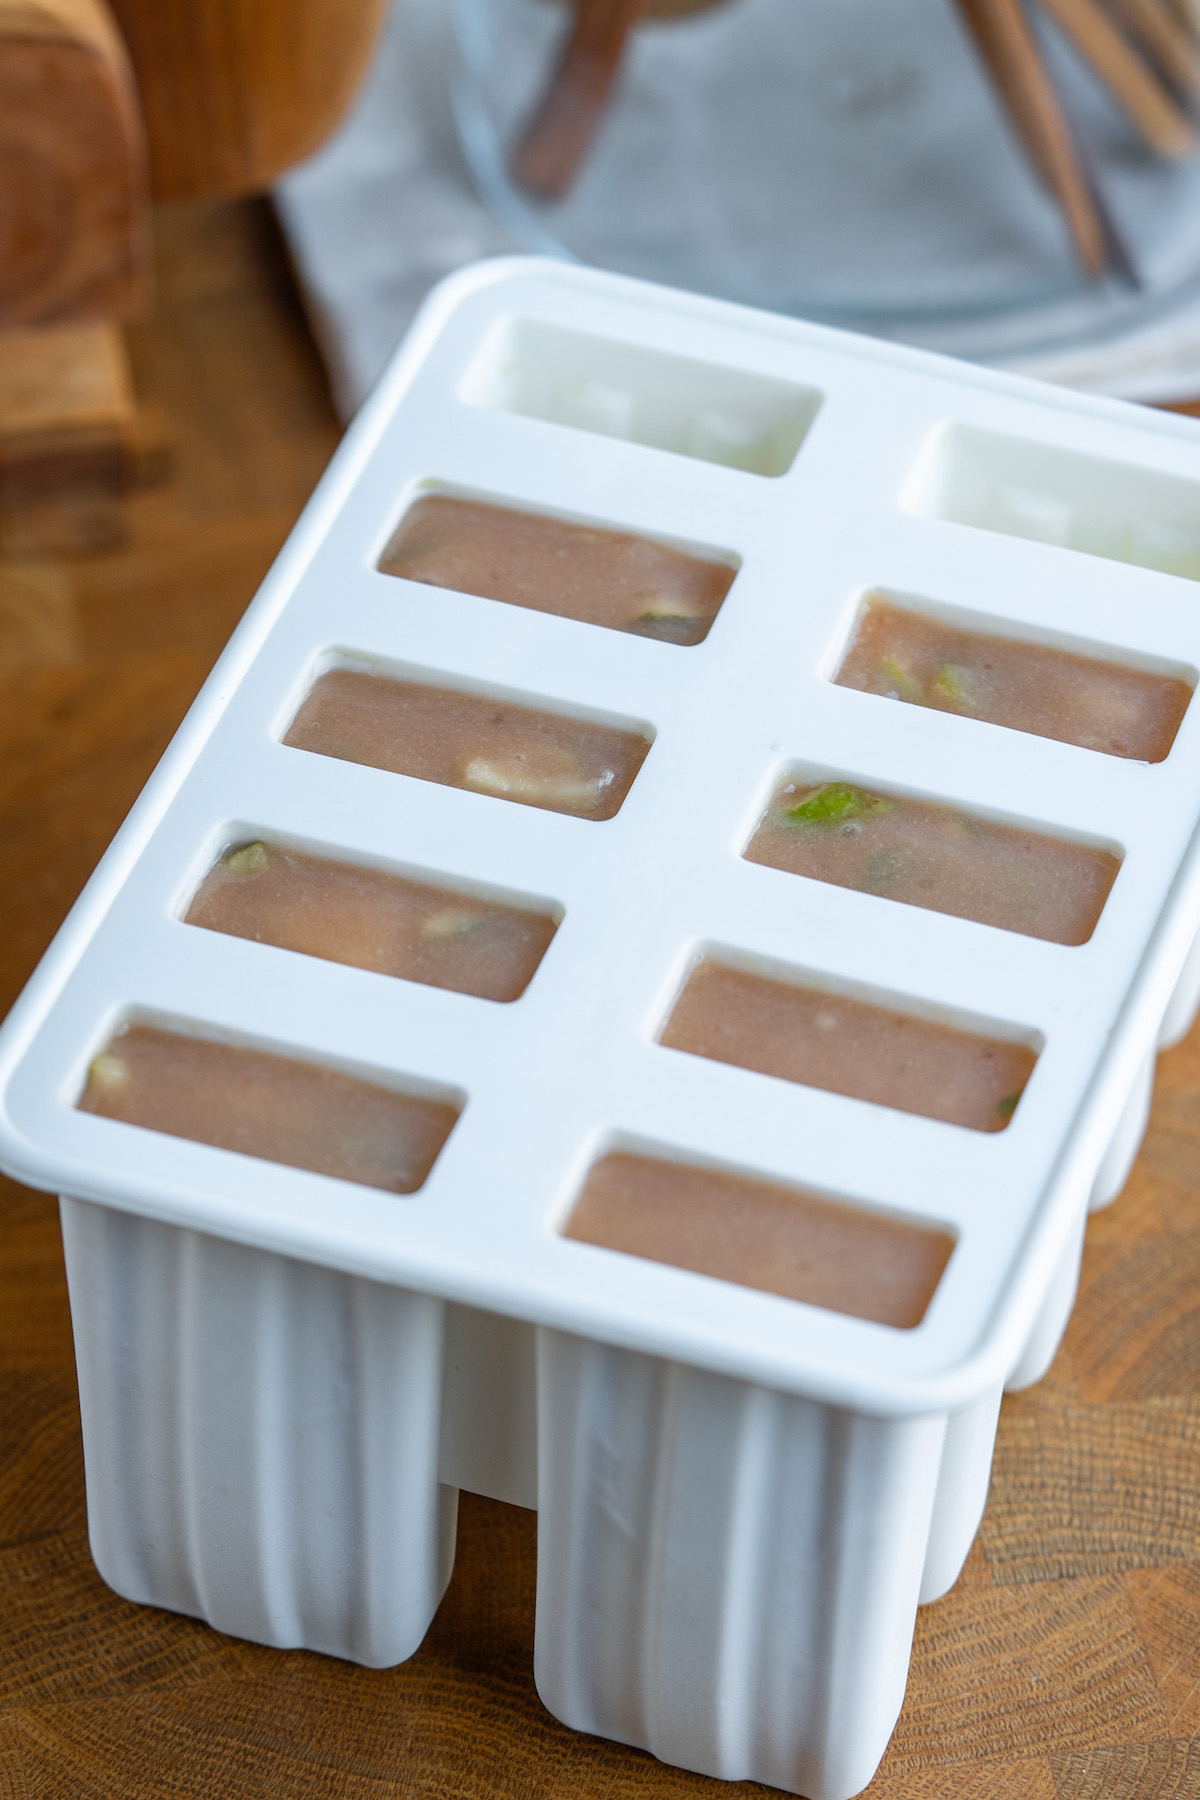
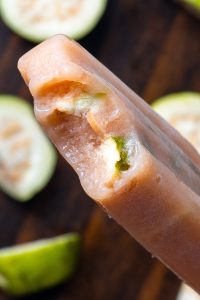
- The mixture will be thick, but still pourable. Pour into a clean popsicle mold, leaving a little bit of space at the top to expand, then put in the popsicle sticks and freeze for 8 hours.

- To remove the paletas from the popsicle mold, you can place the entire mold into a warm water bath for 20-30 seconds, or use a popsicle stick to slide down the sides of each paleta to loosen them from the mold.If you're a popsicle biter like me, I recommend letting the paletas sit at room temp for just a couple minutes to soften before biting into it!
Notes
How to store the paletas
I do not recommend leaving the paletas inside the popsicle mold, unless you plan to finish them all within a few days. The longer they stay in the mold, the harder they will be to remove. Instead, I recommend taking them all out and storing in an airtight tupperware or individual plastic baggies (which come with the popsicle mold I recommend). If you need to prolong the shelf life of the paletas, use a vacuum sealer on the plastic baggies.How long will they last?
Since they are frozen, they can technically last up to 3 months of even more if stored properly. However, the longer they are in the freezer, the more ice crystals will form, making it hard and icy instead of smooth and somewhat soft. I think it is best to eat all of them within a couple of weeks.Nutrition information is automatically calculated, so should only be used as an approximation.


Thanks for being so detailed and explaining the process so well! I’m definitely going to try this recipe!