This post may contain affiliate links. I only recommend products or services that I personally use or trust, promise!
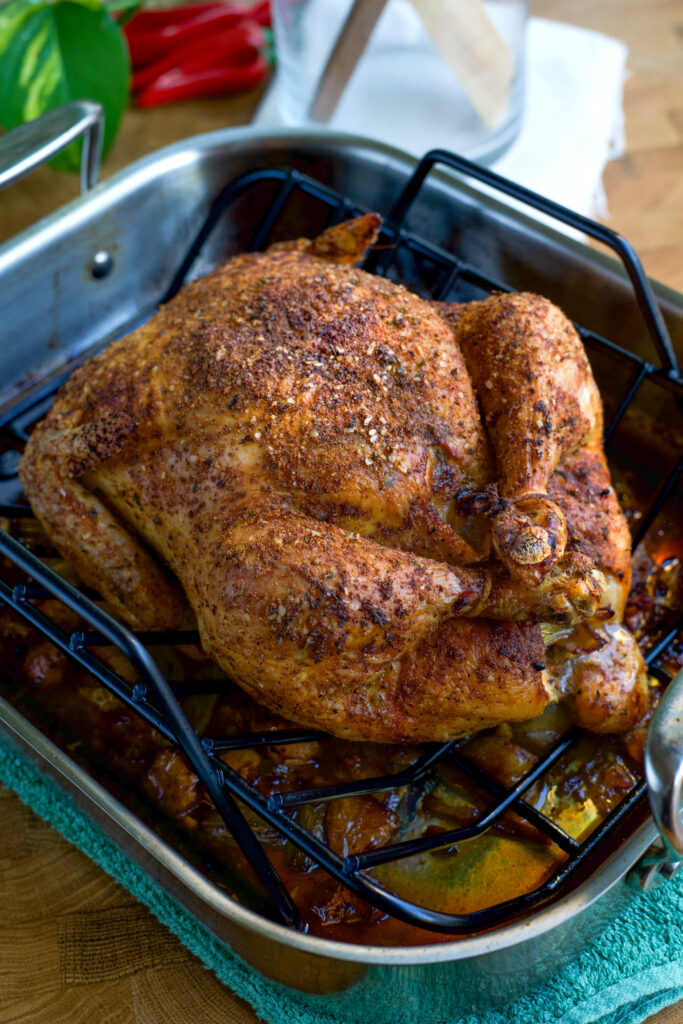
This roast chicken is one of my most favorite recipes that have been shared with me by friends. I cannot hype this recipe enough. This is the juiciest, crispiest, most flavorful chicken roast & gravy I have ever had and it makes the most delicious pot pies with leftovers!
I’m sharing this recipe just in time for Thanksgiving for those that do not care for Turkey, but this is also just a regular dinner for my small family.
I am incredibly lucky to have friends that are EXCELLENT cooks, and this is one of the recipes an old friend shared with me many years ago. It is truly the best roast chicken I have ever had!
In this recipe you will find some really great cooking tips, tricks, and hacks!
Ingredients:
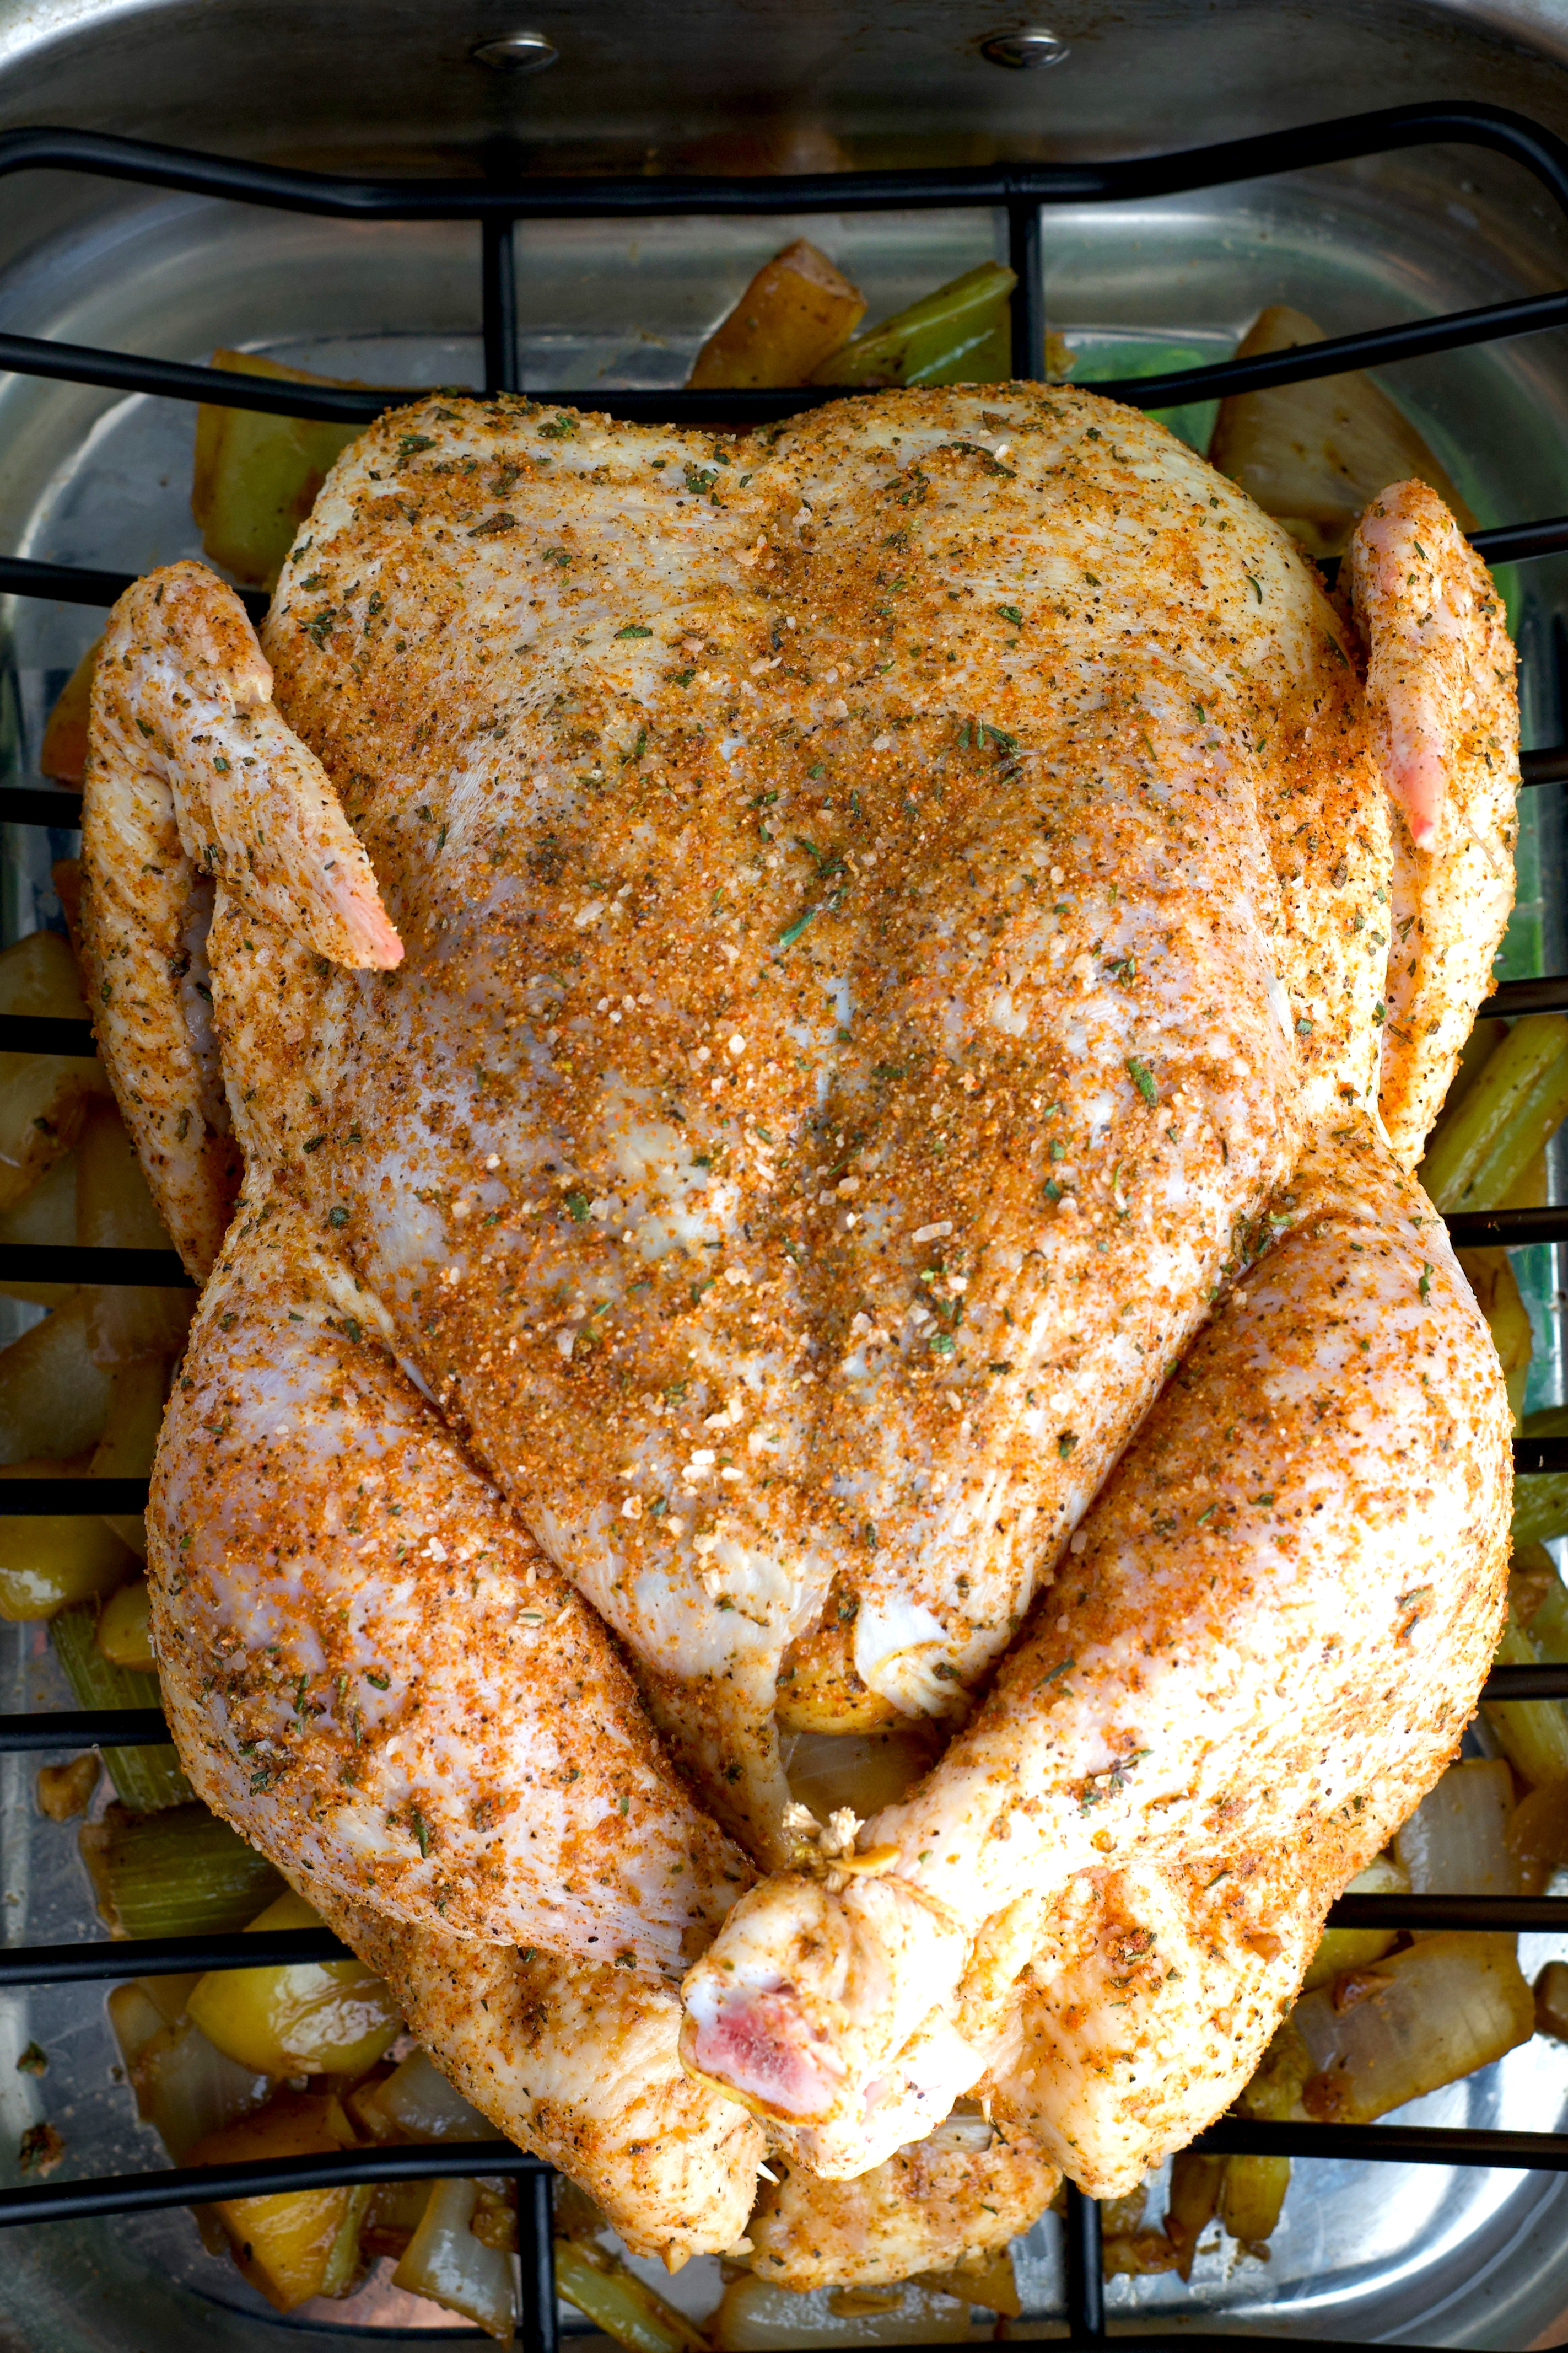
- Chicken- I normally use a 4 lb chicken, but for Thanksgiving purposes I am using a 6 lb chicken for this recipe. You can also use a turkey for this if you’d like! Same ingredients and techniques, but you’ll need to adjust the amounts accordingly.
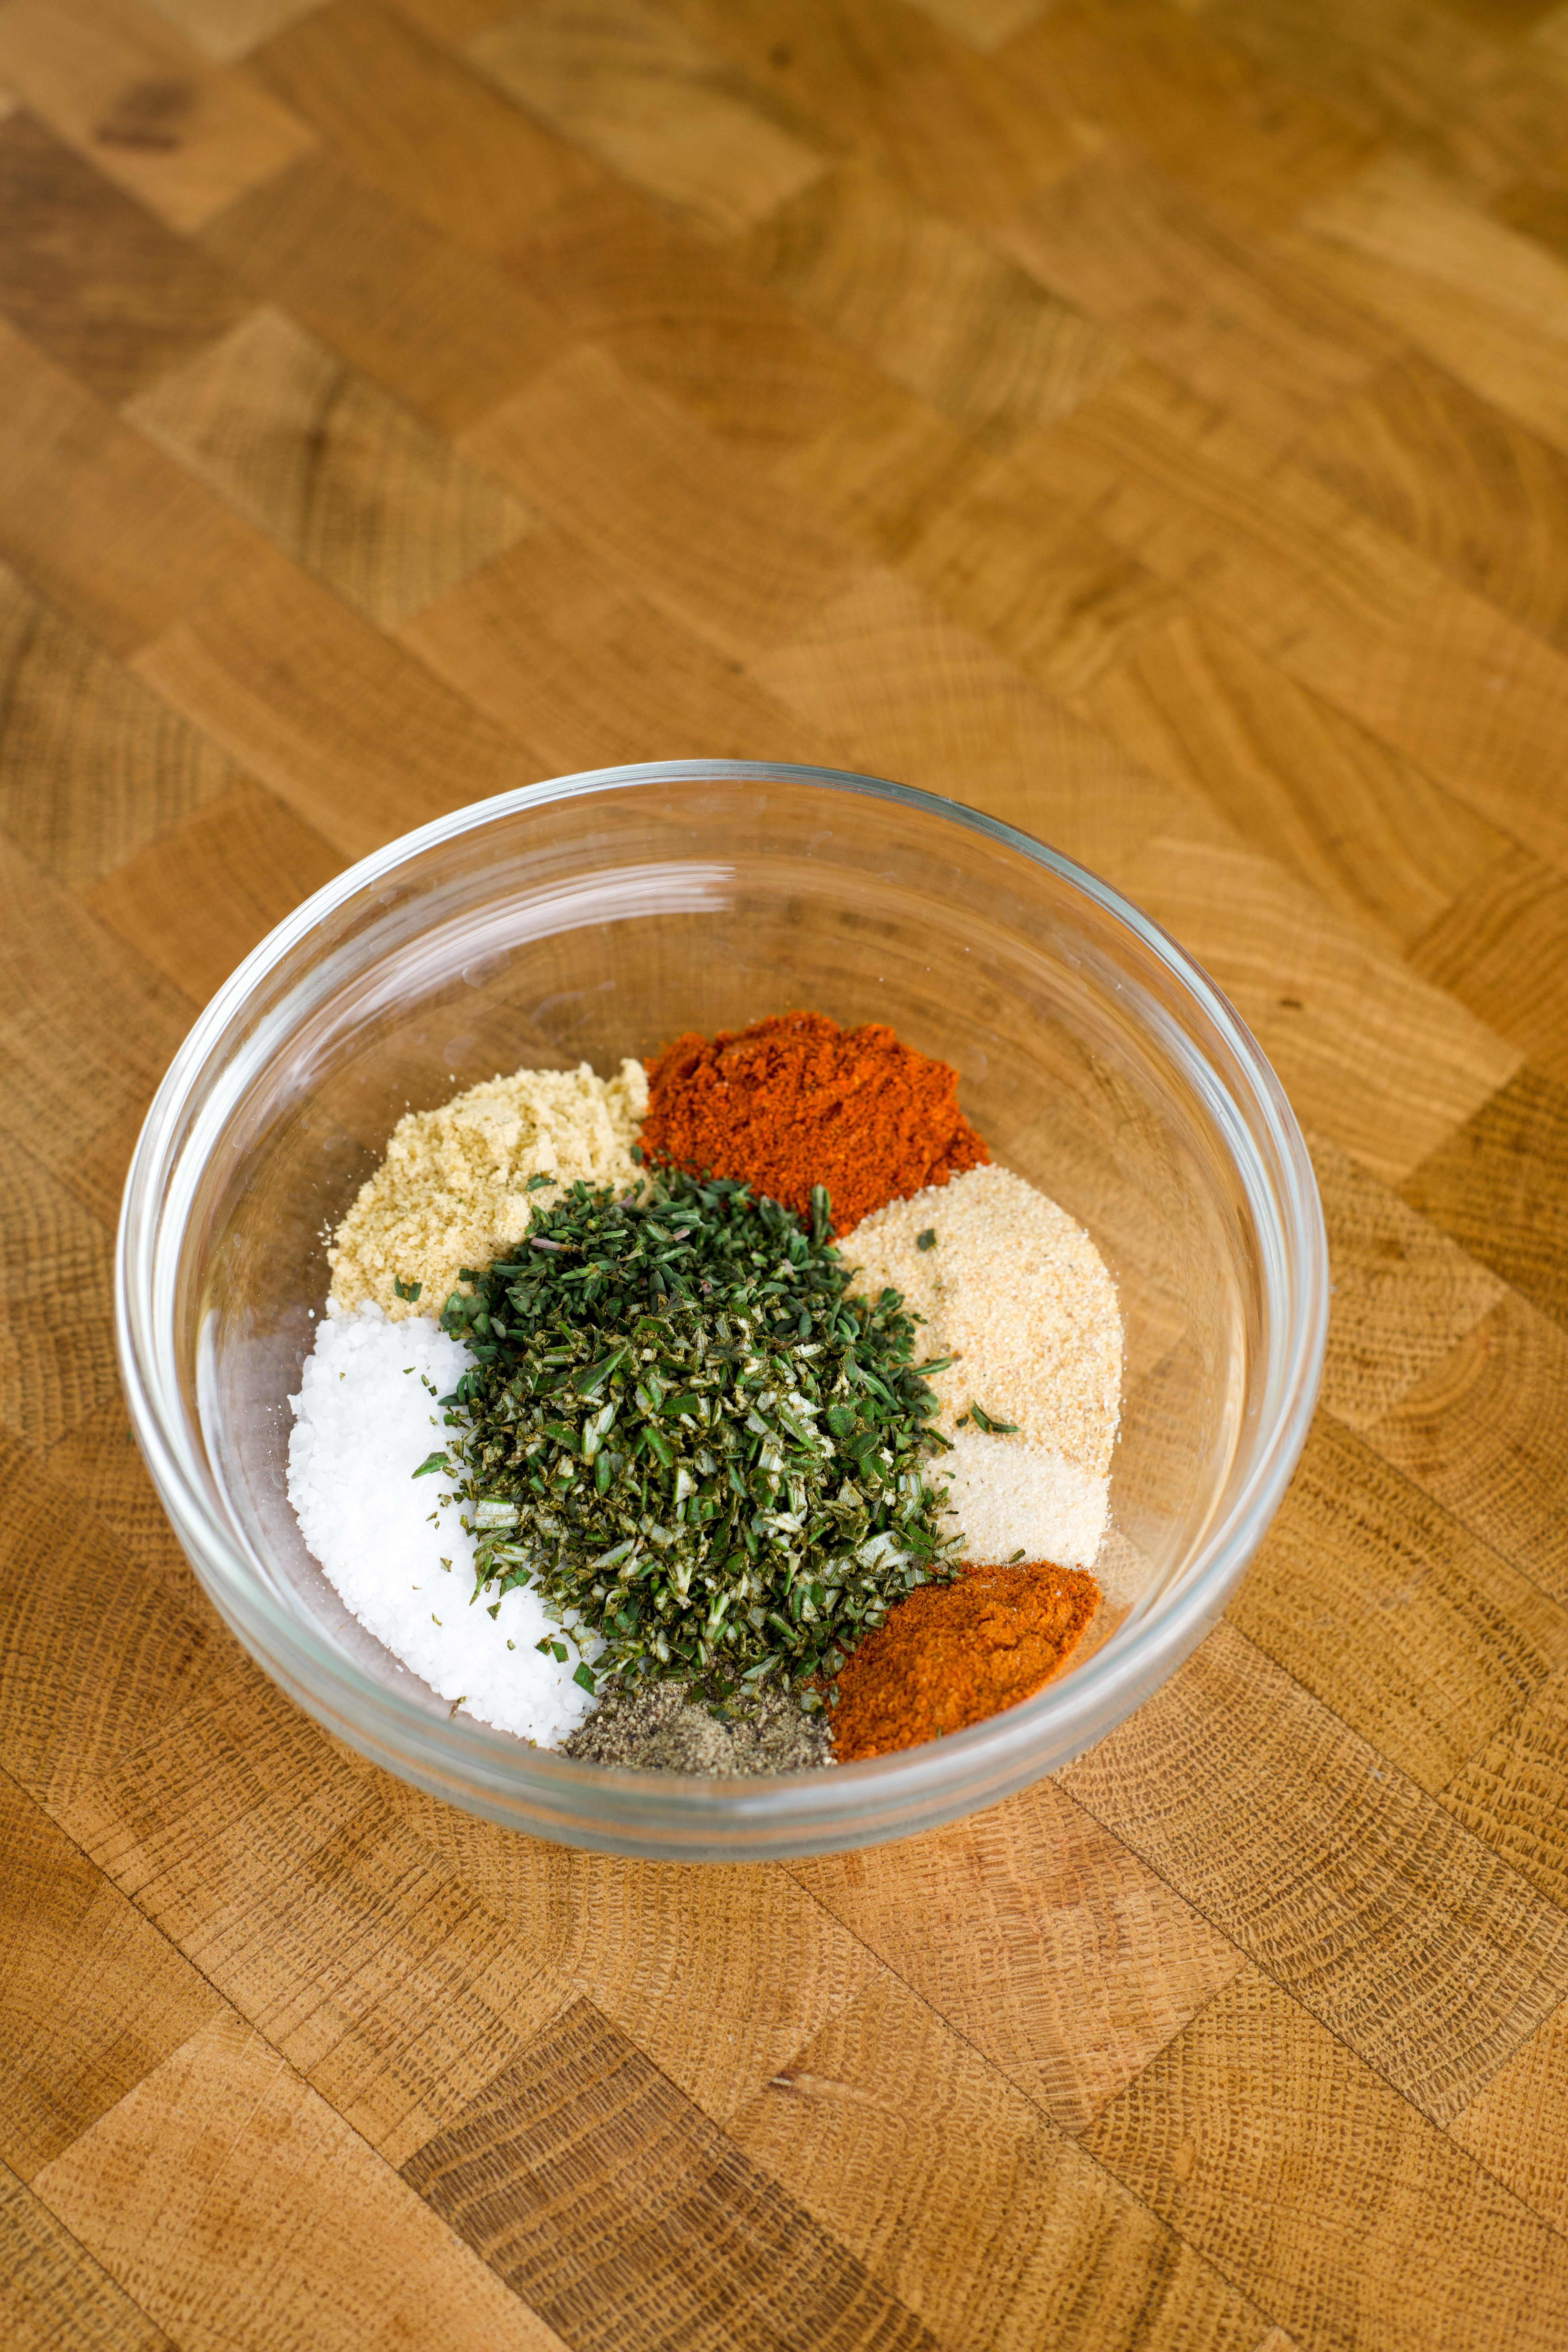
- Seasoning- salt, pepper, chicken bouillon, paprika, garlic powder, onion powder, cayenne pepper, thyme, and rosemary. I usually omit rosemary because I don’t like it, but my friend’s original recipe includes it and I think most people do like rosemary. Most of this will be used to season the chicken, but we will be setting some aside to season the stuffing as well.
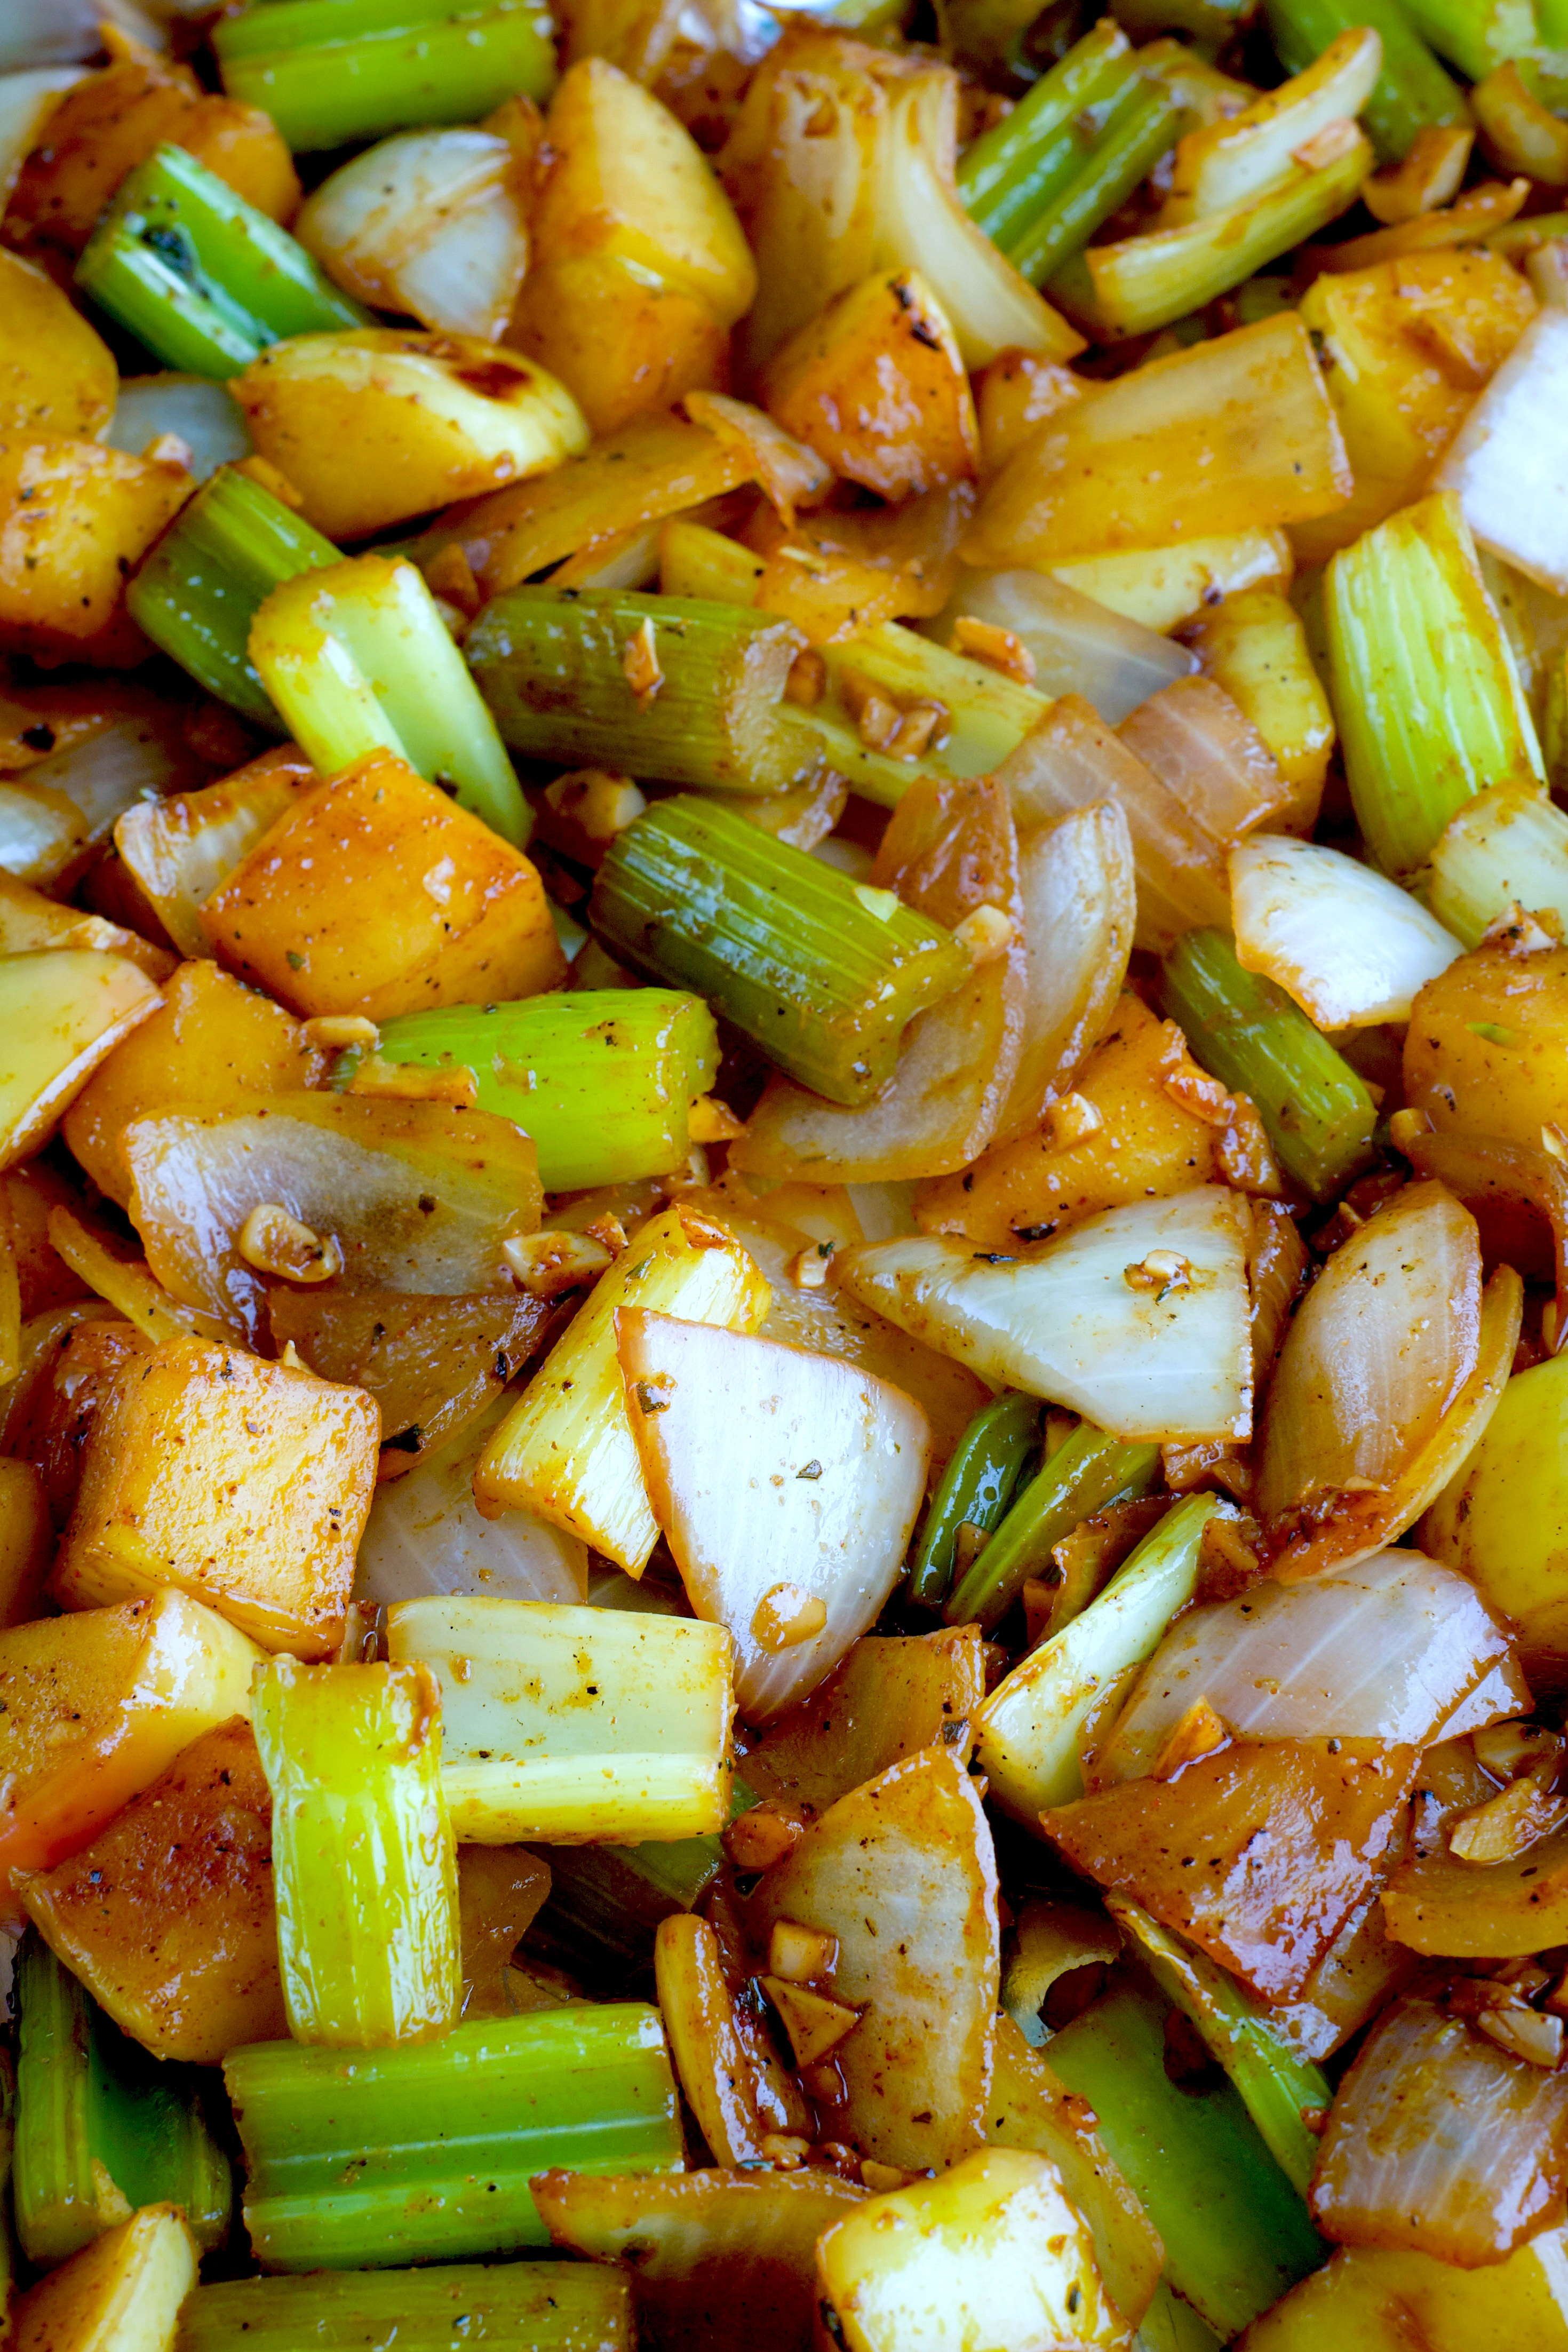
- Stuffing- this stuffing is SO good! It’s not your traditional breaded stuffing, but it will add incredible flavor to the chicken as well as the drippings for gravy! It’s onions, apples, celery, garlic, butter, the seasoning mentioned earlier, and some apple cider vinegar to deglaze all the brown bits and flavor from the skillet.
They need to be sautéed in butter & seasoning separately at first, then added all together in the end. I highly recommend following this step of cooking them separately to get the best results. The flavor develops better this way, plus there just isn’t enough room in the skillet to develop the brown bits of flavor if you cook them all together.
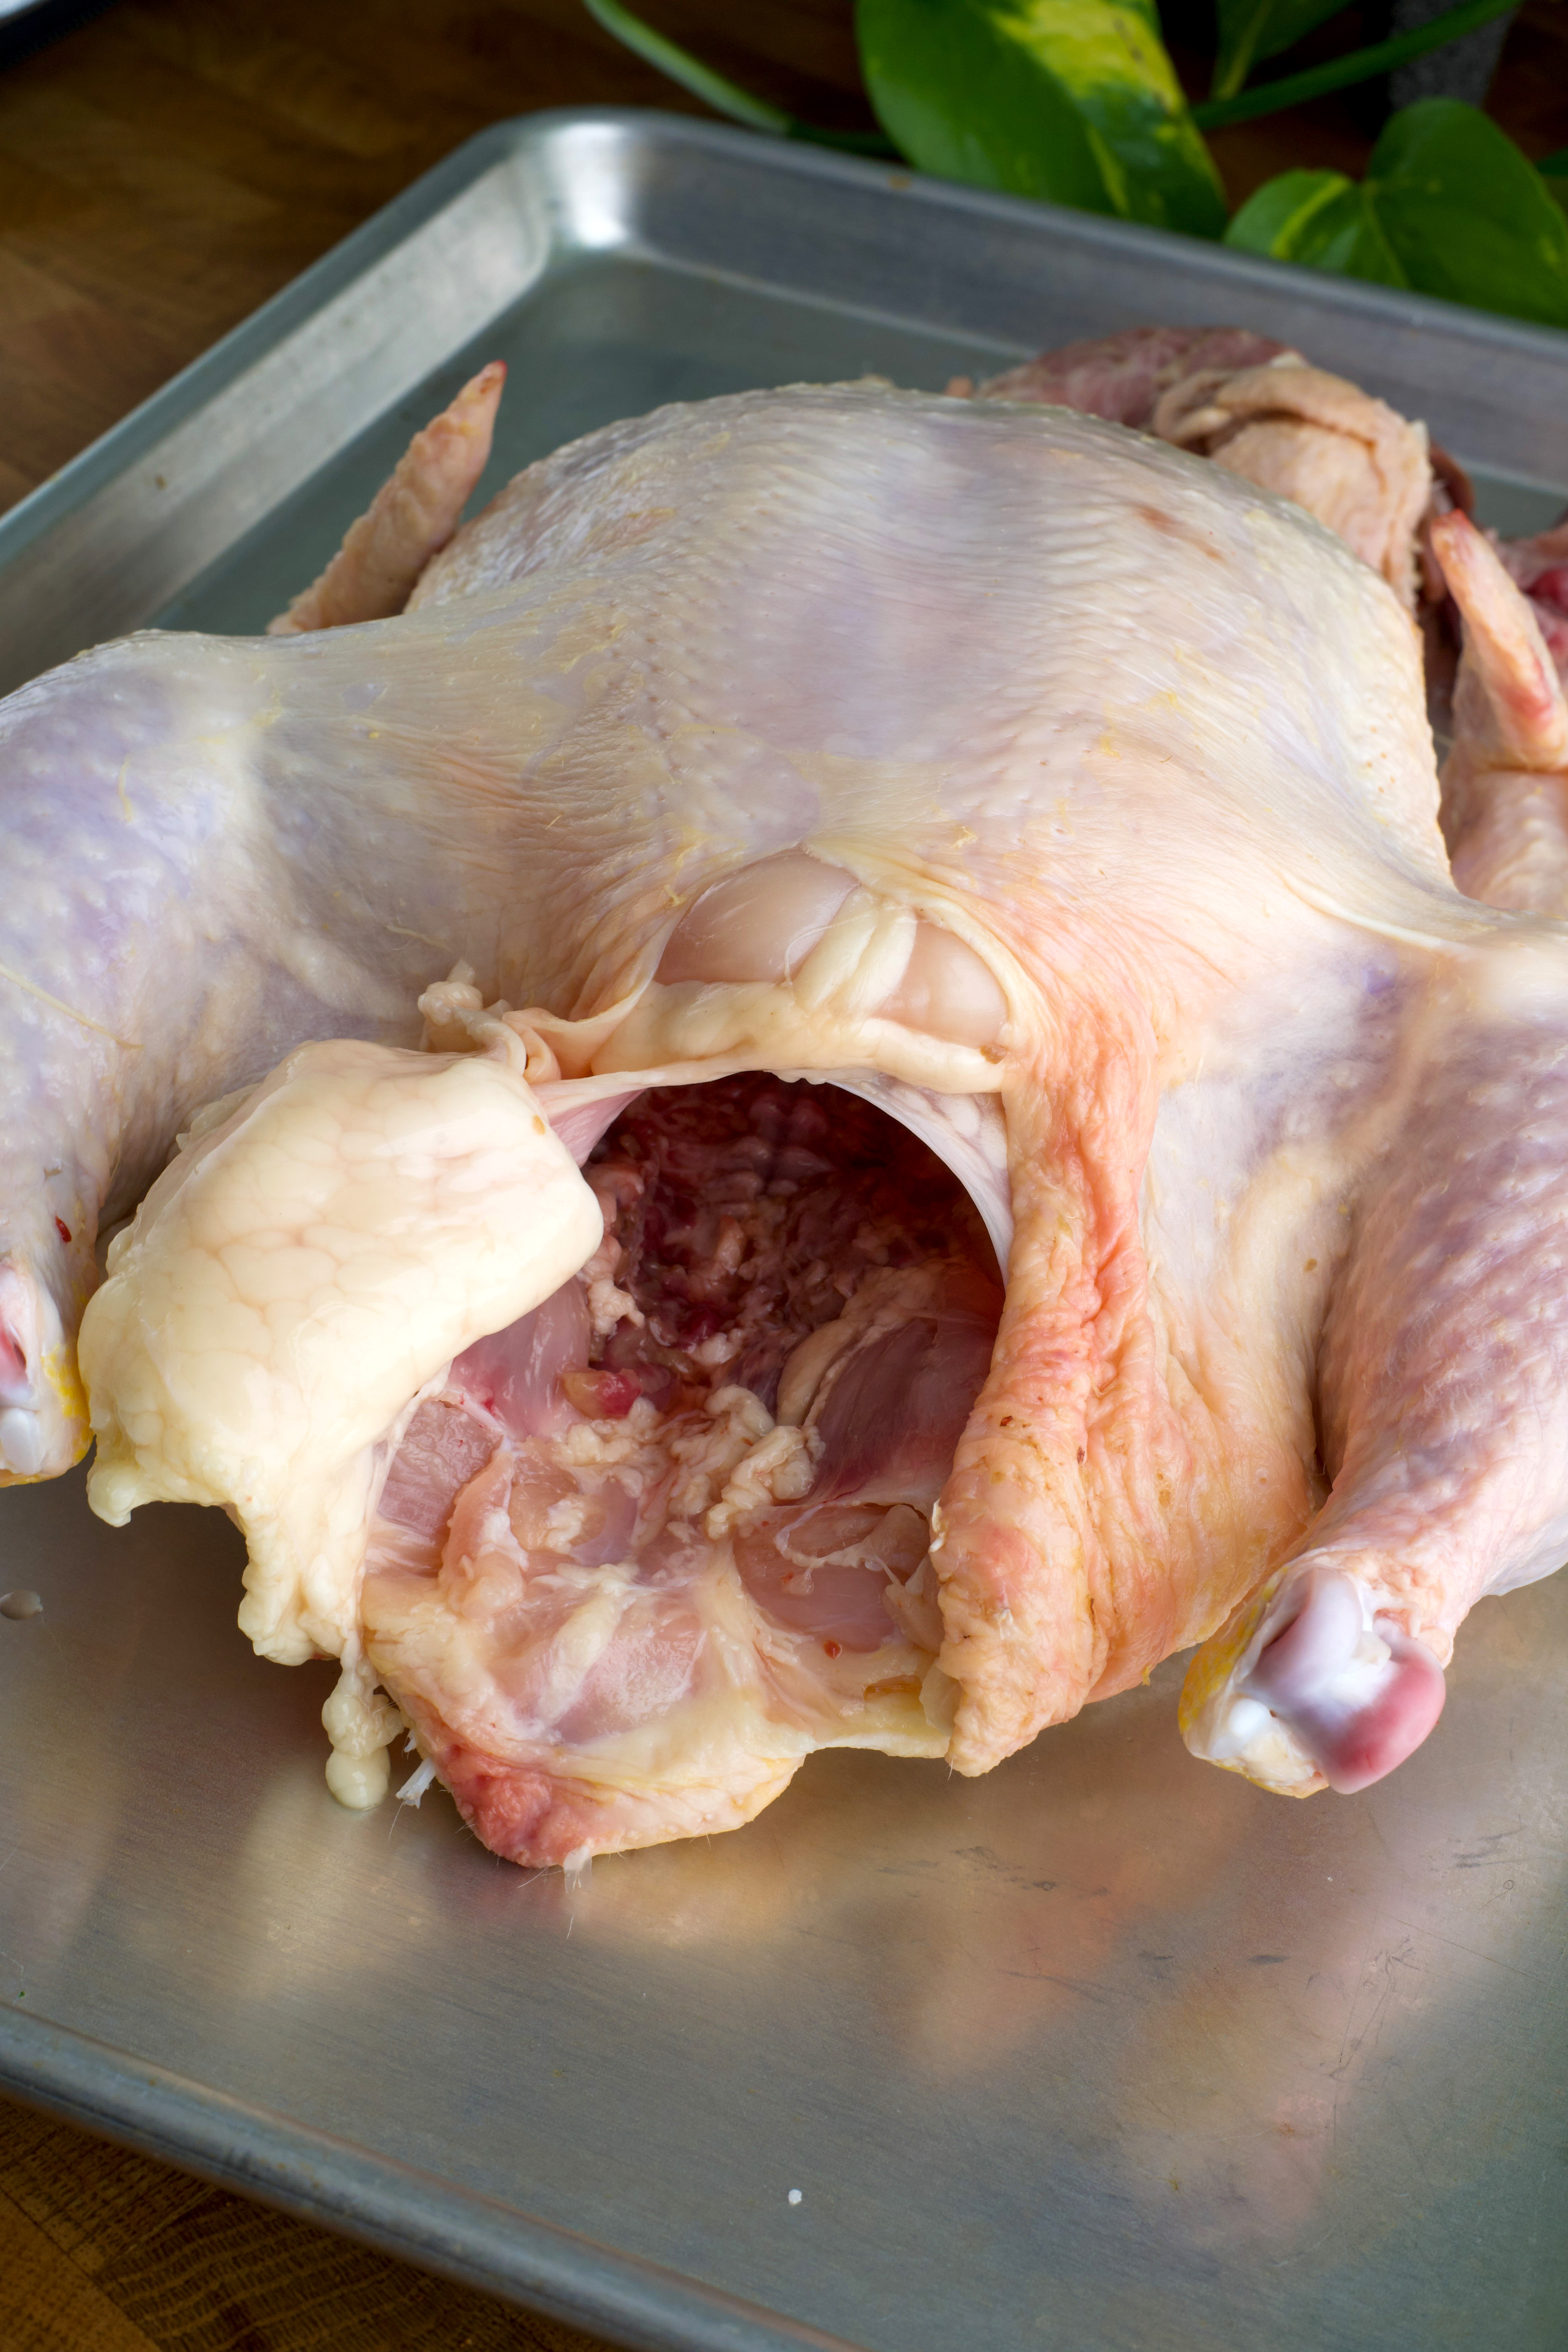
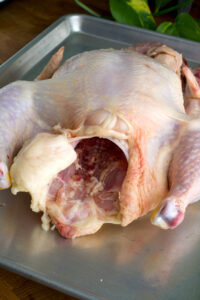
- Fat- Most recipes call for butter or oil under the skin of the chicken, and that’s what I used to do until my friend showed me her method- use the fat pieces near the cavity of the chicken instead! This chicken had a really nice chunk of fat that could easily be ripped off, but usually I have to cut off the fatty pieces of skin to the left and right of the tail.
Season them generously and then place under the skin, on top of the breasts. They will melt completely and add incredible flavor to the chicken, as well as helping to crisp up the skin a bit more. I like this method much better because it has more flavor, and you don’t have to deal with the mess of spreading butter everywhere.
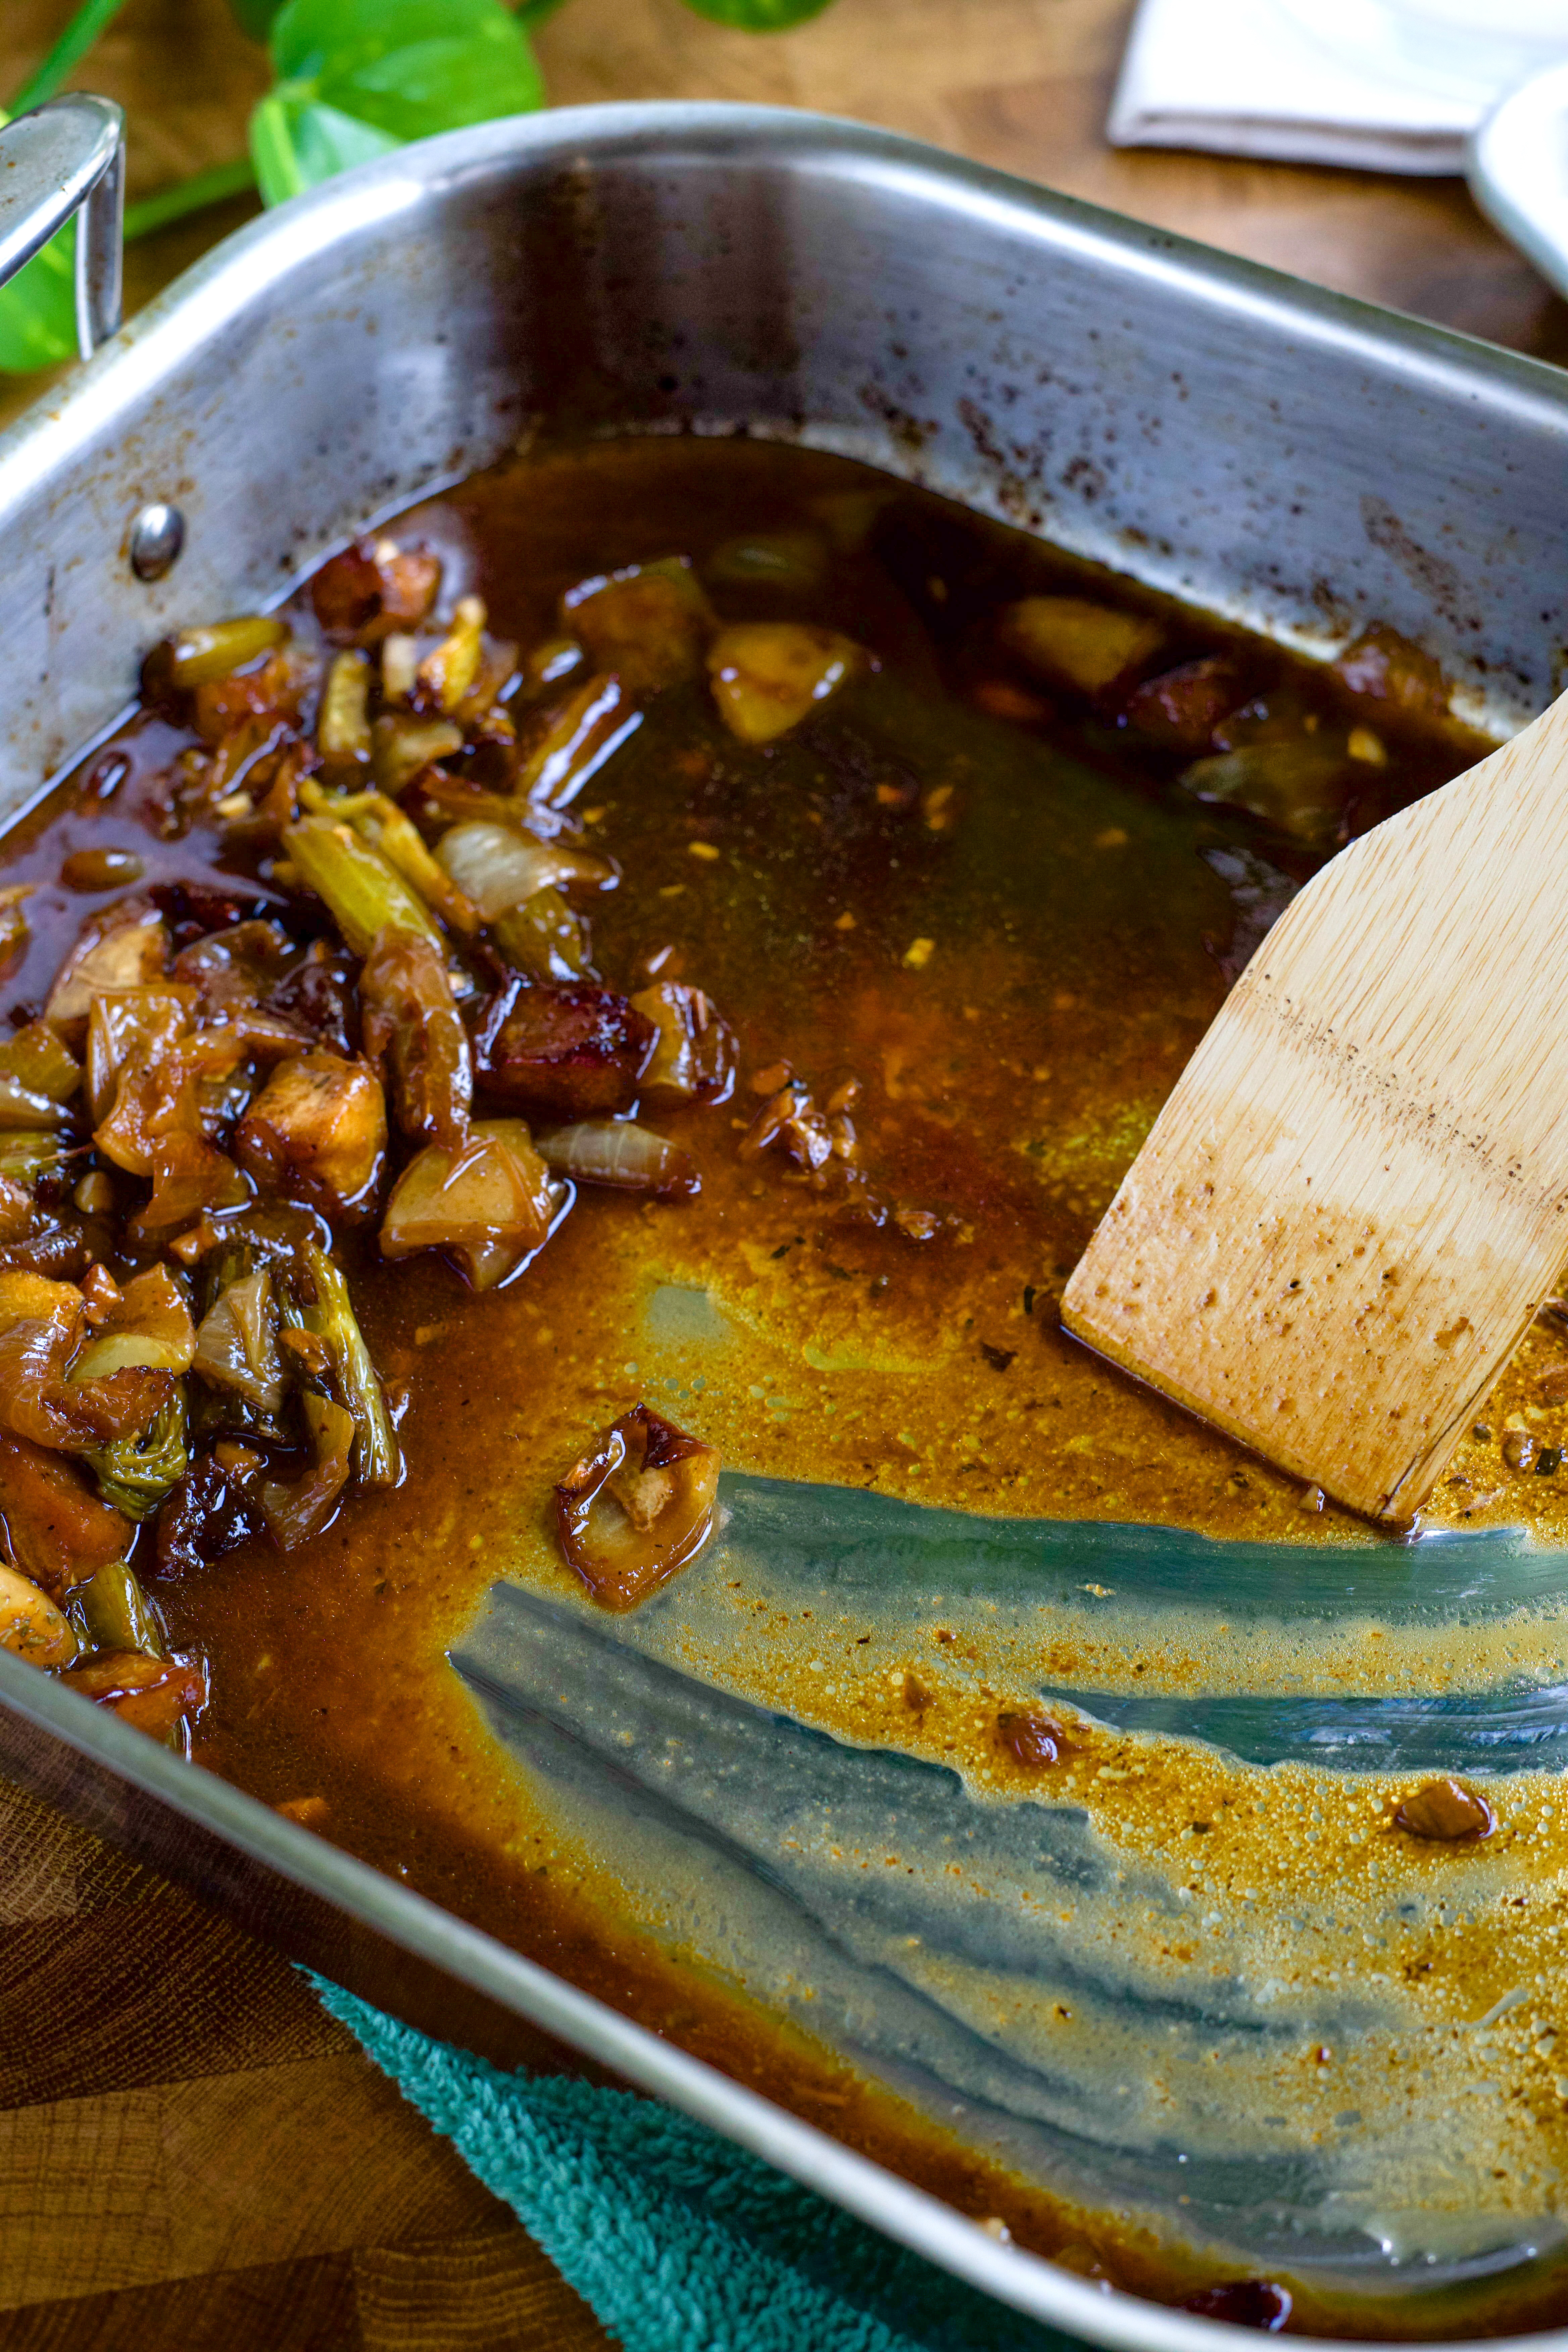
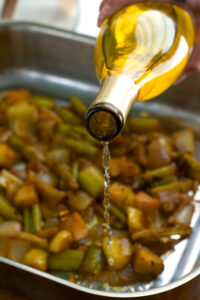
- Gravy- this gravy is to die for!! To make good drippings for gravy, we will be adding half the the stuffing to the roasting pan and the other half into the cavity of the chicken. Pour enough wine (or water to make it halal) into the pan to come up about 1/8 of an inch high- you don’t want too much liquid at first because you need it to evaporate so the bottom gets brown and glossy, which adds so much flavor! Then about half way through roasting, add water to deglaze the pan. This will make the most flavorful pan drippings for gravy!
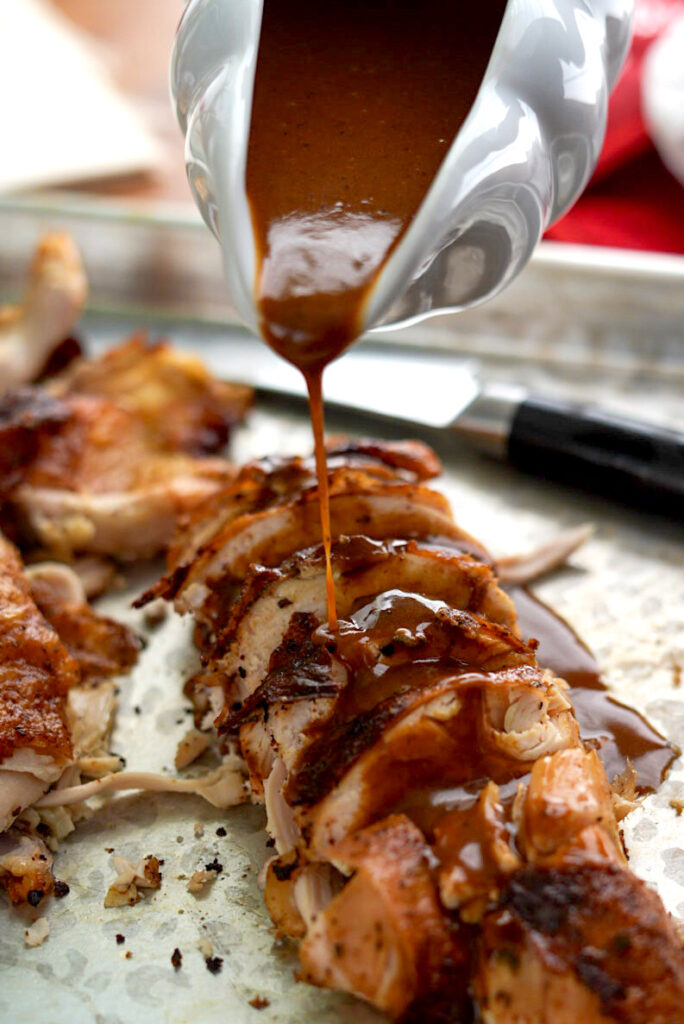
To make the gravy, separate the fat from drippings but save the fat to make the roux (instead of butter). Add the drippings, then chicken stock and I also added a little heavy cream and black pepper. SO GOOD.
How to check if your chicken is ready
The best way to know if your chicken is ready is to use an instant read meat thermometer. These are pretty affordable in my opinion and well worth the investment to make sure your cooked meats are exactly the temperature you want. I stick the thermometer into the deepest part of the breast and take it out when it read 162 degrees F. It will continue to cook while resting, and will be perfect after 20-30 minutes.
Here is the one I use. It doubles as a bottle opener which is kinda cool too.
Here are some other ways to tell if your chicken is ready:
- When resting, the juices should run clear. A teeny-tiny bit of pink is ok, but if your juices are pink/red then it needs more time to cook.
- You can also tell by looking at the drumsticks most of the time, but this takes a lot of practice and experience. The bones/cartilage area start to pop out more and look a bit dry.
Let the chicken rest!
This is a super important detail that you should not ignore. The chicken needs to rest for 20-30 minutes on the counter, uncovered. If you cover the chicken, all that work you did to make it crispy will just go to waste.
The resting period is crucial because the juices need to redistribute throughout the chicken during this time. If you carve it right out of the oven, all the juices will gush out and your chicken won’t be as moist. Don’t worry, it will still be hot enough to serve after resting!
Juicy Roasted Chicken
Ingredients
- 6 lb whole chicken
- white wine, as needed (or water to make it halal)
- 1 cup water or chicken stock
- 1-2 tbsp olive oil
Stuffing
- 3 tbsp butter
- 300 g honeycrisp apple, 2 small apples
- 300 g celery, 1/2 stalk
- 300 g onion, 1 large onion
- 1 head of garlic, 10-12 cloves
- 2 tbsp apple cider vinegar
Seasoning
- 1.5 tbsp chicken bouillon
- 1.5 tbsp coarse salt
- 1 tsp black pepper
- 1 tsp paprika
- 1 tsp garlic powder
- 1 tsp onion powder
- 1/2 tsp cayenne, more if you like spicy
- 1 tbsp fresh thyme, or 1 tsp dried thyme
- 1 tbsp fresh rosemary, or 1 tsp dried rosemary
Gravy
- fat from drippings
- flour
- drippings
- half & half or heavy cream, optional
- chicken stock
Instructions
- Take the chicken out of the fridge and let it rest on the kitchen counter while you prep everything else. Pat dry and remove the innards (you can use this to make stock, minus the liver). If you have a big chunk of fat like this near the cavity, don't throw it away! I'll show you what to do with it later.
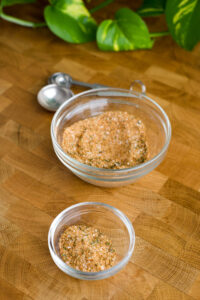
- Mix the spices together to make our seasoning, and set aside 1.5 tbsp. Most of this seasoning will be used to sprinkle over the entire chicken, and the rest will be used to season the stuffing.
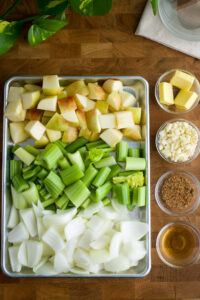
- Prep the stuffing ingredients: cut into 1 inch chunks, mince the garlic, and split your butter into 3 tablespoons.
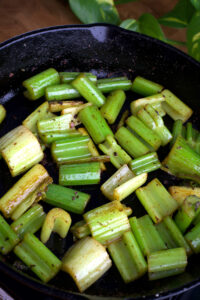
- In a large skillet over medium heat, add 1 tbsp butter and saute the onions until lightly browned. Then add some of the seasoning we set aside for the stuffing. Brown a little more, then remove from heat and repeat these steps again with the celery, then the apples.
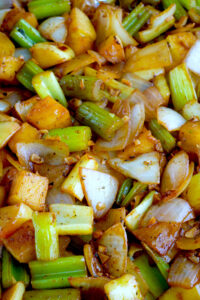
- Once the apples are nicely browned, add the onion and celery back into the skillet along with the rest of the seasoning (total used 1.5 tablespoons), and minced garlic. Continue to saute over medium heat to brown a little more. When the bottom of the skillet has some good brown bits, deglaze with apple cider vinegar and make sure to scrape all that flavor at the bottom.
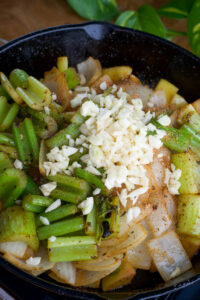
- Let it cool completely before stuffing the chicken.
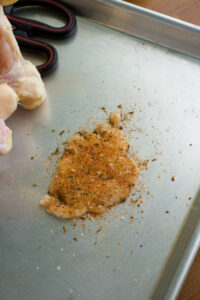
- You may use butter to spread under the chicken skin if you prefer, but I like this method that my good friend taught me- use the chicken fat near the cavity! This chicken had a good chunk of fat that could be easily ripped away, but most of the time I have to cut off the two fat pieces to the left and right of the tail. Season them generously and place it under the skin like you would with butter. They will completely melt and spread throughout the whole chicken, adding incredible flavor and also helping the skin crisp up a bit more.
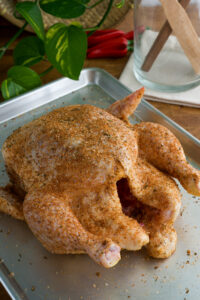
- Spray or spread 1 to 2 tbsp of olive over all over to coat the chicken. Then using the rest of the seasoning, sprinkle over the entire chicken. Make sure to get it in every nook & cranny. When the stuffing is cool enough, put as much as you can into the cavity then use butchers twine or folded foil to truss the legs.
- Put the rest of the stuffing into your roasting pan and a little bit of white wine, water, or chicken stock. Don't put too much in the beginning (about 1/8 inch high in the pan) we need it to evaporate so that the bottom gets brown and glossy which adds so much flavor!
- Place the chicken onto a rack on top of the roasting pan. Alternatively, you can use the skillet you browned the stuffing in (preferably cast iron) and use a rack to place the chicken on top of.
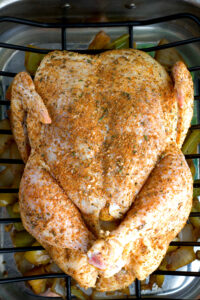
- Roast at 375 degrees Fahrenheit, uncovered, and not too high in the oven. A little over halfway through, add 1 cup water or chicken stock to the pan to deglaze all that flavor at the bottom! This will be used to make really delicious gravy.
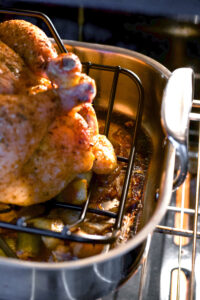
- My chicken was exactly 5.7 pounds and it took about 2 hours and 15 minutes to cook. I highly recommend using an instant read meat thermometer- it is the best way to know when your chicken is ready! I usually take mine out when the temp of the deepest point of the breast reads 162 degrees F. Let the chicken rest uncovered for 20-30 minutes before carving. The chicken will continue to cook and will be perfect by the time its ready to carve!*If you don't have a thermometer, you will know the chicken is ready if the juices run clear. Its better to have underdone chicken than overcooked! If you see a tiny bit of pink, it should be fine. But if there is a lot of pink/red juices coming out, you need to cook it more.
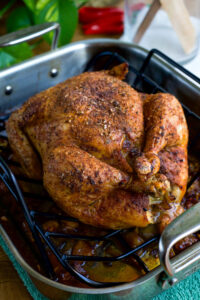
To make the gravy
- Scrape all the brown bits at the bottom of the pan
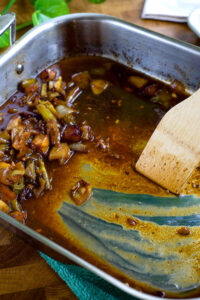
- Strain the drippings (but don't throw away the stuffing- you can eat it with dinner or add them to make pot pies with leftover chicken). Separate the fat from the drippings. *An easy way to separate fat from drippings is to put it into a ziploc back, place two containers next to each other, then snip off a tiny bit of the bottom right corner of the ziploc back and release the drippings into the first container. You will be able to see the line of demarcation where the fat is laying on top. Right before all the drippings are out, position the bag over the second container to release the fat. Here's a video tutorial on how to do it 🙂
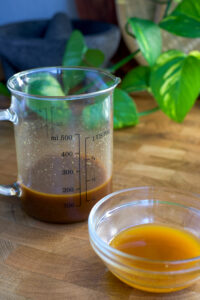
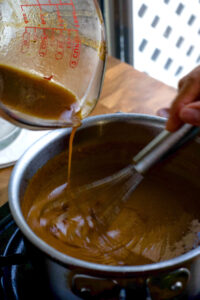
- Use the fat to make a roux for the gravy. Equal parts fat + flour (I used 4 tbsp of each), whisking constantly over medium heat for 3-4 minutes. It should become a thick paste and peanut butter colored. You really wanna make sure you cook out the flour taste!
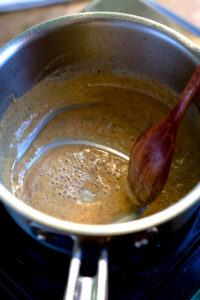
- I added 1/2 cup heavy cream next, but if you prefer a gravy without cream you can leave this out.
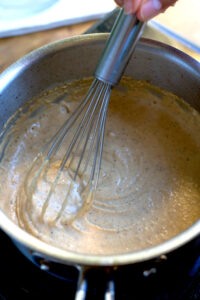
- Add the drippings (1-2 cups) and some chicken stock (1/2 cup). Simmer until reduced by almost half. Taste for seasoning if needed. I sometimes add more pepper.
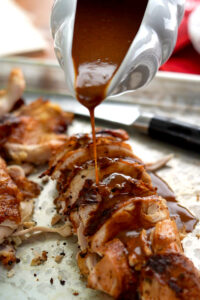
- Carve your chicken and enjoy! This gravy is great with the chicken or mashed potatoes. I usually have some gravy leftover and stretch it with some more chicken stock to make pot pies with leftovers later. Its soooo good!
Nutrition information is automatically calculated, so should only be used as an approximation.



This chicken recipe is possibly the best one that I’ve ever tried! It’s so flavorful and juicy. Comes out great every single time. Thanks for sharing!
This was literally the best chicken recipe I have ever tried. We could not believe the juiciness and flavor of just a simple roasted chicken. All of your recipes I’ve tried have all been soooo good!
I always refer to your site when looking for a recipe especially if it’s Hispanic or Korean. Thank you!!!
One of the very first recipes I used when being in charge of the main protein for thanksgiving and it will forever be the only one! Sooo freaking good! Thank you for sharing this recipe:)
I made this last thanksgiving since we’re not really into turkey. I think I followed about 80% of the recipe but it still came out very juicy and tender and so delicious.
Thank you for this recipe!!
ABSOLUTELY AMAZING! We made four of these chickens for the holiday and it came out perfect every time! We added some fennel and it just came out juicy and so sooo crispy.
oh my LAUWD this was amazing! I made four chickens for the holiday and they all turned out PERFECT! I added some fennel instead of all celery and added some extra fresh herbs to round out everything. It came out perfectly moist and tender even after going through the microwave and the fridge.
Thank you so much for this amazing recipe! I made this for my family for thanksgiving dinner and it was a hit. The meat was so flavorful, tender, and juicy (even though I accidentally over cooked it). And that gravy was to DIE FOR!! This is my third or fourth recipe of yours I’ve tried, and they never disappoint. Thank you thank you!!! 🙂
Delicious!!
I know the recipe is written out and read it, but just wanted to make sure – do you let the chicken marinate, or is seasoning it and popping it in the oven is correct?
Hi Vi, you do not need to let the chicken marinate. You can pop it in the oven as soon as you are finished preparing your chicken 🙂
I’m excited to make this turkey! It really looks so juicy and delicious!!! My family loves turkey and always looks forward to my turkey every year!