This post may contain affiliate links. I only recommend products or services that I personally use or trust, promise!
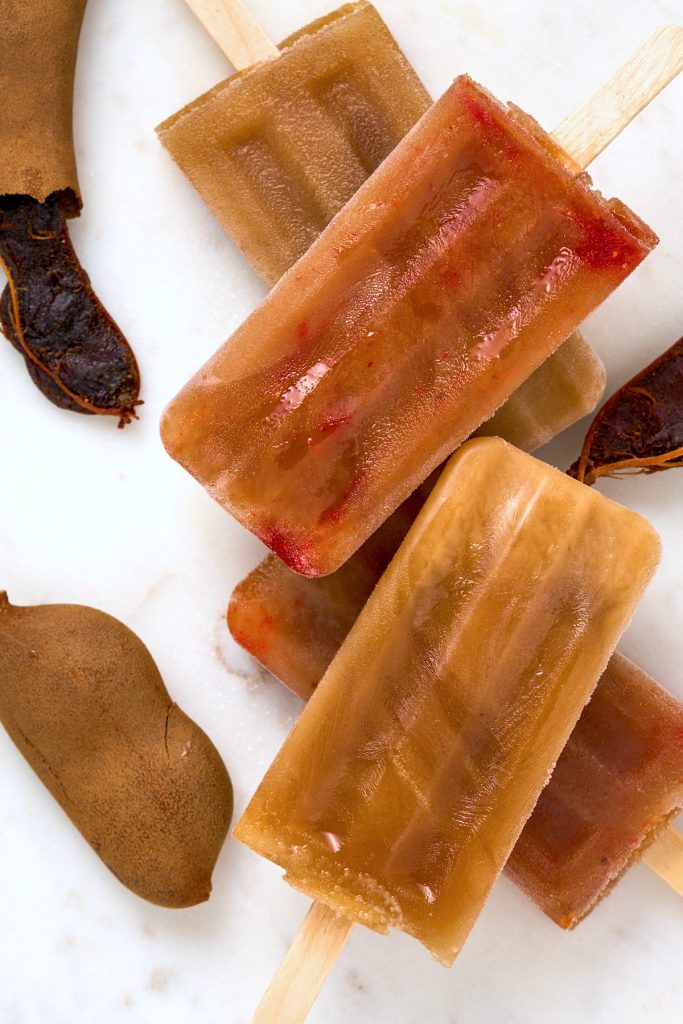
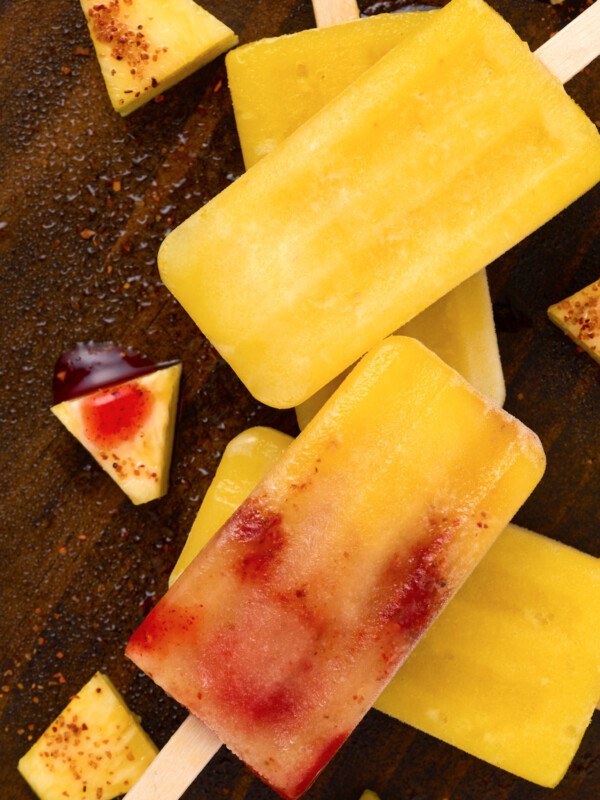
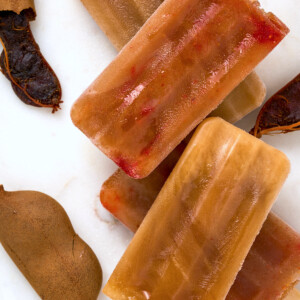
These paletas de tamarindo (tamarind popsicles) are super refreshing & delicious! This flavor is so nostalgic for me- it reminds me so much of my childhood because of all the Mexican candy I ate. It’s also one of my favorite agua fresca flavors!
My dad LOVES agua de tamarindo so much that I make him a gallon of tamarind syrup every couple of months so he can make it at home. He’s coming to visit me this weekend, so I’m really looking forward to seeing him try these paletas!
What is Tamarind?
Tamarind is technically a fruit that is native to Asia and Africa. It grows on trees and produces pods of fruit that are sweet & sour. Tamarind is used across many different cultures for different things, and you can definitely use the tamarind pulp in this recipe for all of them!
Ingredients:
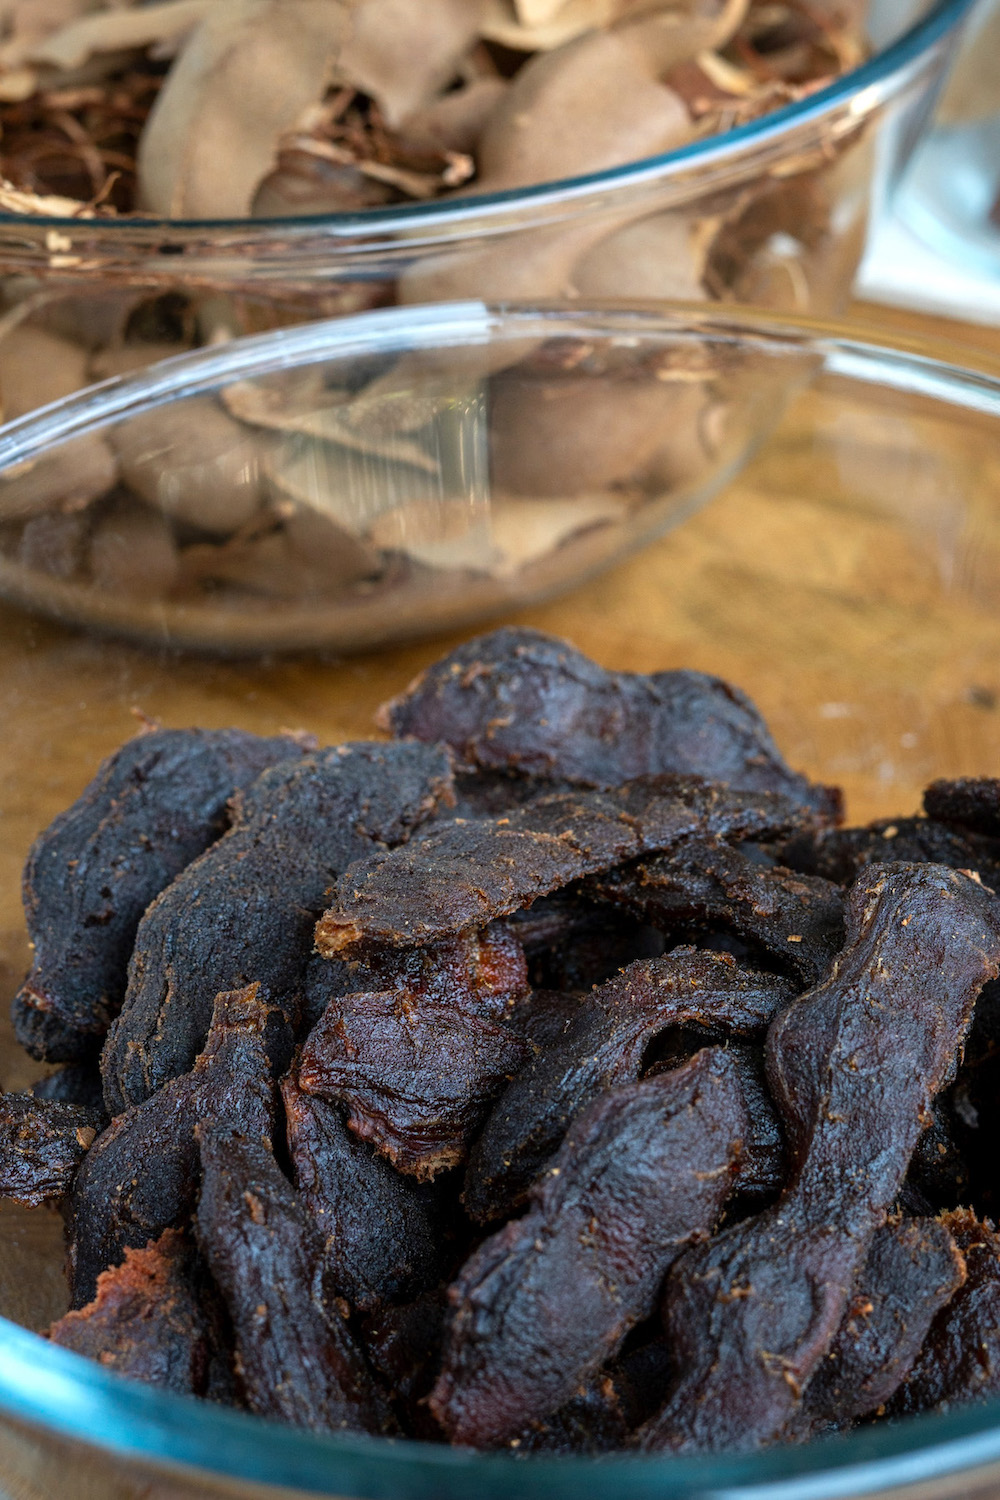
- Tamarind pods– you may use pre-packaged tamarind pulp to make this easier, but I highly recommend making it with fresh tamarind.
- Sugar– since tamarind is quite sour, you will need more sugar than you think to balance it out!
- Water- you’ll need to cook the tamarind, sugar, and water together to make a syrup, then add a little more water at the end.
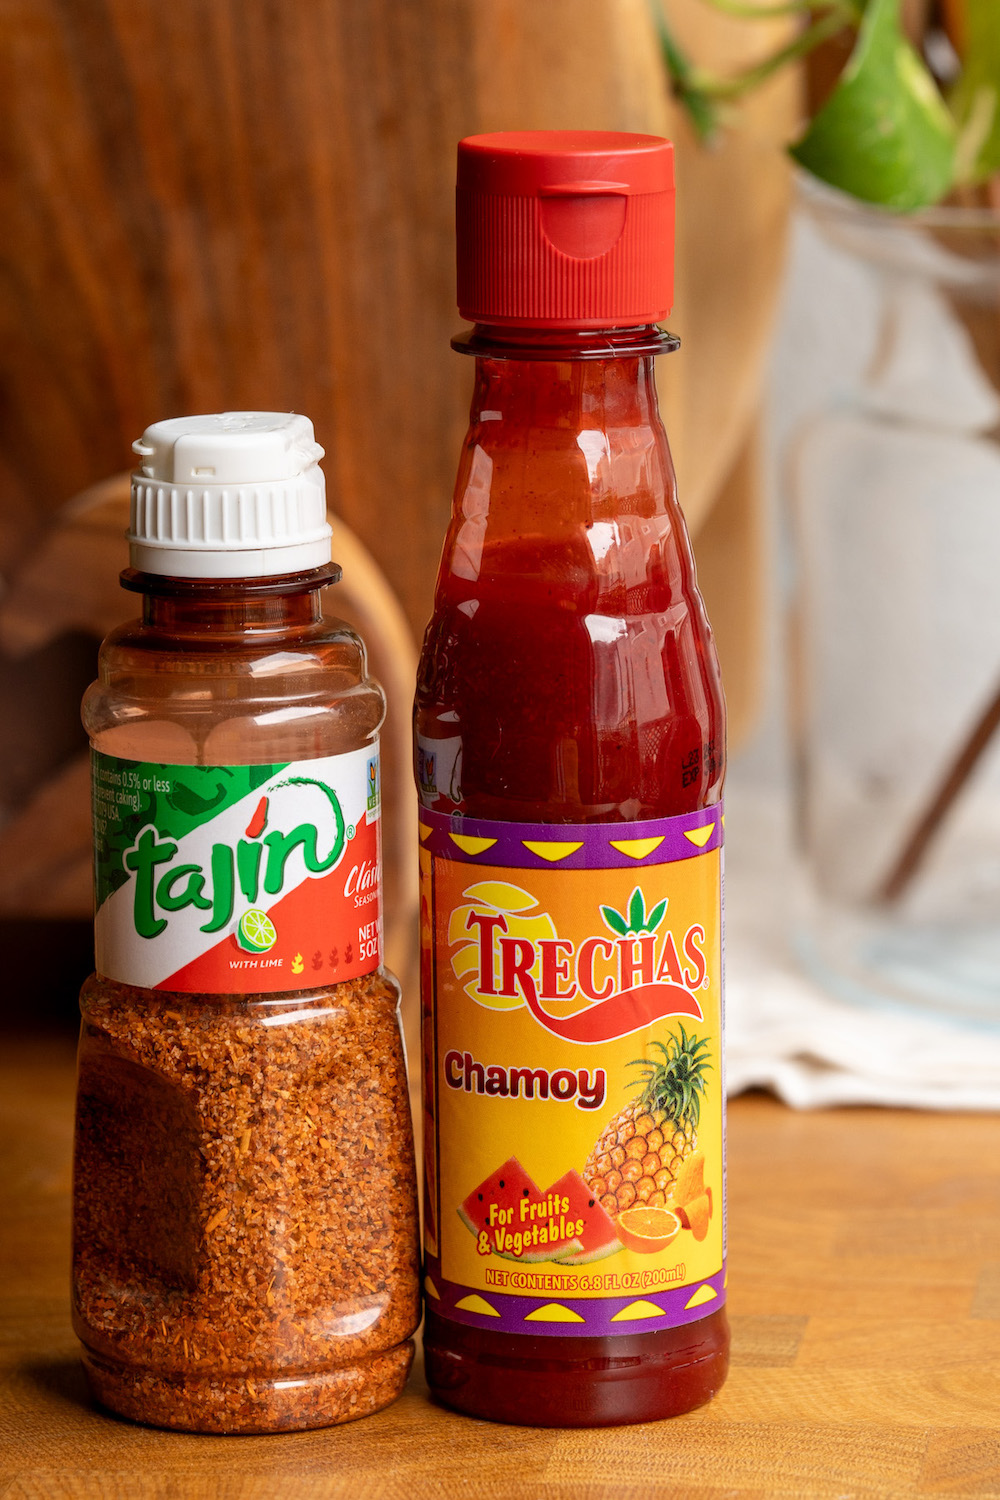
- Chamoy & Tajin– these are totally optional! If you love Mexican candy, you will love this combo. Tajin is a lime-chili powder, and chamoy is a sweet/spicy/tangy condiment made with dried chiles, fruits, and lime. You can either mix it right into the mixture, or pour it into the popsicle mold in layers.
What is the difference between a popsicle and a paleta?
Though very similar, paletas and popsicles do have some key differences that make paletas way better, in my opinion.
Popsicles are mass produced and have lots of additives and artificial flavoring. Paletas use natural ingredients like fruits and are made fresh, so they don’t require additives or preservatives to extend shelf life.
Paletas also have a rich history and are culturally important to Mexican street snacks. Nowadays, you will find plenty of brick and mortar paleta shops but it is still common to get your paletas on the street from paleteros (ice cream carts).
Two Types of Paletas:
There are MANY paleta flavors & combinations, but there are generally 2 types of paletas made:
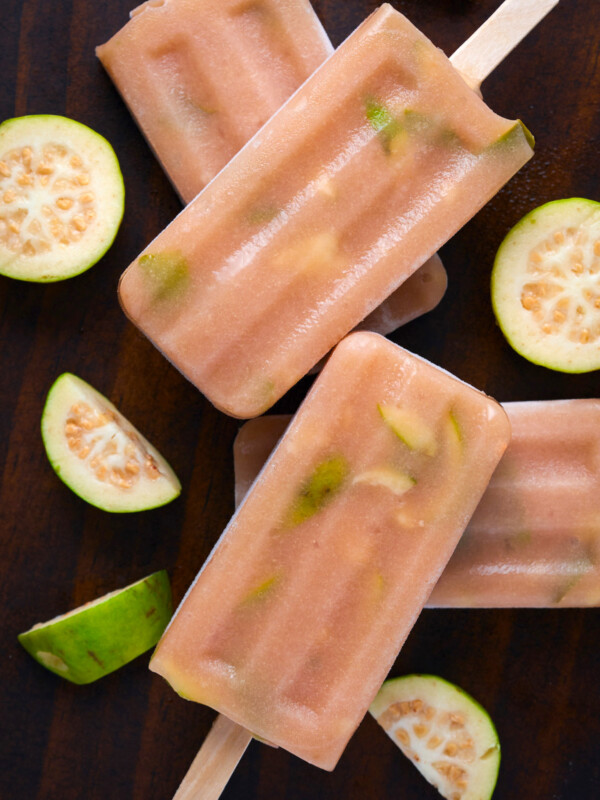
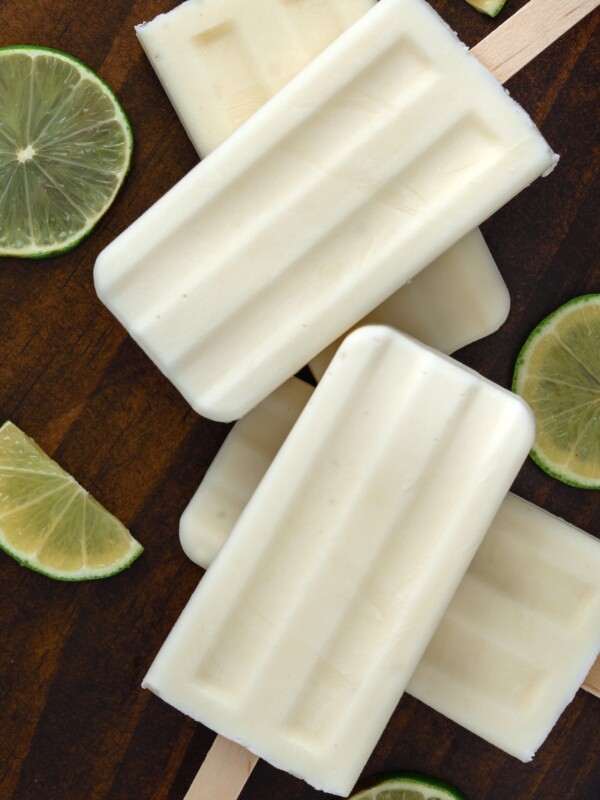
- Water based (paletas de agua)- these are typically fruit pops that have a water or juice base. These paletas are more true to the integrity of the fruits, and are also healthier (and vegan too!). Some of my most popular water-base paletas on the blog are lime, strawberry, and mango & chamoy!
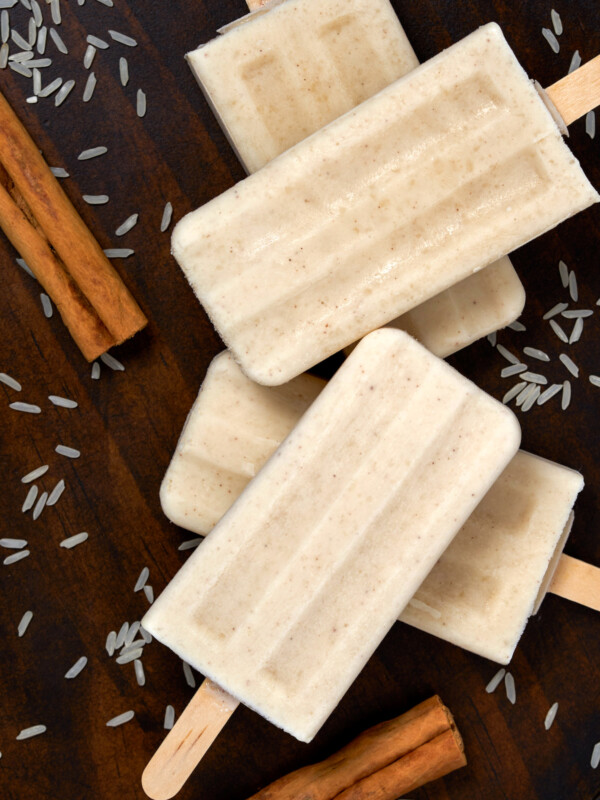
- Cream based (paletas de leche)- these are creamy paletas with a texture that is more similar to ice cream than a popsicle. They usually have some combination of heavy cream and/or milk, mexican crema, and sweetened condensed milk. These also tend to have more flavors available because it isn’t limited to fruits- some common popular flavors are coconut, coffee, arroz con leche, and, pecan.
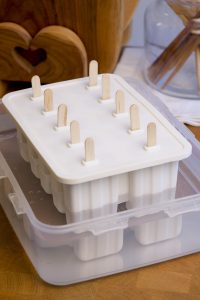
Equipment needed:
To make paletas, you will need a popsicle mold, popsicle sticks, and plastic bags for storing. You will also need a blender.
I recommend a silicone popsicle mold because they are easier to remove the popsicles from. The exact one I have is no longer available on Amazon, but I found a similar one that you can purchase. It also comes with the popsicle sticks and baggies. Here is the link to purchase:
Popsicle mold, sticks, & baggies
Try some of my other paleta recipes:
Click here to see a list of ALL of my paleta recipes!
Paletas de Tamarindo (Tamarind Popsicles)
Ingredients
Instructions
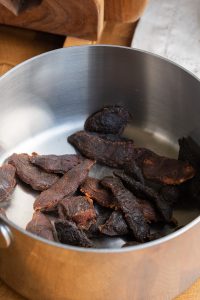
- Peel the shells off the tamarind, remove the stringy stuff, and put the tamarind pulp & seeds in a medium sauce pan.1/2 lb dried tamarind pods
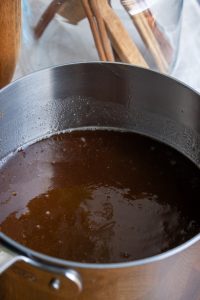
- Add the sugar and only 3 cups of the water. Mix and cook over medium heat for 10 minutes or until it softens & thickens, then turn off the heat and cover with a lid for 1 hour.1 1/2 cups sugar
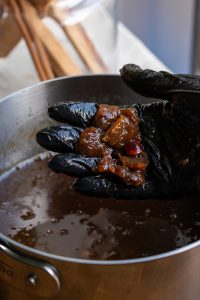
- After 1 hour, use your hands (wear gloves) to break down the pulp as much as you can. This will make it easier to push through a sieve.
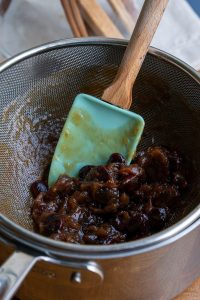
- Push through a sieve until there are mostly just the seeds left. You can throw these away.
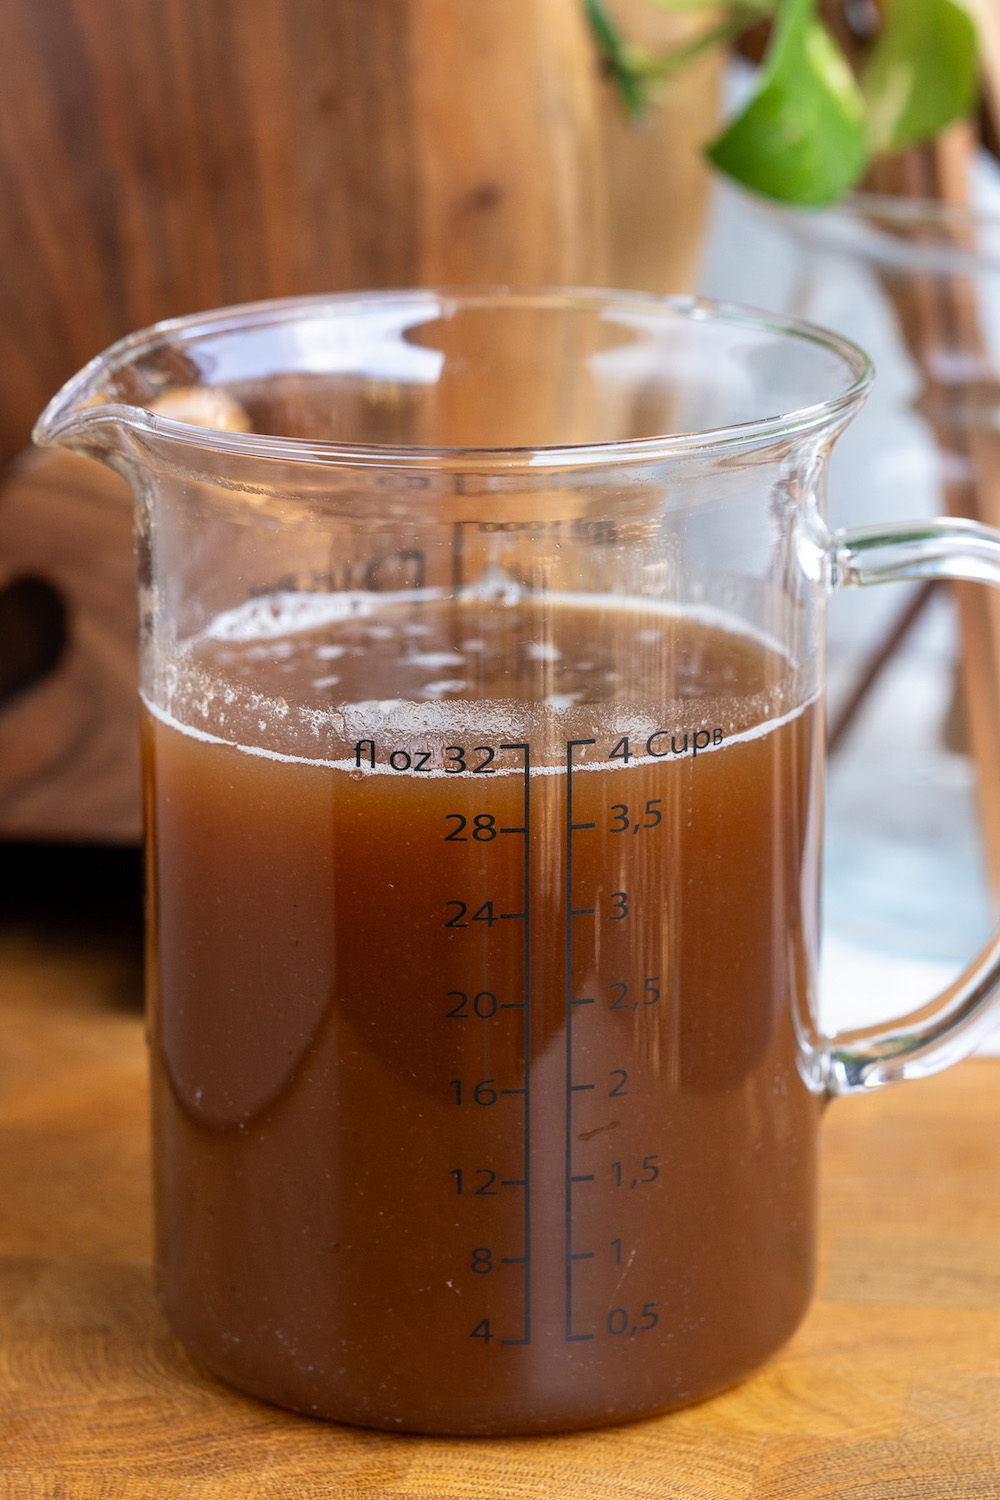
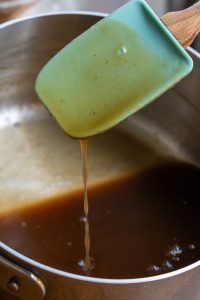
- This is what your tamarind pulp should look like. It's perfectly fine if it's thicker than this, but if it's too thin & doesn't coat your spatula, you need to cook it more.
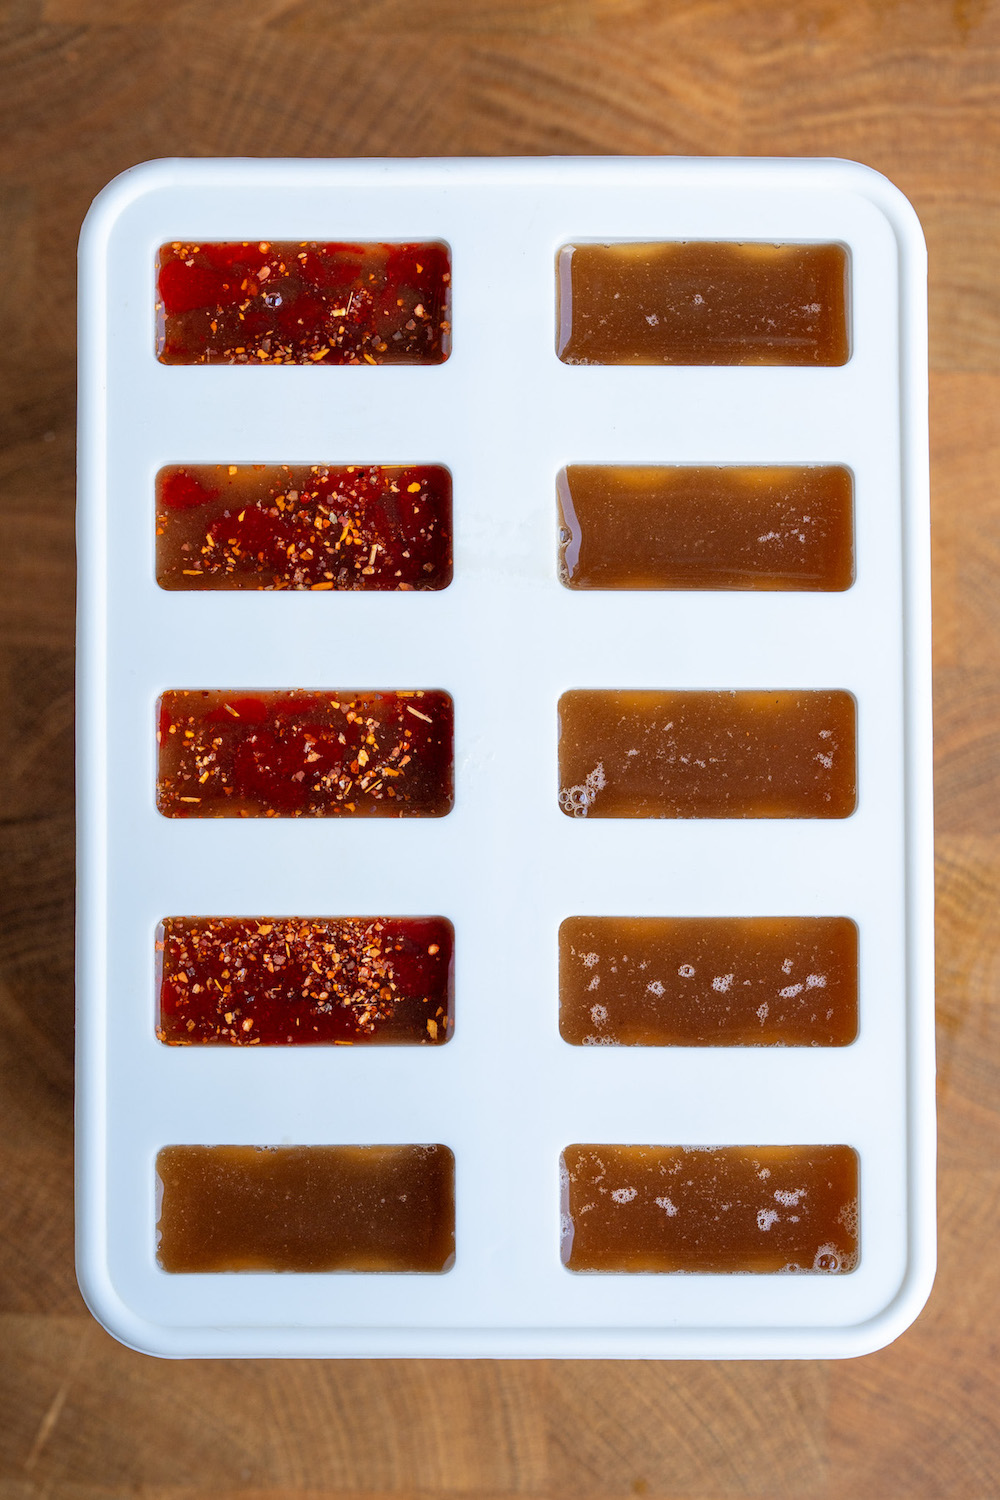
- Transfer to a pitcher or measuring glass, then add the remaining 1 cup of water. You may need a little less or more water, depending on your taste. Taste the mixture and make any adjustments for water & sugar. Tamarind is a very strong & overpowering flavor, so if you feel that it's too sour or too strong, you may need more water and/or sugar. *If using tajin and/or chamoy, you can mix it in now, or you can do it in the next step. I recommend anywhere between 2-4 tbsp of chamoy, and 1 tbsp of tajin.tajin, chamoy

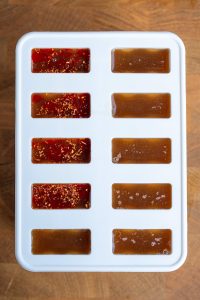
- Pour into a clean popsicle mold, push in popsicle sticks, and freeze for at least 8 hours. *If using tajin and/or chamoy, you can layer it into the popsicle mold while pouring in the the tamarind mixture, alternating the ingredients 3-4 times. Then use a popsicle stick to gently swirl it around. This option is better than the previous one if you want to see a little bit of a swirly design in your paleta.tajin, chamoy
- For easy release, you can place the mold in warm water for 20 seconds, or use a popsicle stick to push down the sides of the paletas to loosen.
- I recommend eating these within the first 2 weeks, but they can last much longer with a vacuum sealer and popsicle baggies. Keep in mind the longer they stay in the freezer, the more ice crystals will form!
Nutrition information is automatically calculated, so should only be used as an approximation.