This post may contain affiliate links. I only recommend products or services that I personally use or trust, promise!

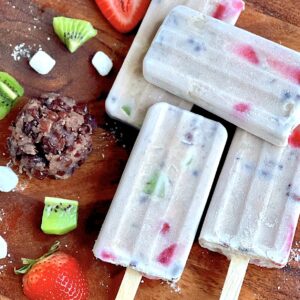
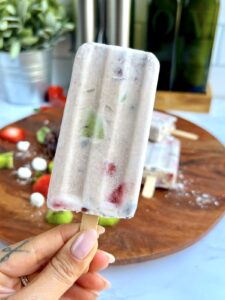
These patbingsoo paletas are my FAVORITE fusion creation ever- I LOVE patbingsoo and I can’t believe how easy it is to make it into a paleta, one of my favorite summer snacks! These are seriously SO good.
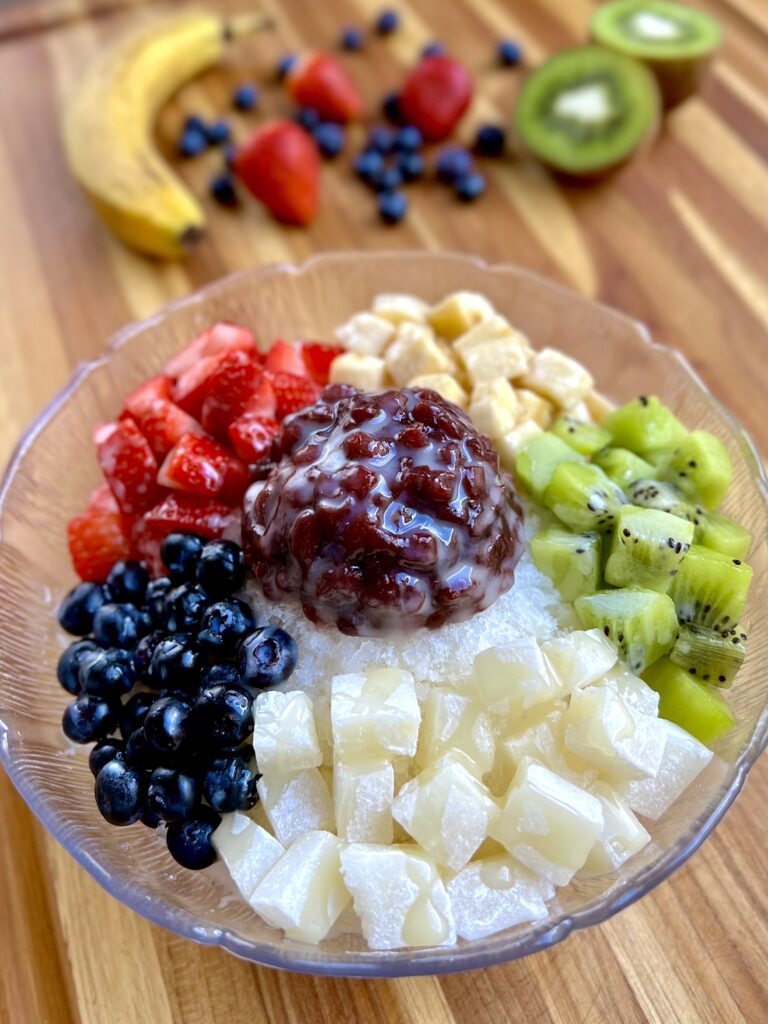
Korean red bean shaved ice is my all-tie favorite dessert. This colorful icy treat always brings me back to my childhood in Korea. It is such a refreshing summer dessert and one of my favorite Korean street foods.
When I was thinking of flavors to make for my paleta series, I decided I definitely want to do a fusion recipe with my Korean side. I am so happy with how these turned out! They taste just like patbingsoo, but on a stick. The mochi stays soft & chewy too!
What is patbingsoo?
‘Pat’ means sweet red beans and ‘bingsoo’ is shaved ice. The red beans are mixed with the shaved ice with a drizzle of condensed milk and some toppings like fruit, candy, mochi, and cheesecake bites. See my recipe for it here if you want to make it!
I’ve been trying to think of how to describe the taste of red bean shaved ice but it’s so hard to describe. For me personally, the taste and textures instantly bring me back to my childhood and I think that’s why I love it so much. It’s not overly sweet, its healthier than most desserts and its extremely refreshing during the hot & humid summers in Korea. I have such fond memories of eating this icy treat with my friends and family.
Ingredients:
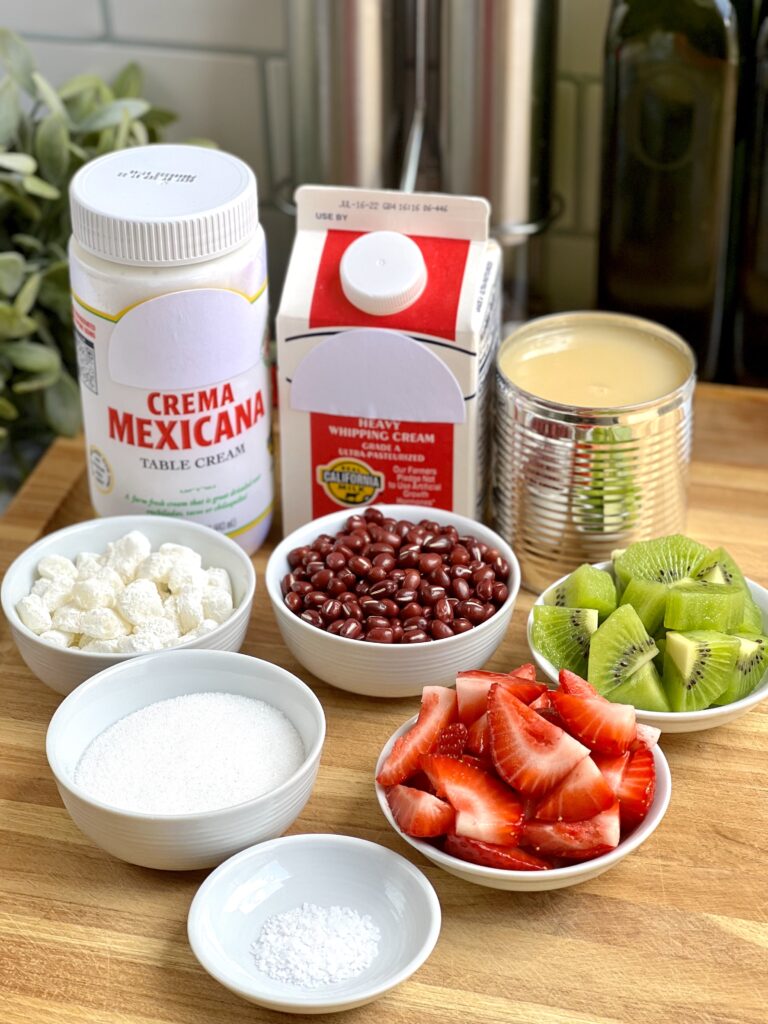
- Red bean paste- to make this even easier, you are welcome to use pre-made sweet red bean paste from a can. I use them all the time- they are good. But in the interest of keeping the paleta portion of this recipe authentic, I am making the red bean paste from scratch, using dried red beans (팥). Paletas are known for using fresh ingredients and being healthier than mass produced popsicles, which use tons of additives, preservatives, etc.
- Sugar & salt- these are for making the red beans sweet & flavorful.
- Cream base- the cream base for this paleta is the same as any other cream-based paleta: Mexican crema, heavy whipping cream, and sweetened condensed milk. Mexican crema is almost the same thing as sour cream, but it is often described as the Mexican version of French creme fraiche.
- Fruits- use whatever fruits you like and that will freeze well. Must have fruits for me are kiwi and strawberry. I think it would also be great with blueberries and bananas!
- Tteok- also known as mochi, this ingredient is an absolute MUST for me. If my patbingsoo doesn’t have tteok in it, I don’t want it. The best part-it actually stays very soft and chewy even after being frozen!
You can find bingsoo tteok in the same section where you would find sweet red beans- in the canned foods aisle at a Korean supermarket. If you can’t find them anywhere, you can purchase from Amazon here, but make this your last resort because it is a bit pricey.
Why I don’t use a stabilizer for this cream-based paleta
If you’ve made some of my other cream-based paletas, you’re probably wondering why I don’t use a stabilizer in this one. The reason is very simple- I want this paleta to have ice crystals. Let me explain why.
The purpose of a stabilizer is to prevent large ice crystals from forming, which results in a smoother, creamier texture that is usually desired in ice cream. For this recipe, however, I am trying to emulate the old-school patbingsoo that I grew up eating, which was made with coarsely shaved ice rather than the recent trend of finely shaved ice.
Those large ice crystals are part of the experience- it’s what sets OG patbingsoo apart from the newer trends. I love the crunchy pieces of ice combined with the milks, fruit, mochi, and sweet red beans. This is why I do not use a stabilizer for this recipe.
However, if you like the flavors of patbingsoo but don’t want the large ice crystals, go ahead and use a stabilizer! I always recommend cellulose gum.

Equipment needed:
To make paletas, you will need a popsicle mold, popsicle sticks, and plastic bags for storing. You will also need a blender.
I recommend a silicone popsicle mold because they are easier to remove the popsicles from. The exact one I have is no longer available on Amazon, but I found a similar one that you can purchase. It also comes with the popsicle sticks and baggies. Here its the link to purchase:
Popsicle mold, sticks, & baggies

What is a paleta?
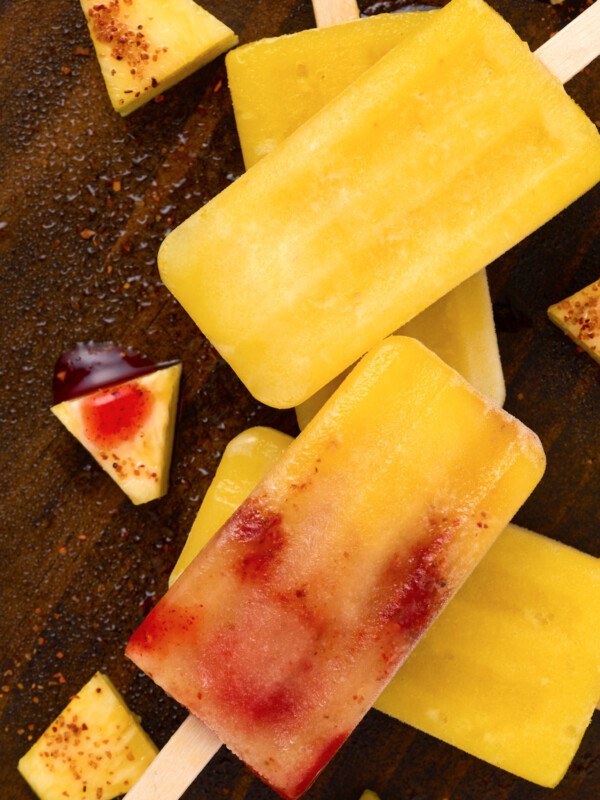
Paletas are Mexican popsicles. Though similar, paletas and popsicles do have some key differences that will prove paletas are way better, in my opinion. This is the first out of 10 recipes for my paleta series, but I’ve previously made a Strawberry Cream paleta and Mangonada paleta .
Popsicles are mass produced and have lots of additives and artificial flavoring. Paletas use natural ingredients like fruits and are made fresh, so they don’t require additives or preservatives to extend shelf life.
Paletas also have a rich history and are culturally important to Mexican street snacks. Nowadays, you will find plenty of brick and mortar paleta shops but it is still common to get your paletas on the street from paleteros (ice cream carts).
Two Types of Paletas
There are MANY paleta flavors & combinations, but there are generally 2 types of paletas made:
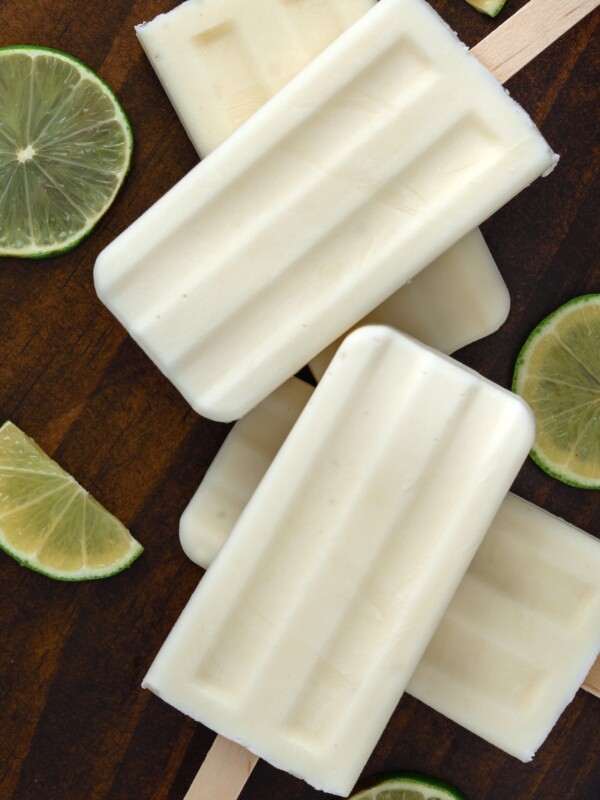
- Water based- these are typically fruit pops that have a water or juice base. These paletas are more true to the integrity of the fruits, and are also healthier (and vegan too!). A few of my favorites on the blog are lime, strawberry, and mango & chamoy!
- Cream based- these are creamy paletas with a texture that is more similar to ice cream than a popsicle. They usually have some combination of heavy cream, milk, mexican crema, and/or sweetened condensed milk. These also tend to have more flavors available because it isn’t limited to fruits- some common popular flavors are coconut, coffee, strawberry, and arroz con leche.
Try some of my other paleta recipes:
Click here to see a list of ALL of my paleta recipes!
Patbingsoo Paleta
Equipment
- silicone popsicle mold
- popsicle sticks
Ingredients
- 1/2 cup dried red beans
- 1/3 cup sugar
- 1/2 tsp salt
- 2/3 cup red bean water
- 1/2 cup heavy whipping cream
- 1/2 cup Mexican crema
- 8-10 oz sweetened condensed milk
- 2 kiwi
- 4 strawberries
- 1/3 cup bingsoo tteok (mochi)
Instructions
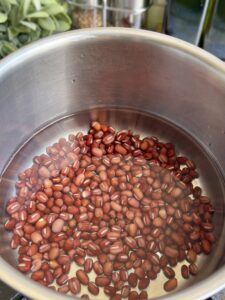
- Soak the dried red beans in water over night. Don't worry if you forgot this step- you'll just need to boil them a little longer.*If using canned red bean paste, skip the first 7 steps.
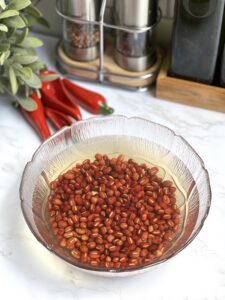
- Drain the soaking water, then cover the soaked beans in fresh water in a small sauce pan. Bring to a boil.
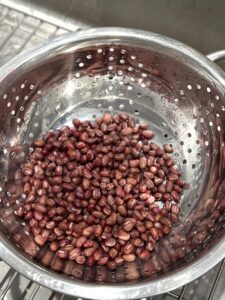
- After 10 minutes, drain the red beans
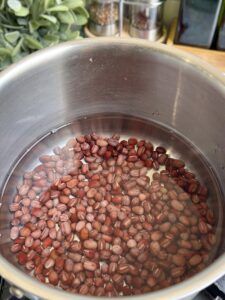
- Cover again in fresh water and bring to a boil
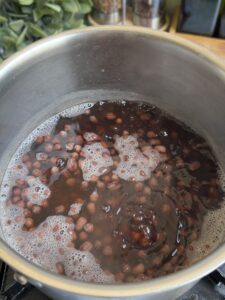
- Once boiling, reduce heat to a gentle boil for 1 hour (add 15 minutes if beans were not soaked).
- When the beans are easily squished between your fingers, they are ready. Remove from heat and drain but do not throw away the bean water.

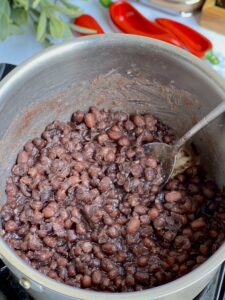
- Add the beans back into the pot over low heat and add half of the sugar. Mix until dissolved then add the rest of the sugar and salt. Mix until dissolved and set aside to cool.Optional: If you don't like the texture of beans in your paleta, you can blend this down into a finer paste.
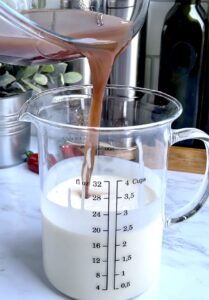
- To make the cream base, mix together heavy whipping cream, Mexican crema, and sweetened condensed milk. Use an electric hand mixer. Once well combined, add the red bean water.*If using canned red bean paste, add 1/2 cup of water in place of the red bean water.
- Add the red bean paste. *You can eyeball how much red beans you prefer for your paleta. The measurements I have provided are for my taste- I LOVE red beans so I added quite a bit. You can make adjustments if needed.
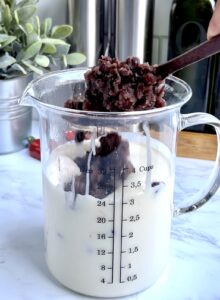
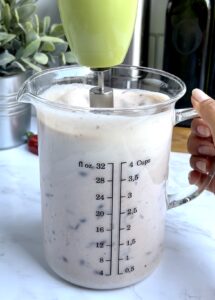
- Mix until well combined.
- In a clean popsicle mold, begin adding the red bean mixture at the bottom, about a 1/4 of the way up. Drop in the strawberry, kiwi, red beans, and mochi. Add as much or as little as you want! And feel free to use different fruits if you prefer.
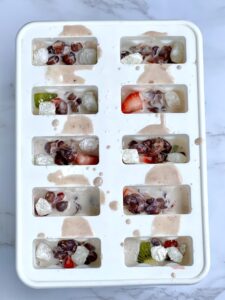
- Repeat until you reach the top, leaving a tiny it of room for it to expand.
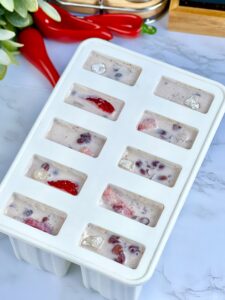
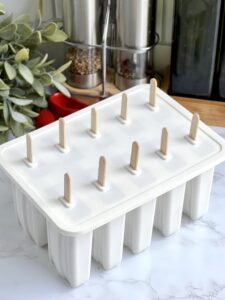
- Insert the popsicle sticks but do not push them all the way down. Insert them about 3/4 of the way down. Freeze for at least 8 hours.
- To loosen the paletas, place the mold in warm water for 20 seconds. Or, if you only want to pull out one at a time, use a popsicle sticks to push down all the sides of the paleta. This is very effective! I recommend letting the paleta thaw out for just a few minutes before eating. Store in the freezer for up to 2 weeks.
Nutrition information is automatically calculated, so should only be used as an approximation.


Made these over the summer and they were great!
I made these last year as a treat to have for my son’s dol party. They were a hit! Everyone loved them—my Mexican family loved them and my husbands Korean side loved them. This is a beautiful blend of both cultures and super delicious, as well. To this day, my cousins husband constantly asks if I’ve made any of the “fire paletas” before they come by our home. Now that it’s warming up in Phoenix again, we will definitely be making these very soon. Thank you so much for this recipe!!
Love you and the way you blend your cultures together through the love language of food!! Can’t wait to try this and other paleta recipes in the summer.
with love,
Viv