This post may contain affiliate links. I only recommend products or services that I personally use or trust, promise!

Jerky lovers, look no further! This is THE BEST beef jerky you will ever try, it is super addictive! It’s the perfect balance of sweet & spicy, and you can customize the flavor by using whatever peppers you prefer.
I’m not kidding when I say this is the best jerky recipe. I’ve sold and shipped hundreds of bags of this jerky to friends and family over the last couple of years, and I seriously considered starting my own jerky business.
Unfortunately, there are TONS of regulations on selling beef, so I gave up on the idea. But I really feel like people need to try this jerky, so I am giving away my recipe. No secret ingredients withheld. As long as you have a dehydrator and some patience, you’re about to bless your home with the most addictive jerky.
On a scale from 1-10, I would rate this at an 8 for the average person in regards to spice level. The heat is from the habanero peppers and crushed red pepper. To make it less spicy, just reduce the amount or you can use jalapeno peppers instead. I have some friends that actually request it to be even spicier, so I’ll add some cayenne pepper into the crushed red chili that goes on the jerky right before dehydrating.
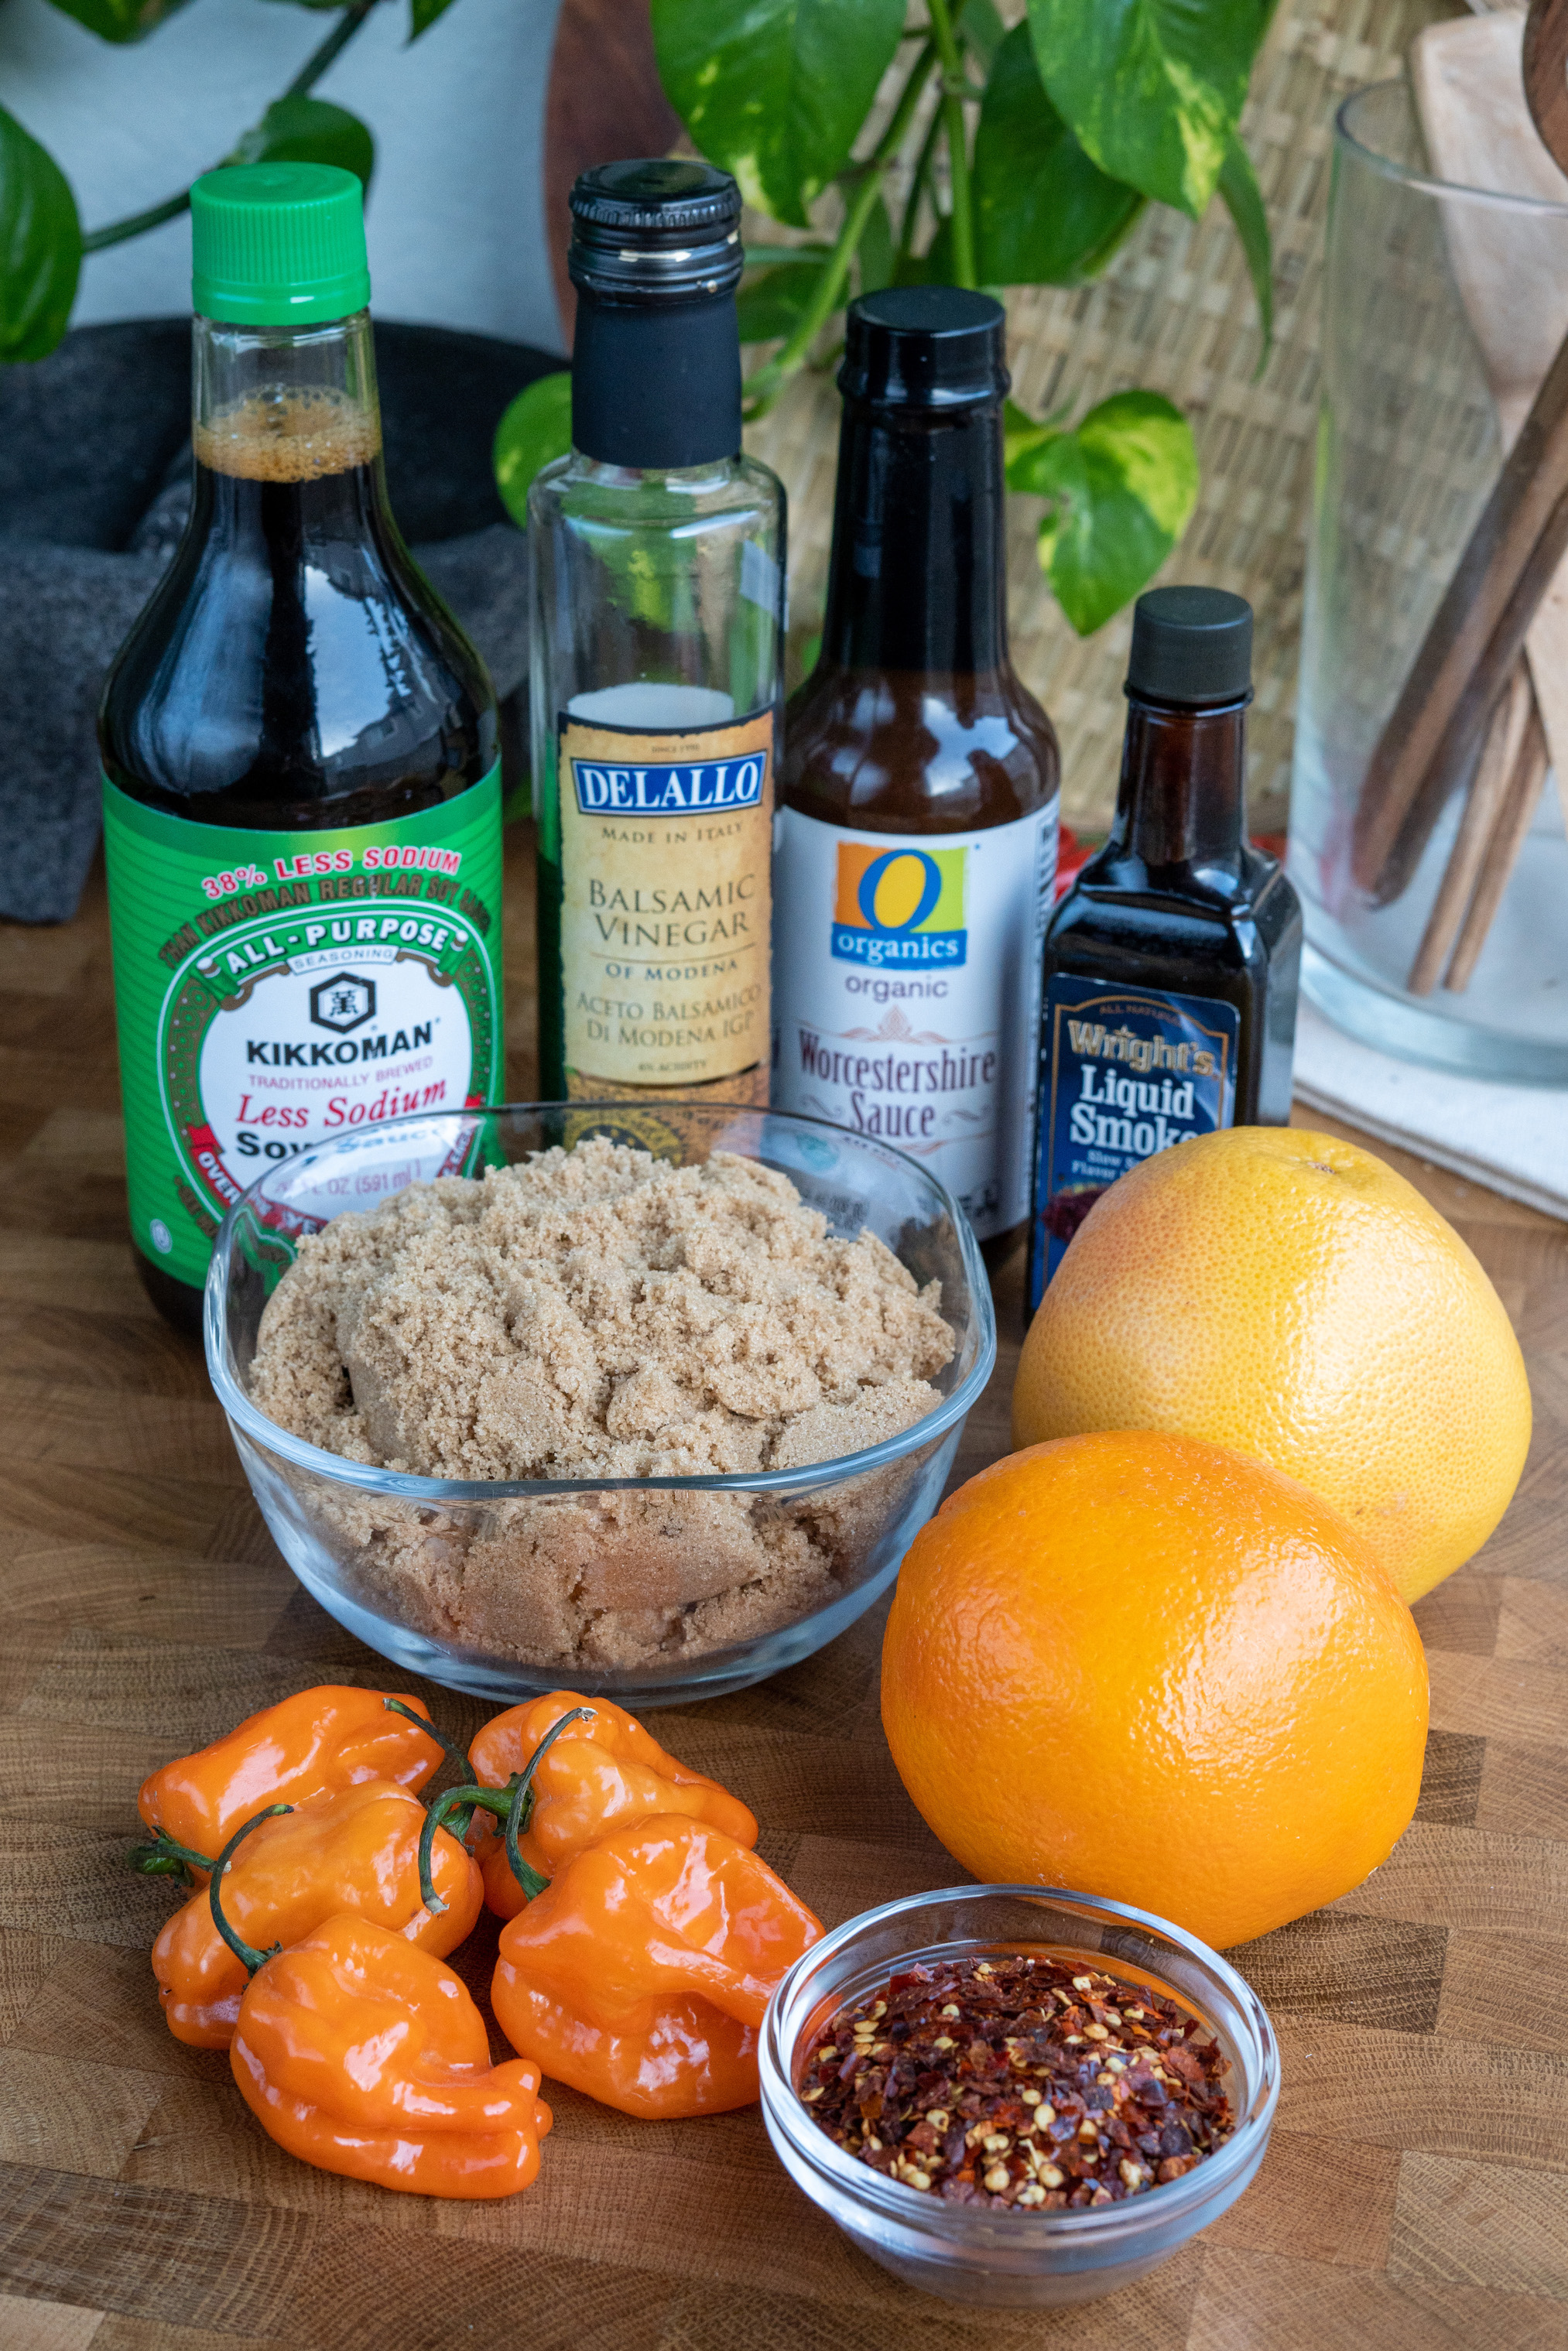
Ingredients:
- Beef– I recommend any of the rounds. Eye of round is best, but top round is what I use most because my local Mexican market sells it already sliced.
- Low sodium soy sauce– Kikkoman brand recommended.
- Light brown sugar– to balance salty & spicy elements of this marinade.
- Worcestershire sauce– extra umami.
- Balsamic vinegar– adds a bit of tang and flavor.
- Orange & grapefruit juice- added flavor & helps to tenderize the beef.
- Habanero peppers- these can be substituted with any pepper you prefer. I love the heat & flavor from habaneros, but jalapeños are excellent as well.
- Crushed red pepper- this is optional but I highly recommend adding them, especially to sprinkle over the jerky right before dehydrating. It not only tastes better, but looks a lot better too.
- Seasoning– onion powder, garlic powder, and black pepper. These will be used to season the beef strips before adding the marinade.
- Liquid smoke– to add a bit of hickory smoked flavor.
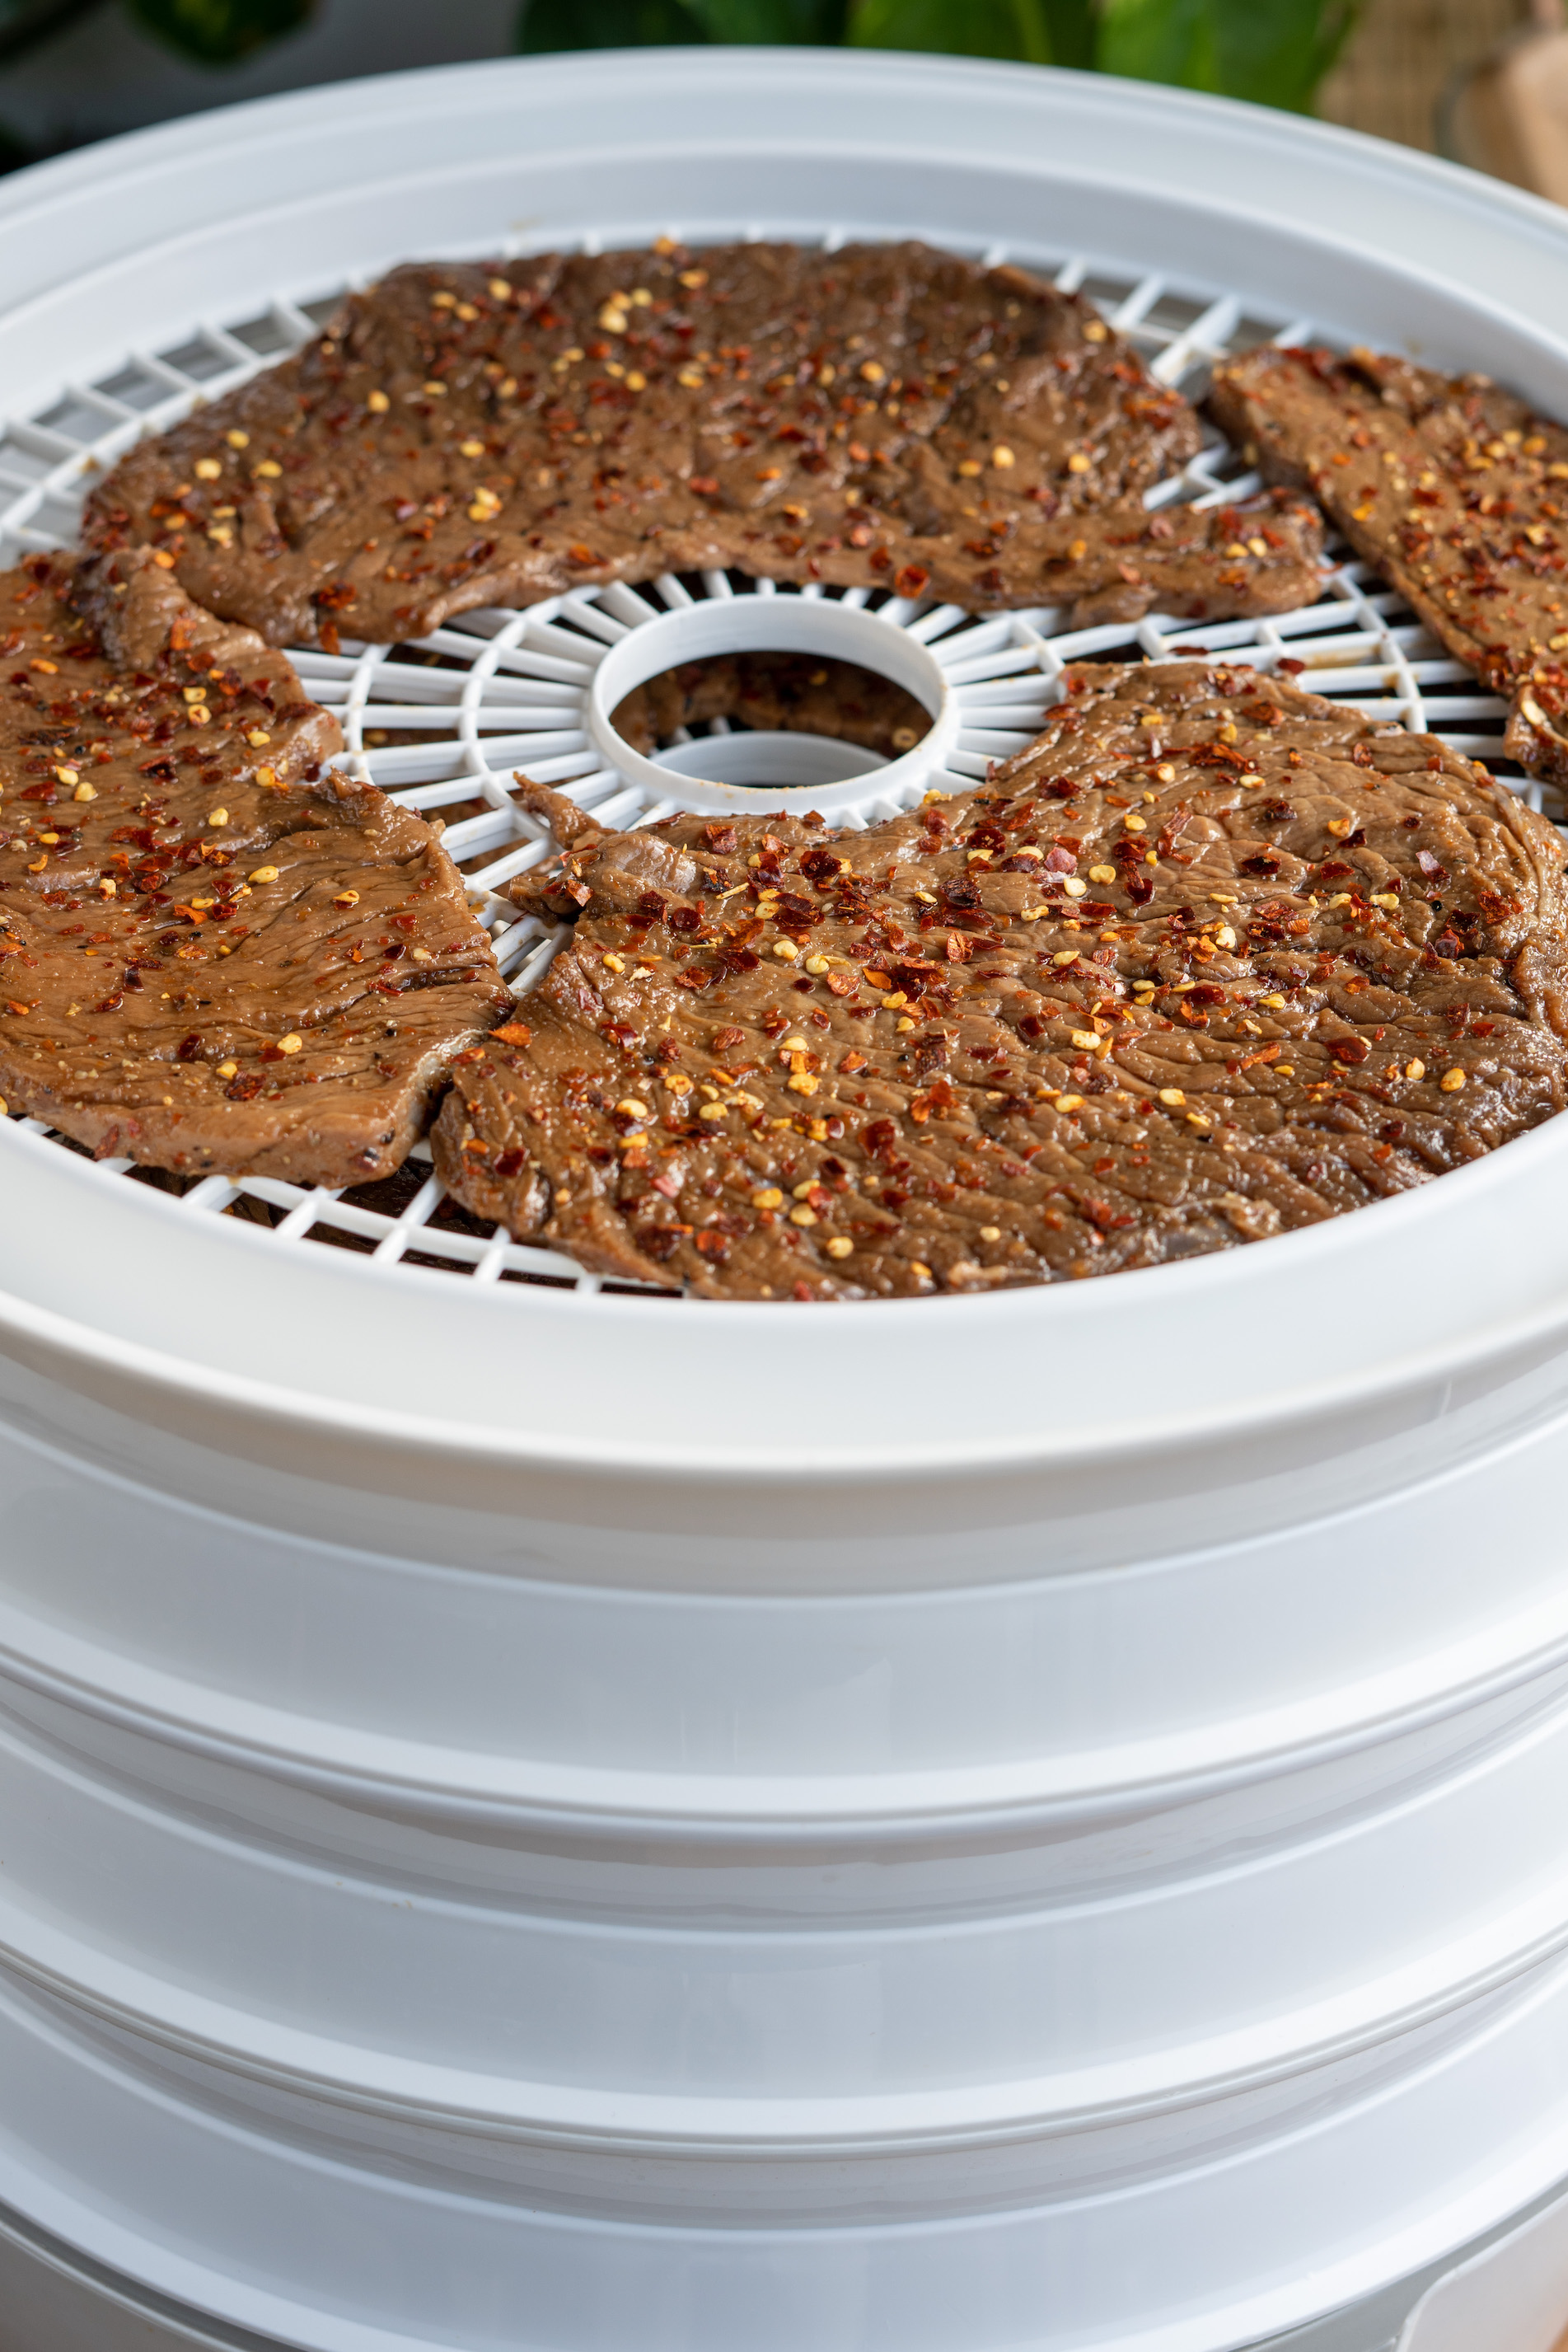
What is the best cut of meat for beef jerky?
As with most things, this answer depends on preference. I have tried making jerky with at least 5 different cuts of beef, and my favorite has been eye of round, but I use top round the most.
Leaner meat is always better for making jerky. This is because too much marbling (fat) will cause the jerky to spoil faster. But if you’re planning to finish your jerky within a few days, a little more marbling is ok with this recipe!
Fat tends to stay tough during the dehydration process, and that’s another reason for avoiding it. However, citric juices can help to break down the fat enzymes and make them more tender and palatable. My marinade has orange and grapefruit juice, and I have tried it on a cut that had more fat in it than usual. It still turned out so good! Just remember that it still doesn’t rectify the issue of freshness. You must finish the jerky within a few days or it will spoil.
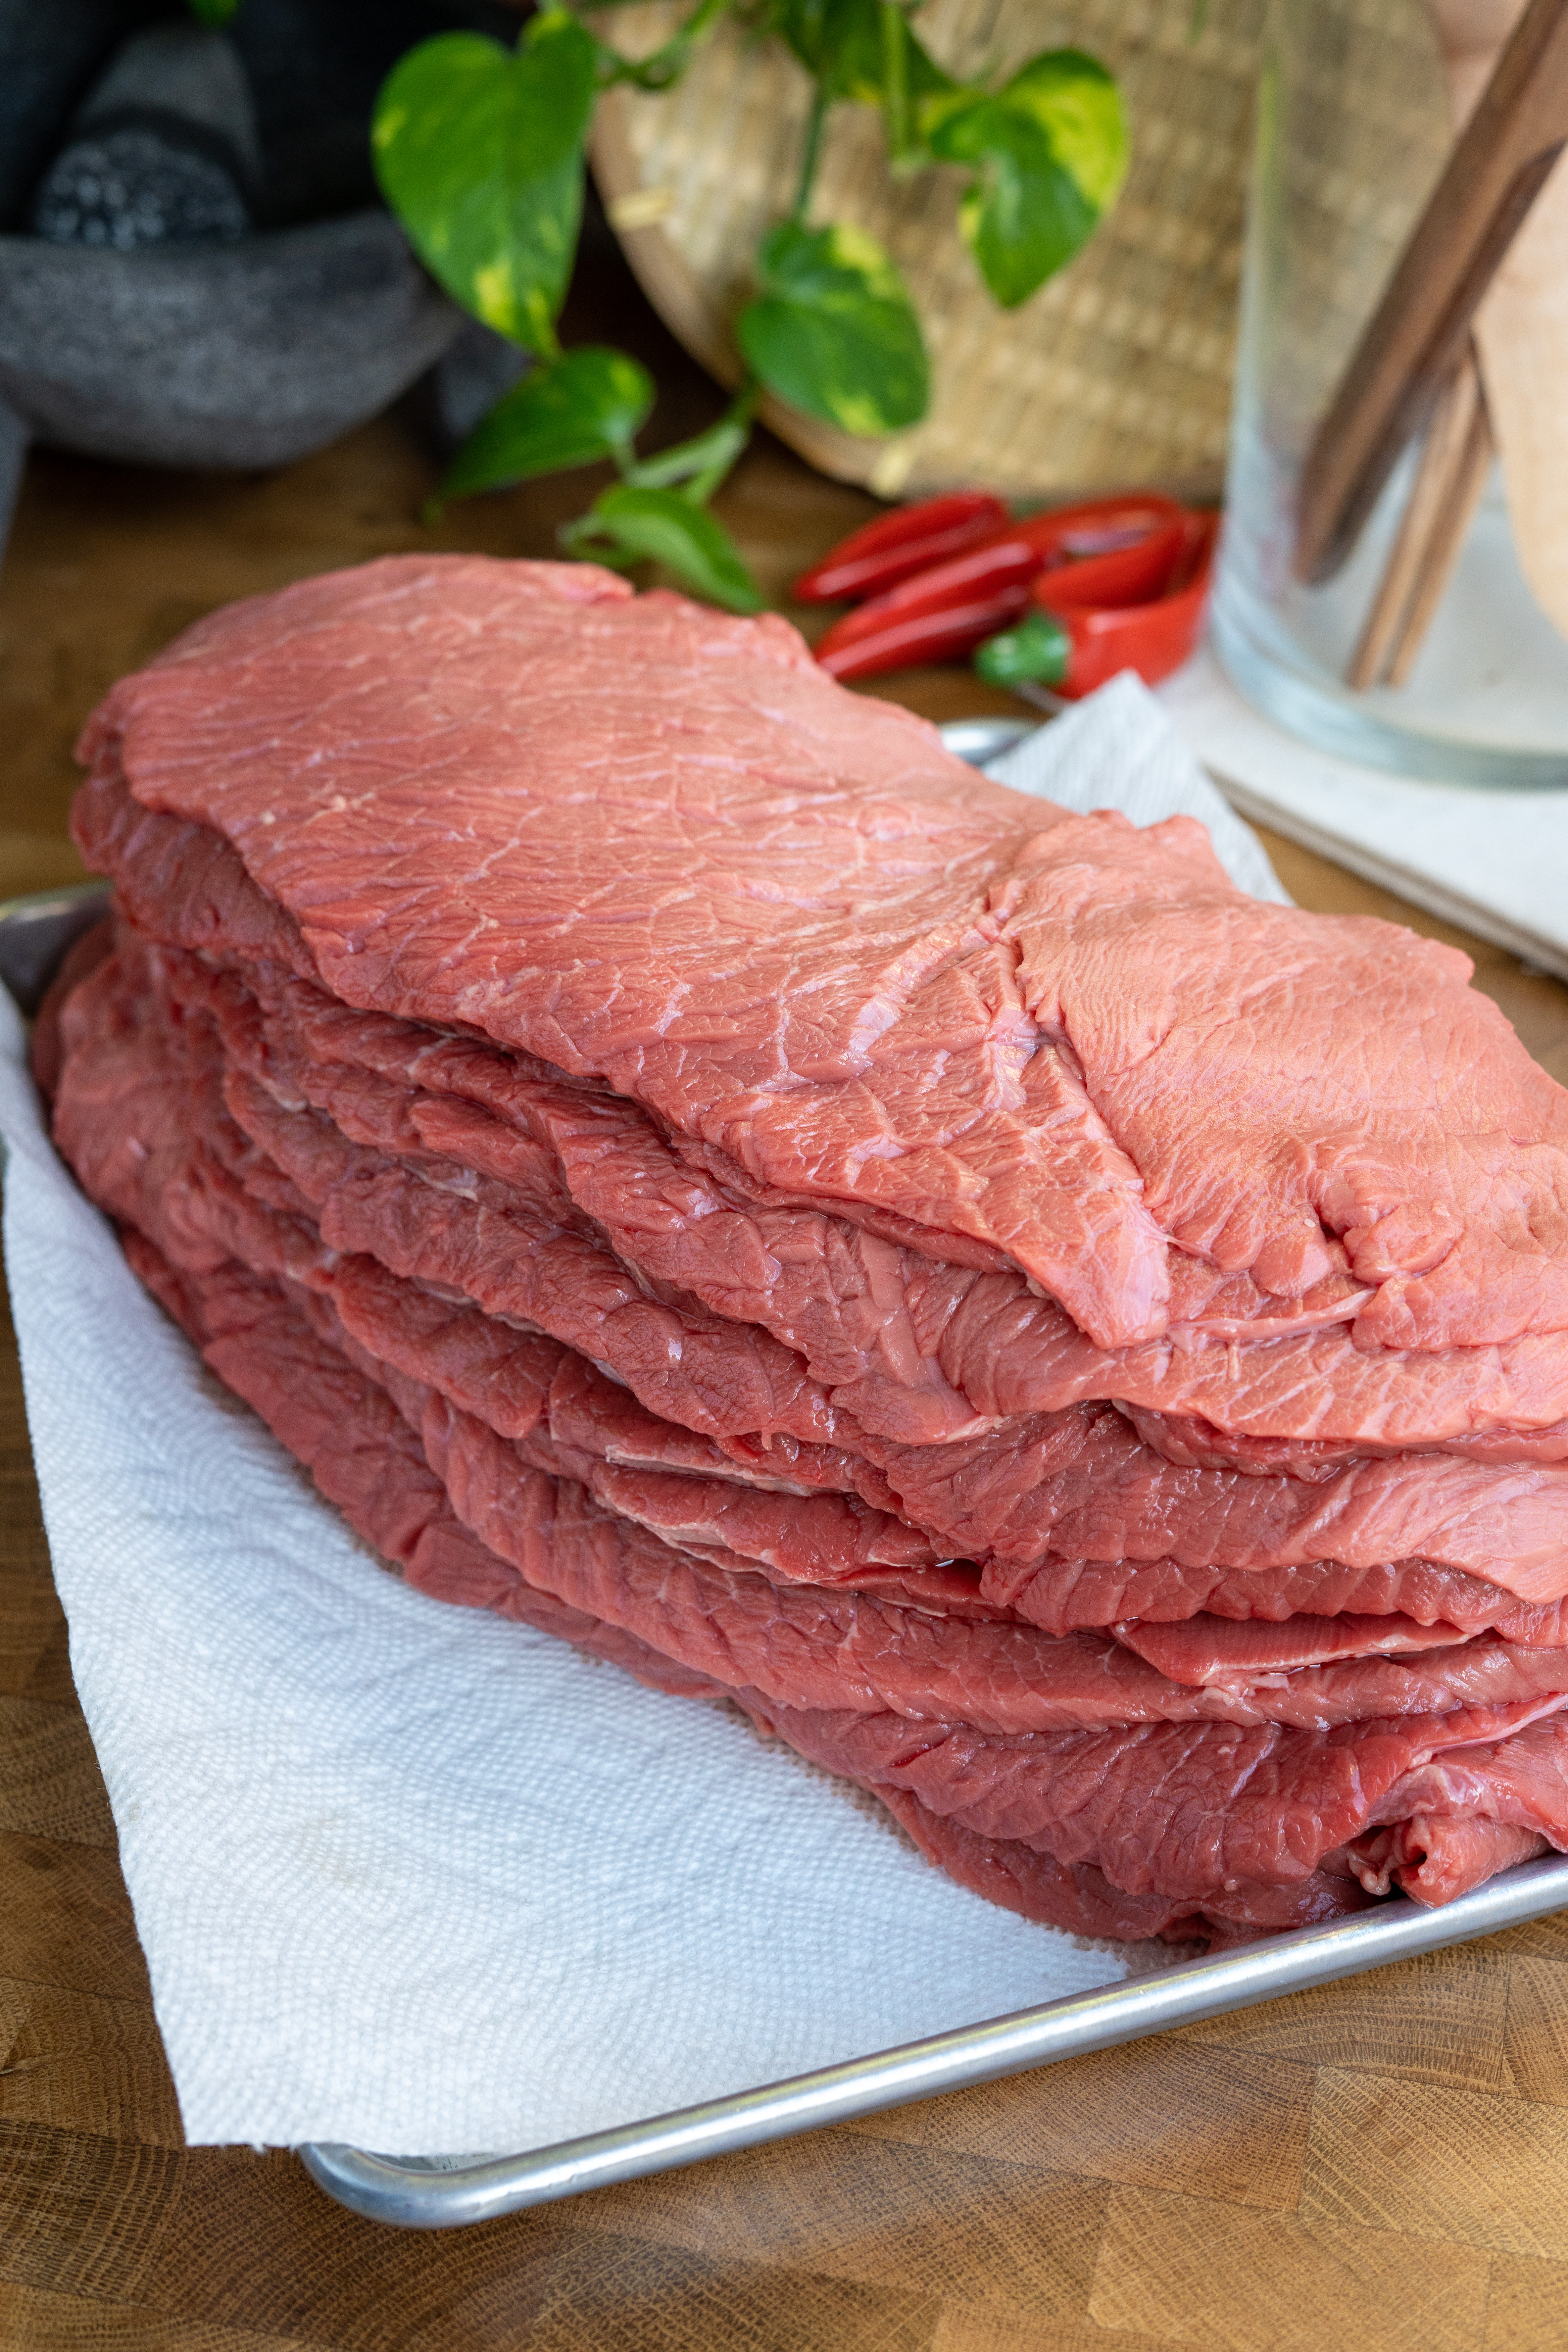
Best cuts to try:
- Eye of round– most tender and my favorite cut. It is inexpensive, has very little to no fat, and is easy to cut/consume with or against the grain. The only issue with this one is that I can’t always find it.
- Bottom round– the least tender of the rounds. Tends to have more marbling in it than the other rounds, but it is still a good cut of meat for jerky.
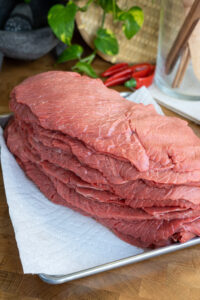
- Top round– very similar to bottom round but has less marbling (which is good). I tend to use this the most because Northgate already has huge pieces of thinly sliced top round ready to buy, and it is good quality (pictured above).
- Sirloin tip– extremely lean but not as tender as eye of round, and it can be pricey.
- Flank steak– very lean and flavorful, but it can be tough if sliced with the grain. Also a bit pricey.
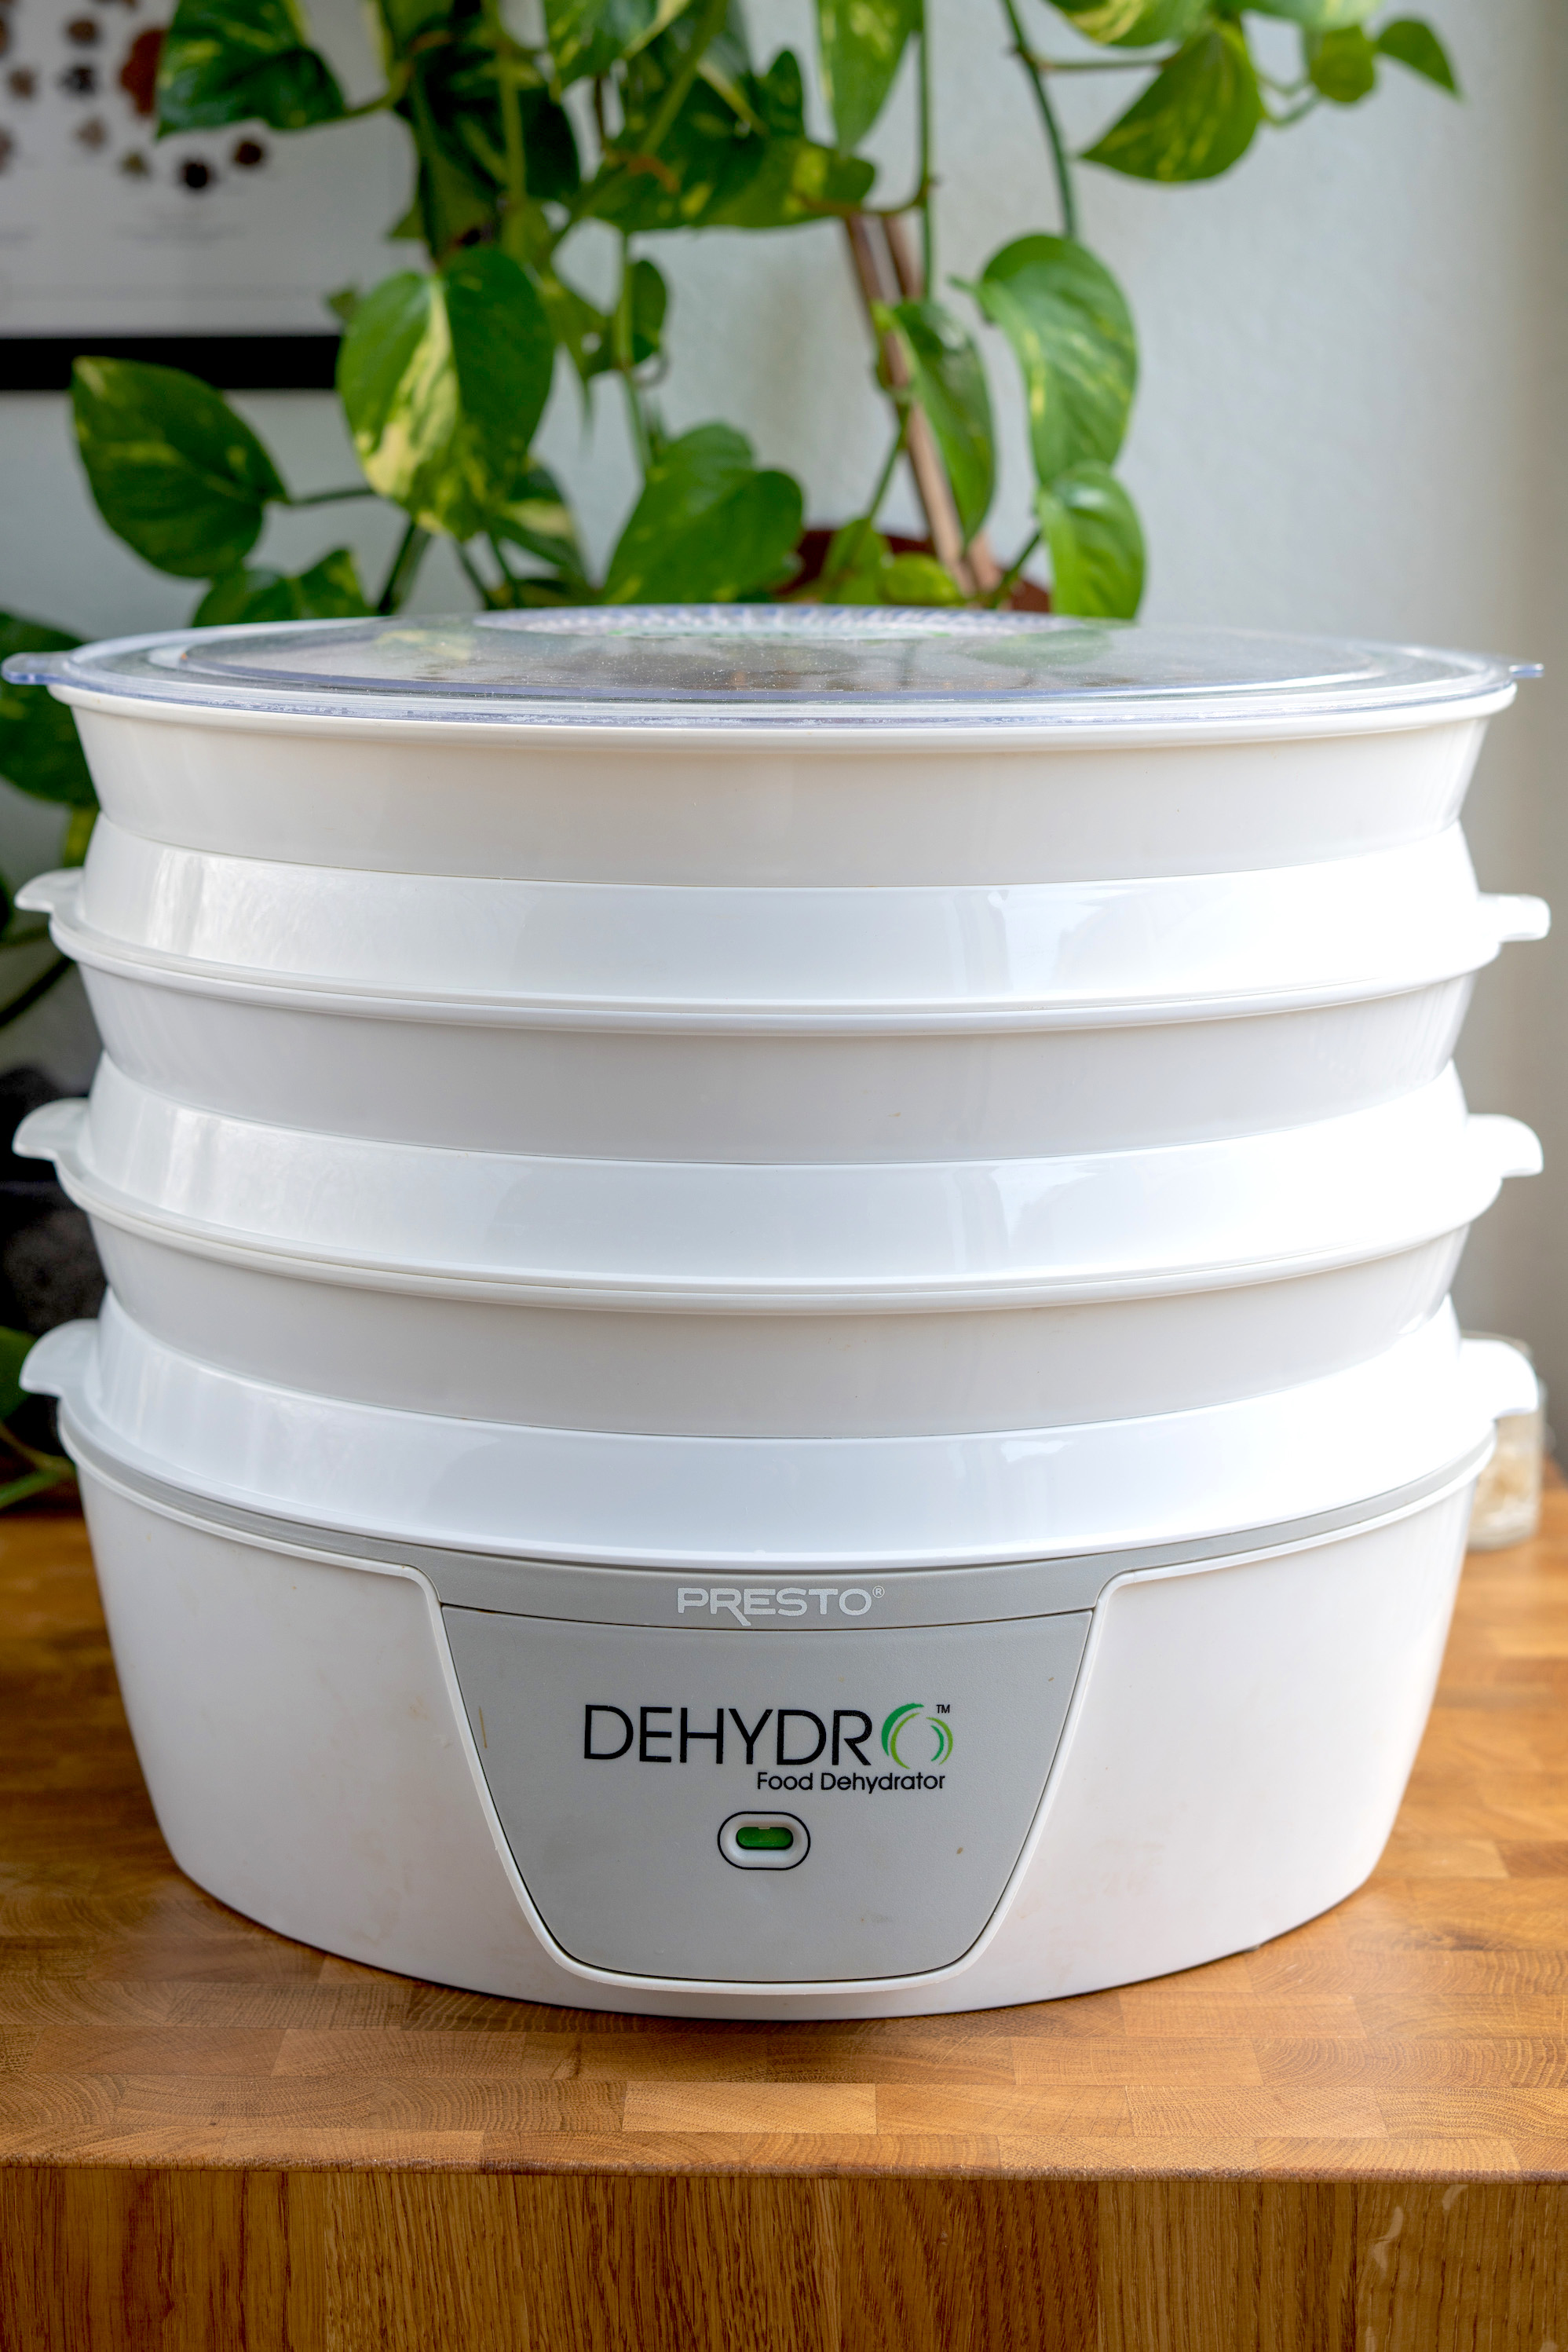
Equipment needed:
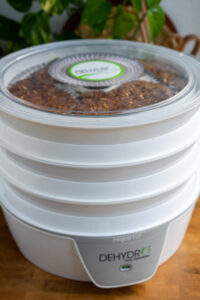
Dehydrator– I use my Elechomes dehydrator when I am making more than 10 lbs at a time. It is on the pricier side of dehydrators, but it can fit A LOT of product and is completely adjustable. With this one, it usually takes about 8 hours to make this jerky.
If I am making 10 lbs or less, I like to use my Presto dehydrator. I recommend this one over the Elechomes dehydrator. It works a lot faster (only 4 1/2 hours) but it cannot hold a lot of product and it is not temperature adjustable. You can buy extra trays to fit more product, which I highly recommend. It is also less than 1/3 the price of the Elechomes dehydrator.
- If you don’t have a dehydrator- You can use your oven if the temperature settings go as low at 160 degrees Fahrenheit. Place the jerky on a wire rack on a baking sheet and use a wooden spoon to keep the oven door slightly ajar for air circulation. I personally have not tried doing this, but a few of my followers have commented that this method worked for them.
Meat slicer- You don’t need a meat slicer to make jerky, but this is one of my favorite kitchen tools! It looks pretty impressive to have one of these, and if you’re a family that loves to make shabu or Korean bbq at home, it can save you money on sliced meats. The one I use is the OSTBA meat slicer. It is compact, easy to use/take apart/clean, and very affordable.
- If you don’t have a meat slicer- you can ask your butcher to slice the meat for you (I recommend 1/4 inch thick, but this is totally up to your preference). Or you can partially freeze the meat for an hour so that it is easier to slice by hand.
- Northgate usually has huge, thin slices of top round that are perfect for making jerky. When I’m feeling lazy, (or more often when I can’t find eye of round), this is what I usually get. The only downside to this is that sometimes they are not an even thickness, and some pieces can be a bit too thick for my liking.

How to tell if your jerky is ready
When the jerky is ready, it should stay straight up when you hold it horizontally (parallel to the floor). If it is still slightly flopping over (assuming it isn’t an extremely long piece), it probably needs more time.
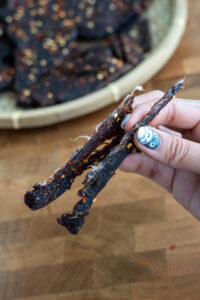
Another good way to tell if you jerky is ready is to rip it with the grain- if you see this white stringy stuff in the center, it is ready. I remember researching this and that there was a name for that white stringy stuff but I forgot what its called and can’t find it anymore.
Pro Tip
Be sure to rotate your trays! The trays at the bottom closest to the heat source will dehydrate faster, so you’ll need to rotate trays once or twice.
Some of your beef slices may be thicker than others- try to group slices of the same thickness on each tray and then stack them from the thickest cuts on the bottom to the thinnest on top. This way you may not even need to rotate the trays.
How to store it:
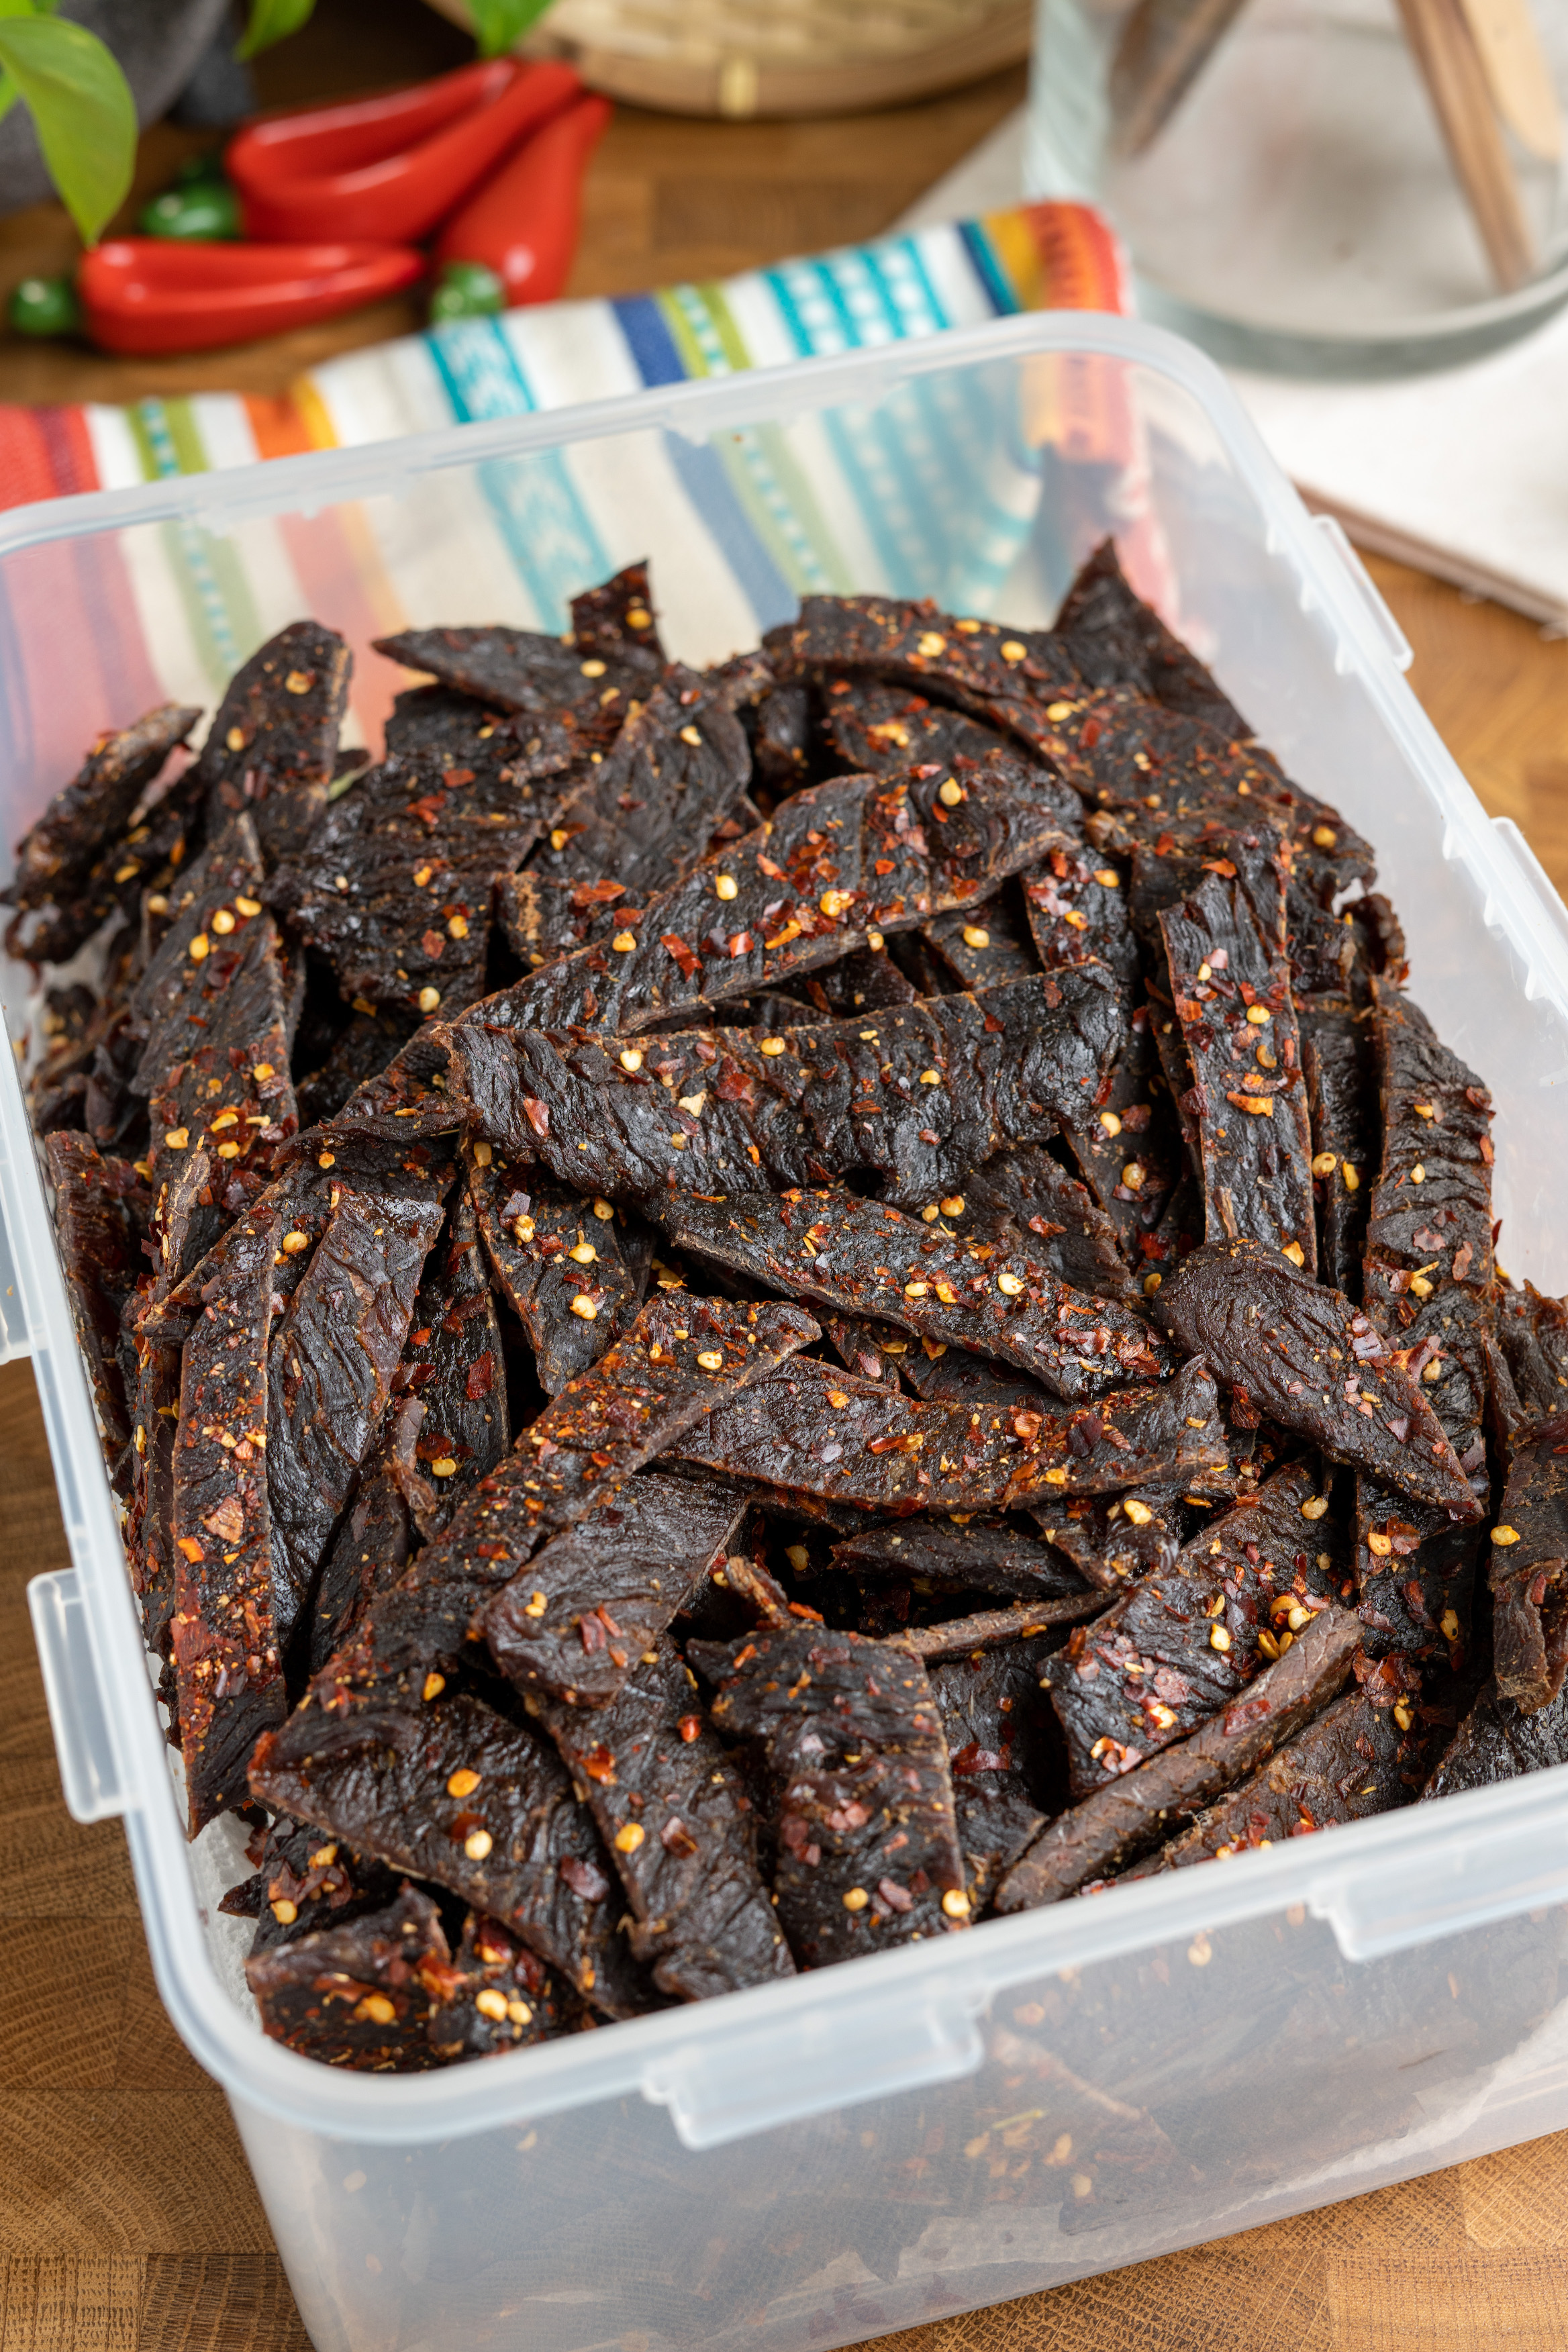
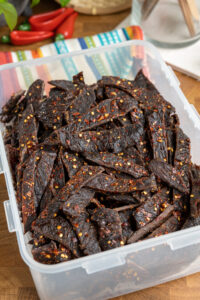
- When the jerky is done dehydrating, let it cool completely before loosely storing in an air tight container. Keep it stored this way for at least a day to cure. You can eat it right off the dehydrator but it will taste better after a day or two.
- You can keep them stored in an air tight container for at least 2 weeks in the pantry, 1 month in the refrigerator, and 3 months in the freezer. These are very conservative numbers, so the jerky will likely last longer if stored properly.
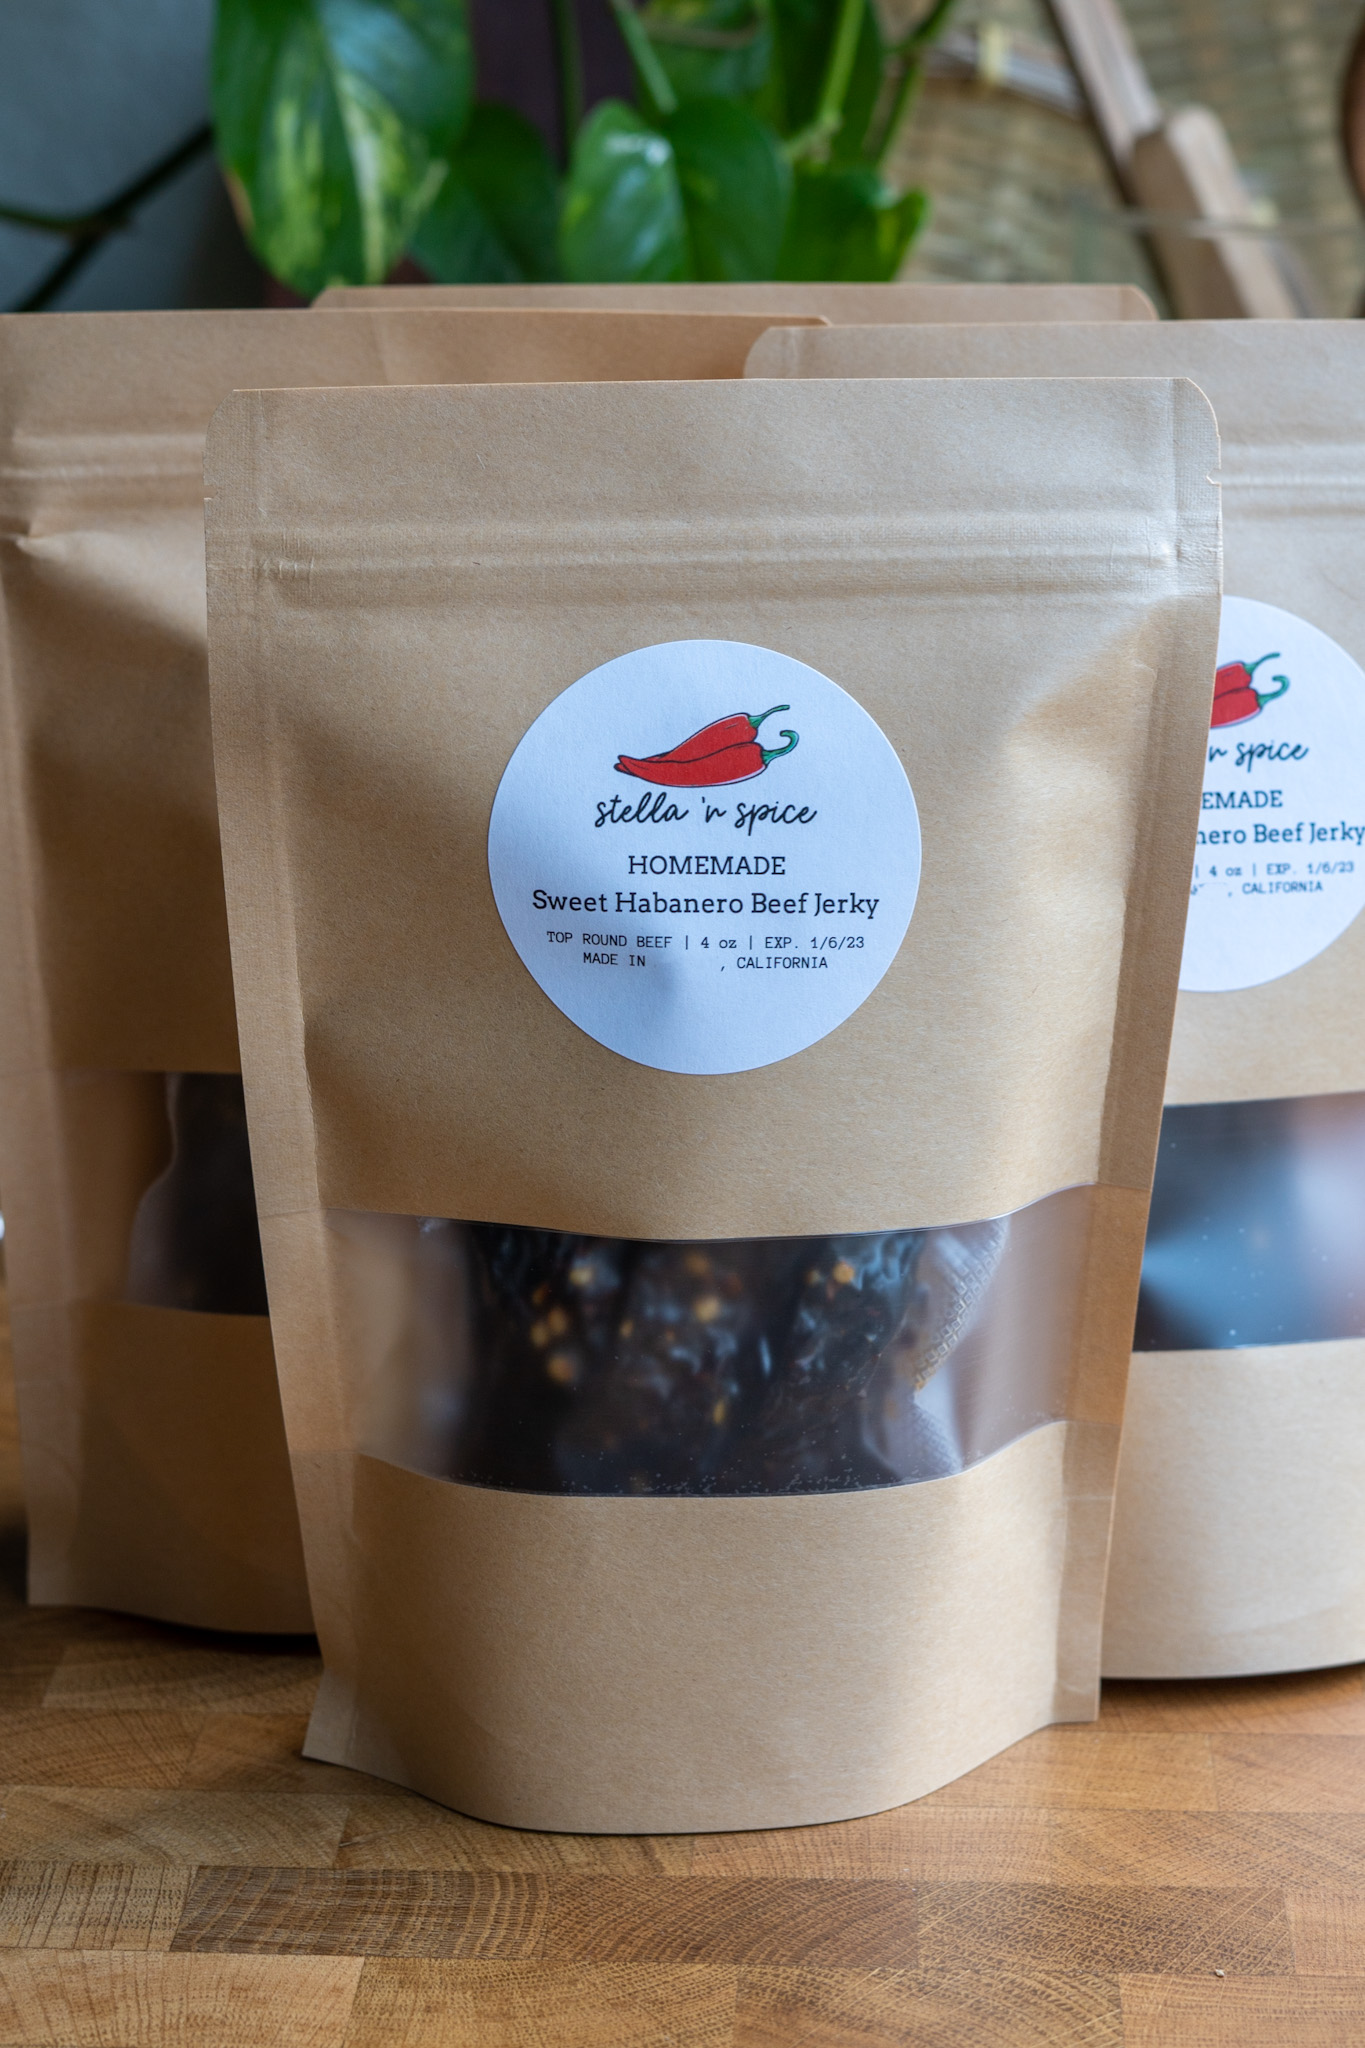
- You can store the jerky with oxygen absorbers to make them last even longer and stay more fresh/tender. When I package jerky to give to friends and family that live near me, I usually store them in Mylar bags with an oxygen absorber.
- The best way to keep the jerky fresh for as long as possible is to store them in vacuum sealed bag using a vacuum sealer. This is the one I have. However, I normally only use this method to ship jerky to friends and family. I don’t see a need to do this for storing my own jerky because it never lasts that long anyway. We usually finish it within 1-2 weeks.
Recommended
The BEST Sweet & Spicy Beef Jerky
Ingredients
- 10 lbs eye of round or top round beef, trim off fat
- 2 tbsp crushed red pepper
Seasoning
- 2 tbsp onion powder
- 2 tbsp garlic powder
- 4 tsp black pepper
Marinade
- 5 habanero peppers, or jalapenos for milder version
- 2 cups low sodium soy sauce
- 2 cups brown sugar
- 1/2 cup Worcestershire sauce
- 2/3 cup balsamic vinegar
- 1/2 cup fresh orange juice
- 1/2 cup fresh grapefruit juice
- 1 tbsp liquid smoke
- 2 tbsp crushed red pepper
Instructions
- If your beef isn't pre sliced, partially freeze it for about 1 hour. Slice it against the grain about 1/4 inch thick, or you can ask your butcher to slice it for you when you purchase it. Trim off as much fat as you can.*If you live near a Northgate, they have top round beef slices ready to purchase at the meat department.
- Combine the garlic powder, onion powder, and black pepper. If you have an empty seasoning jar with holes to shake out the seasoning, I highly recommend using this as it will be much easier to evenly season the beef slices.
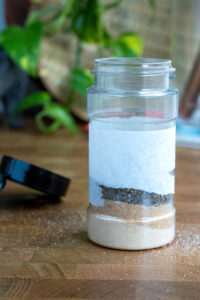
- Season both sides of the beef slices with the seasoning mix. Refrigerate for at least 4 hours and up to 8 hours.

- Mix all the marinade ingredients except the habaneros and crushed red pepper.

- Blend the habaneros and 2 tbsp crushed red pepper with 1/4 cup of the marinade until smooth
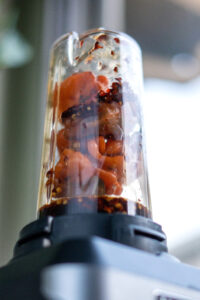
- Add it back into the marinade
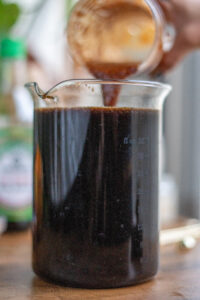
- Pour over the seasoned beef and thoroughly massage the marinade into it.
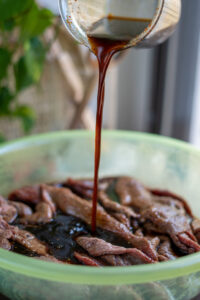
- Marinate in the fridge for 24 hours.

- Line up your beef on the dehydrator and sprinkle the rest of the crushed red pepper on top (2 tbsp).Tip: The trays at the bottom closest to the heat source will dehydrate faster, so you'll need to rotate trays once or twice. Some of your beef slices may be thicker than others- try to group slices of the same thickness on each tray and then stack them from the thickest cuts on the bottom to the thinnest on top. This way you may not even need to rotate the trays.
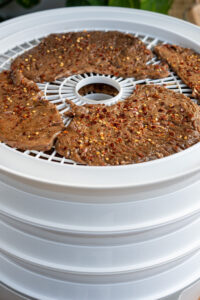
- Set the temp to 160 degrees Fahrenheit. The time will depend on your dehydrator. I have several, and they all take a different amount of time despite being set to the same temperature. It will typically take anywhere between 4-8 hours. You will have to keep an eye on it during this time. With my presto dehydrator, it takes anywhere between 4-5 hours.
- The jerky is done once you can hold it horizontally and it stays perfectly straight. Another way to tell it is done is by ripping it with the grain- you will see some white stringy stuff in the center.
- Let it cool down completely before storing in an airtight container for one day before eating. You do not have to wait if you don't want to, but after a day the jerky will develop a nice glaze and incredible flavor. Cut into small strips against the grain for easy & mess free snacking.
Nutrition information is automatically calculated, so should only be used as an approximation.


Made it, love it. All of my coworkers asking for the recipe. Thanks for sharing!!
Recipe is delicious! We make biweekly. Also, used your recommendation for dehydrator , also works fantastic
I would love to see a video of you making this recipe. It’s easier for me to watch & see than to read.
There are a few videos on my instagram account @stellanspice. Working on getting a video on YouTube so I can integrate it into this recipe post!c
By any chance do you sell your Beef jerky?
Hi, sorry I do not. Lots of regulations around selling beef so I shared my recipe instead 🙂
One of the first recipes I made after getting a dehydrator. 10/10!! Will be making it again one of my families favorites!
Hi Stella, I was thinking of adding some GoChuJang to this recipe, thoughts? The flavors in that sauce are the best for a kind of tangy addition but do you think it would be too much?
Hi Drew, I think it’s worth a try! I would reduce the soy sauce to 1.5 cups and add 1/2 cup of gochujang, and add gochugaru instead of red chili flakes. I’m gonna have to try this out myself- it will be a different flavor but it sounds like it would be good!
Great recipe. perfect jerky!
Such a great recipe! It turned out amazing!
Thanks!!
I have made several variations of this jerky and it’s a hit every single time. The tip for where to find the perfect sliced beef was solid, easier than slicing my own or using hot pot sliced meats. The finished glaze on the jerky is sweet, spicy, salty, and utterly divine! Thank you for sharing!
I love this recipe!! My family don’t buy beef jerky since some of the ingredients in them so this was wonderful. Great recipe and taste amazing!