This post may contain affiliate links. I only recommend products or services that I personally use or trust, promise!

Yu choy kimchi is not a very common type of kimchi, but everything about its preparation is traditional and delicious.
Did you know there are hundreds of different kinds of kimchi? You can pretty much make kimchi out of any vegetable that is worth fermenting. The seasoning sauce and preparation will vary depending on the vegetable, but they will all have similar flavors. My favorite types of kimchi are the ones with crunchy green stems and leafy ends, like this one.
A few years ago in Korea, my mom and I ordered some gat kimchi (갓김치) online from a very famous kimchi store in Jeollado. It was MIND BLOWING how good it tasted! So unique, so earthy, and so layered in delicious flavors. The Jeolla Province is known for making the BEST gat kimchi in Korea due to its warm weather and abundance of rainfall. This causes the land to be extremely rich in agricultural nutrients that cannot be replicated anywhere else in the peninsula. I remember asking my halmoni how to make it and she laughed, saying “Even the best kimchi maker cannot replicate this taste. It is in the soil.” Well damn.
My mom loved that kimchi so much that she tried many times to recreate it. I can’t say that this is exactly like the gat kimchi we had from Jeollado, but it is close enough to satisfy and it is damn delicious!
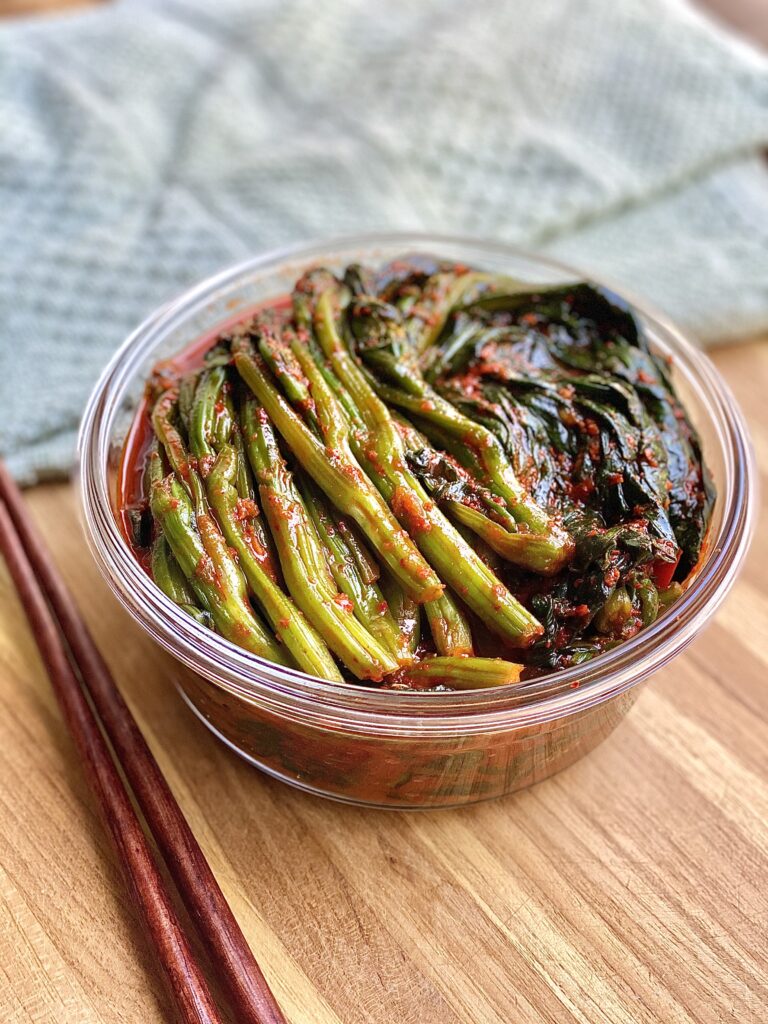
Ingredients
- Yu choy- try to find the freshest yu choy possible. If you can’t find yu choy, try using mustard greens instead. My mom’s original intention was to make gat kimchi (갓김치) anyway, and it is made with mustard greens. Unfortunately we were not able to find them.
- Rice porridge- this is a common and standard ingredient in kimchi. It is made to bind the sauce to the vegetables.
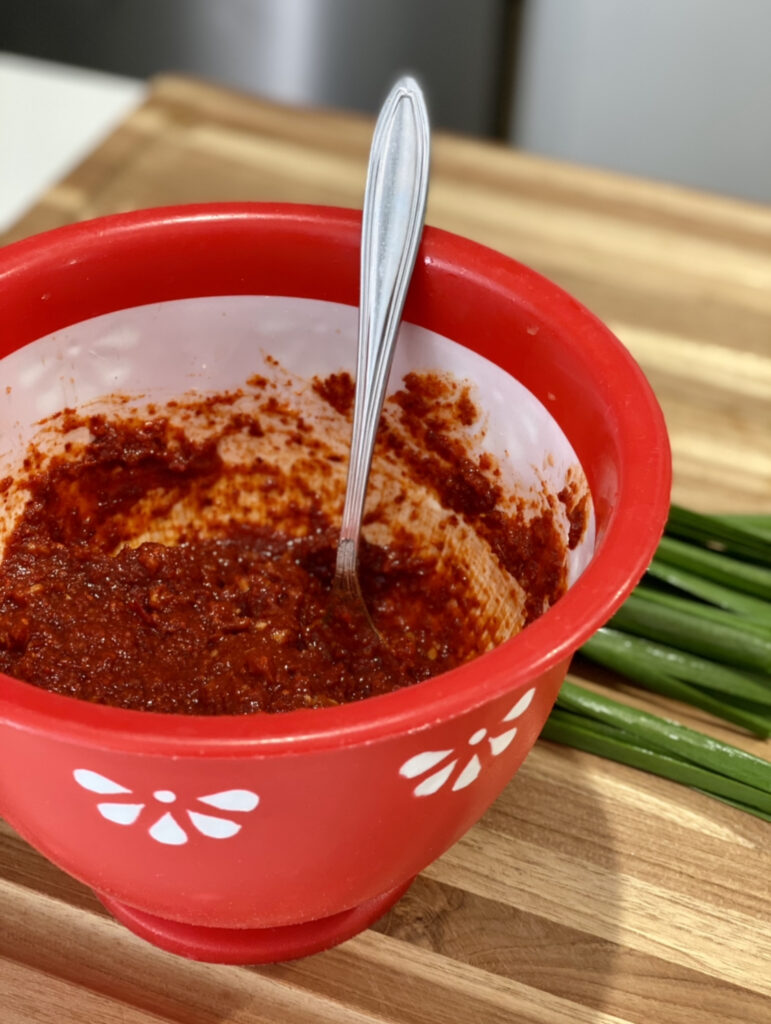
- Seasoning sauce- garlic, ginger, red chili pepper, gochugaru, fish sauce, sugar, msg, and the rice porridge. You can leave out the red chili pepper if you don’t want it too spicy, but in my opinion kimchi is not really spicy. You can also leave out the msg if you don’t like to use it- I recommend using mat sogeum instead (맛소금), which is a seasoned salt blend with a tiny bit of msg in it. If you really don’t want ANY msg, kosher salt will do.
- Green onions and Asian chives– these are not super important ingredients and can be left out, but I highly recommend adding them.
Storage and shelf life
Keep this on your kitchen counter for at least 1 day to ferment. If you like it really sour, try 2 days. You can tell how fermented it is by smelling it.
After fermenting at room temperature, keep it in the refrigerator for up to 4 months. For me, the kimchi starts to taste really great after 2 to 3 weeks. It stays tasting amazing for the following 2 to 3 months, and after the 4 month mark it starts to get really sour. It may last even longer than that- it just depends on your preference of fermentation.
This kimchi is a great side dish to anything you would normally have with kimchi, but PLEASE try it with a bowl of rice mixed with hot water. This is what we call a “poor man’s meal” in Korea, but it is SO SO good! Even better if you have some boricha (barley tea) instead of water.
Yu Choy Kimchi
Ingredients
- 2 lbs yu choy, or mustard greens
- 1/2 cup Korean sea salt, or Kosher salt
- 3 green onion stalks
- 1/2 bunch Asian chives
For the rice porridge (sauce binder)
- 1 cup water
- 2 tbsp glutinous rice flour
Seasoning Sauce
- 2/3 cup gochugaru
- 2 tsp fresh ginger
- 10 garlic cloves
- 1 red chili pepper, optional
- 1/3 cup fish sauce
- 2 tbsp sugar
- 1/2 tsp msg
Instructions
- Cut the ends off the yu choy (about 2 inches from the bottom) and discard any wilted or brown pieces. Cover the yu choy in Korean sea salt (or kosher salt) then sprinkle over about 1/2 cup water to make the salt stick. Toss to coat evenly.
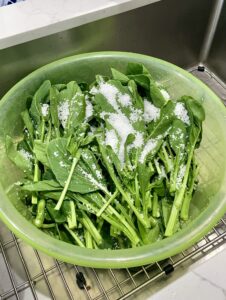
- When the yu choy shrinks down after about 30 minutes, flip it over. Repeat this step 2 more times.
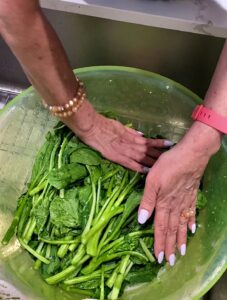
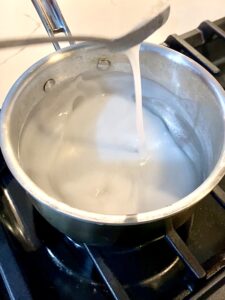
- Prepare the rice porridge: this is going to be our binder for the seasoning sauce. Mix 1 cup of room temperature water with 2 tbsp of glutinous rice flour in a sauce pan until there are no clumps. Turn on the stove to medium low heat and stir until it has thickened. Once thickened, remove from heat and let it cool down completely.
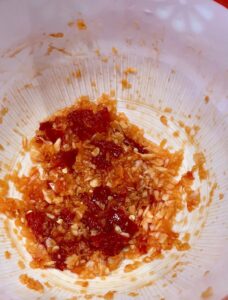
- In a mortar and pestle, crush the ginger, garlic, and red chili pepper.
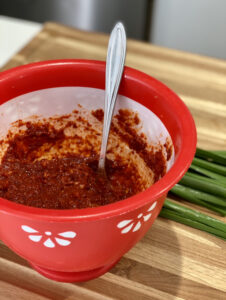
- Add the gochugaru, fish sauce, sugar, msg, and rice porridge. Mix well.
- When the yu choy is ready, it will shrink by half its original size and be flexible but still crunchy. Wash the yu choy with cold water and place them into a colander. Wash the green onions and asian chives too.
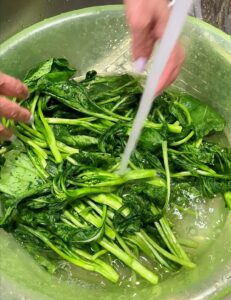
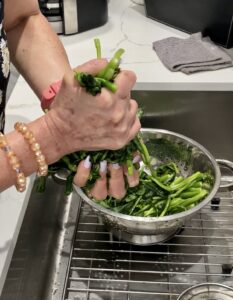
- Squeeze out as much water as you can from the yu choy. A little moisture is fine, but too much will cause the yu choy to get mushy instead of staying crunchy.
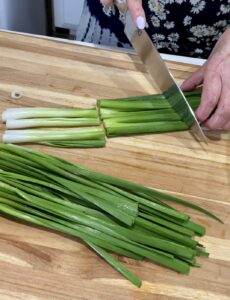
- Slice the green onions one time lengthwise through the white parts to separate them. Cut both the green onions and Asian chives into 4 inch pieces (cut them into thirds).
- Add the seasoning sauce to the yu choy, green onion, and chives.
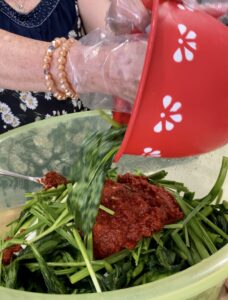
- Mix thoroughly by pulling the yu choy upwards to evenly distribute the sauce throughout. This may take a few minutes, work slowly and try not to make a mess.
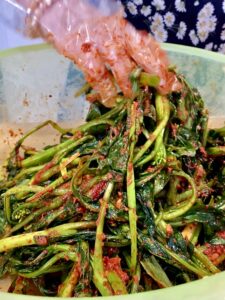
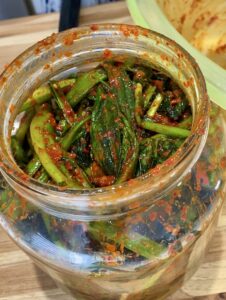
- Store in a jar and push down so that there are no air pockets. Keep it at room temperature for at least 1 day (depends on how sour you like yours), then keep it in the refrigerator for up to 4 months. I think it starts to taste best after 2-3 weeks of fermenting in the fridge, but my mom also likes to eat it right away with some rice.
Nutrition information is automatically calculated, so should only be used as an approximation.


I use this recipe every time I need to make more kimchi! It’s easy, refreshing, and so good!
is the gochugaru a paste or powder, I want to buy the ingredients to make this!
Gochugaru is pepper flakes and gochujang is the paste 🙂