This post may contain affiliate links. I only recommend products or services that I personally use or trust, promise!
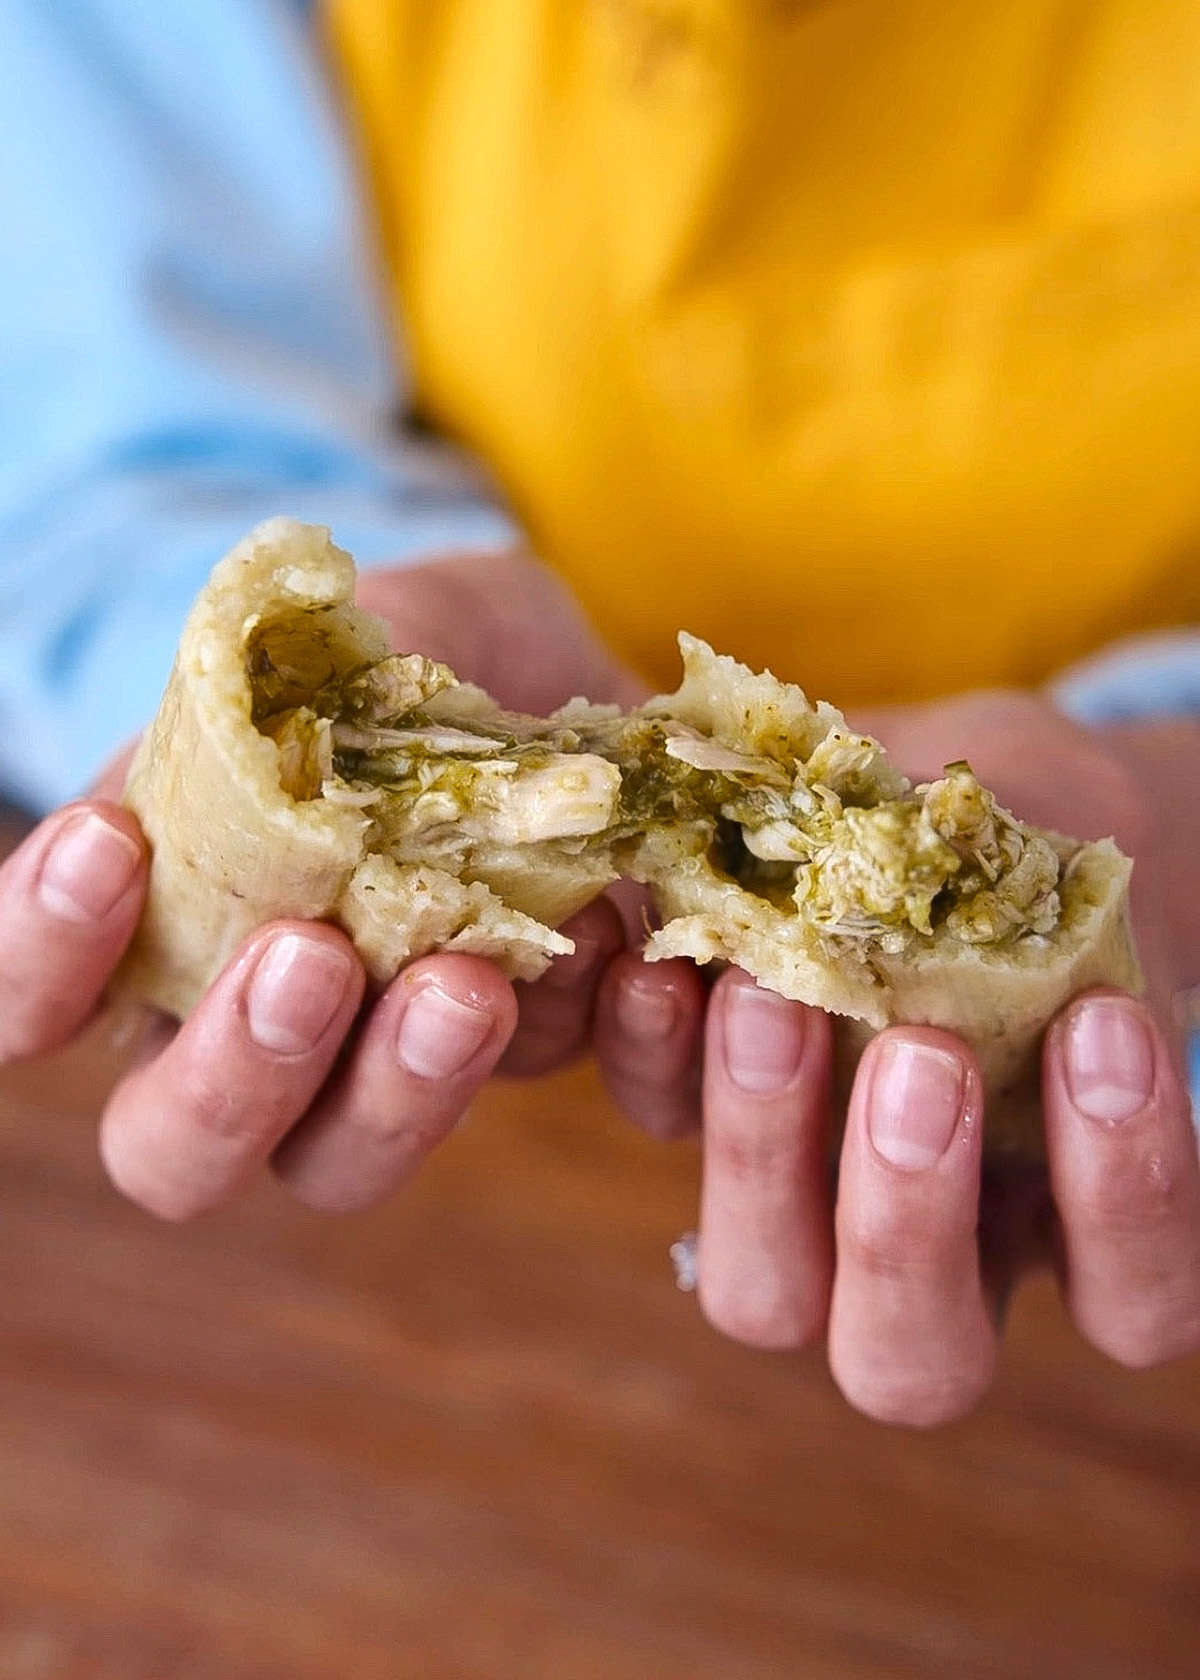
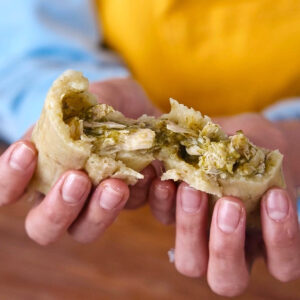
It’s tamal season! I’m going to be making three kinds of tamales this holiday season, starting with my green chicken tamales! These generally tend to be most peoples’ least favorite type of tamal, but it’s actually my favorite.
Growing up, I did not eat tamales often. Truthfully, I didn’t like them very much! It took a long time for me to realize this was because I never had homemade tamales. Store bought tamales are often dry, have too much masa (and not enough filling), or just lacked in flavor.
My dad says that his late Tia Pava made the BEST tamales, so I traveled near Tijuana to learn how to make them from her daughter, my Tia Marta. I learned a lot during this trip and have been formulating my own recipes ever since. I can confidently say that I make the best tamales I have ever had.
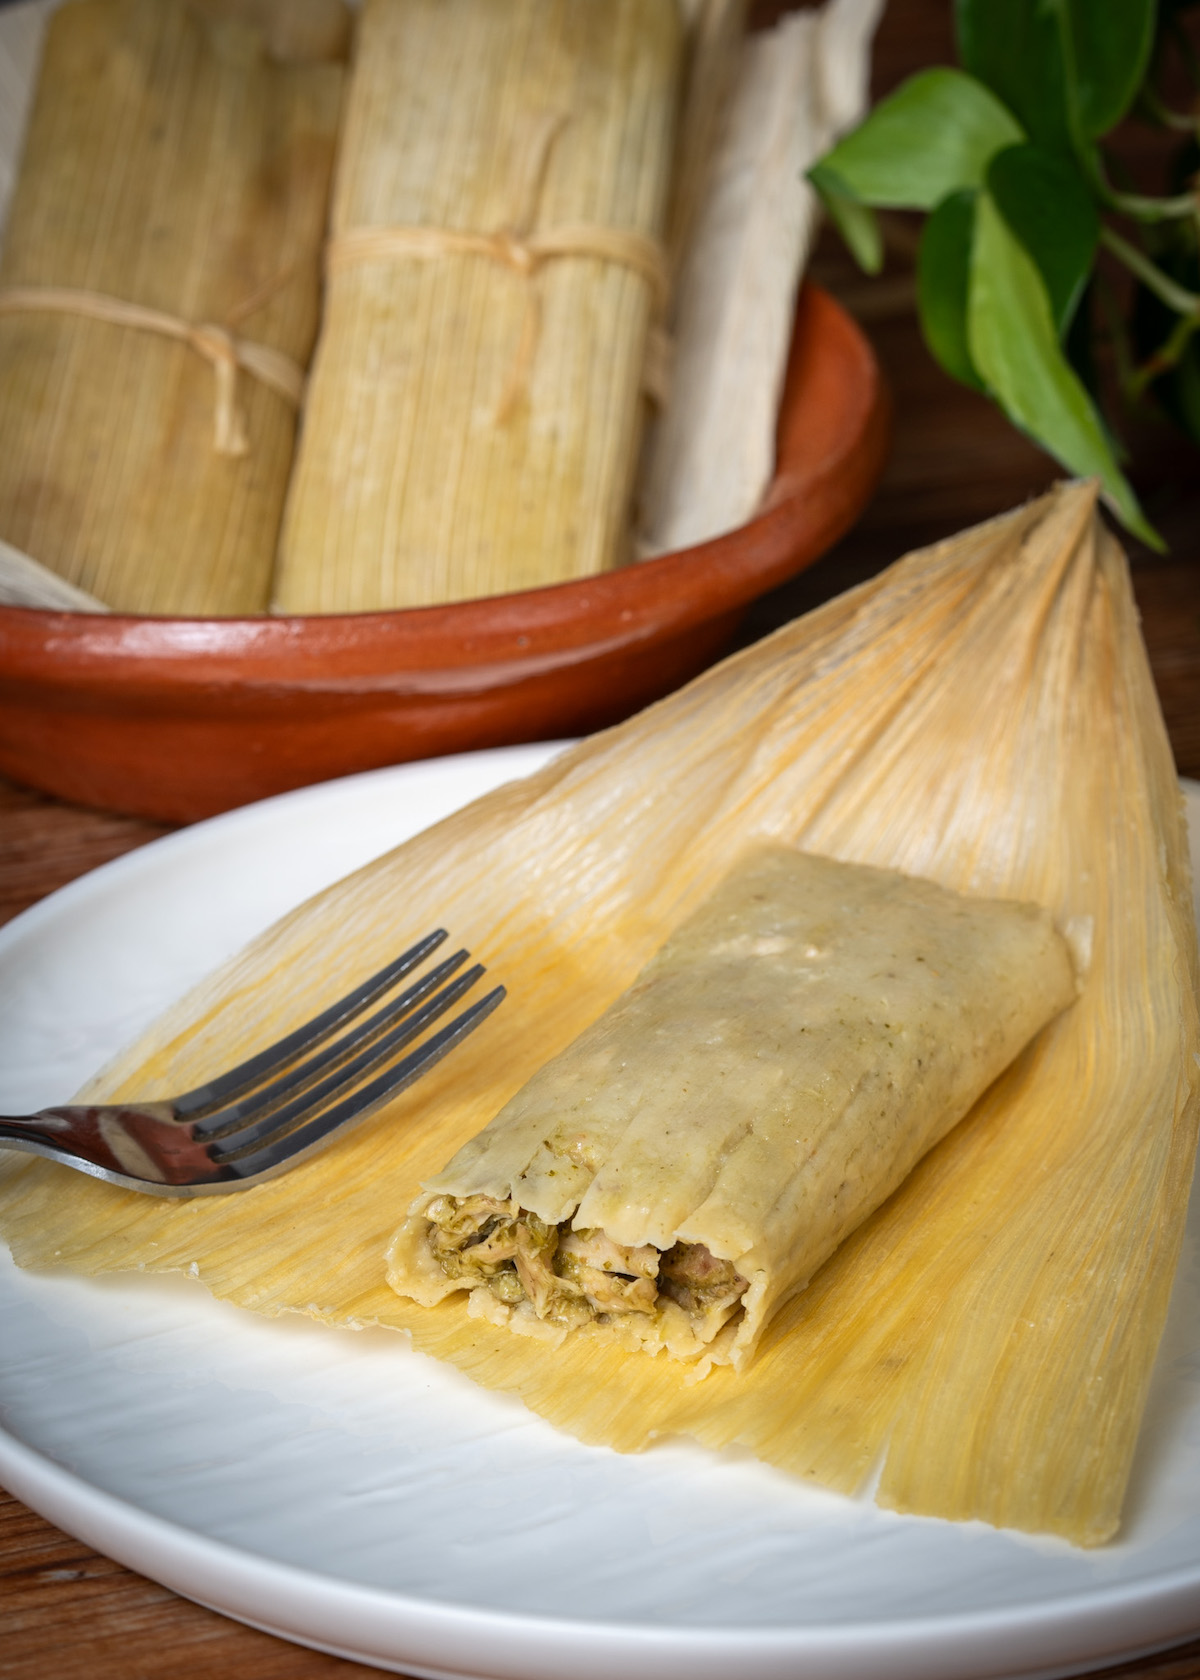
What Are Tamales?
Tamales are a beloved Mexican dish that represent tradition, family, and love in the form of food. They are made from masa (corn dough) that is typically filled with savory or sweet ingredients, then wrapped in a corn husk and steamed until tender. The word tamal comes from the Nahuatl word tamalli, meaning “wrapped food.”
This wrapped food is truly a labor of love. Tamales are not that difficult to make, but it is time consuming, especially if you are making a large amount for celebrations. Here are the main parts to making tamales:
- Masa (Dough): masa is corn dough, and other ingredients are added to it for flavor and texture. The dough is then spread onto a corn husk, filled with meat, and wrapped up to steam.
- Fillings: these can vary widely- including shredded meats like chicken, pork, or beef, vegetables, cheese, beans, or even sweet fillings. Salsas are also often part of fillings.
- Wrappers: Corn husks keep the tamales together during steaming and also add a unique flavor to them.
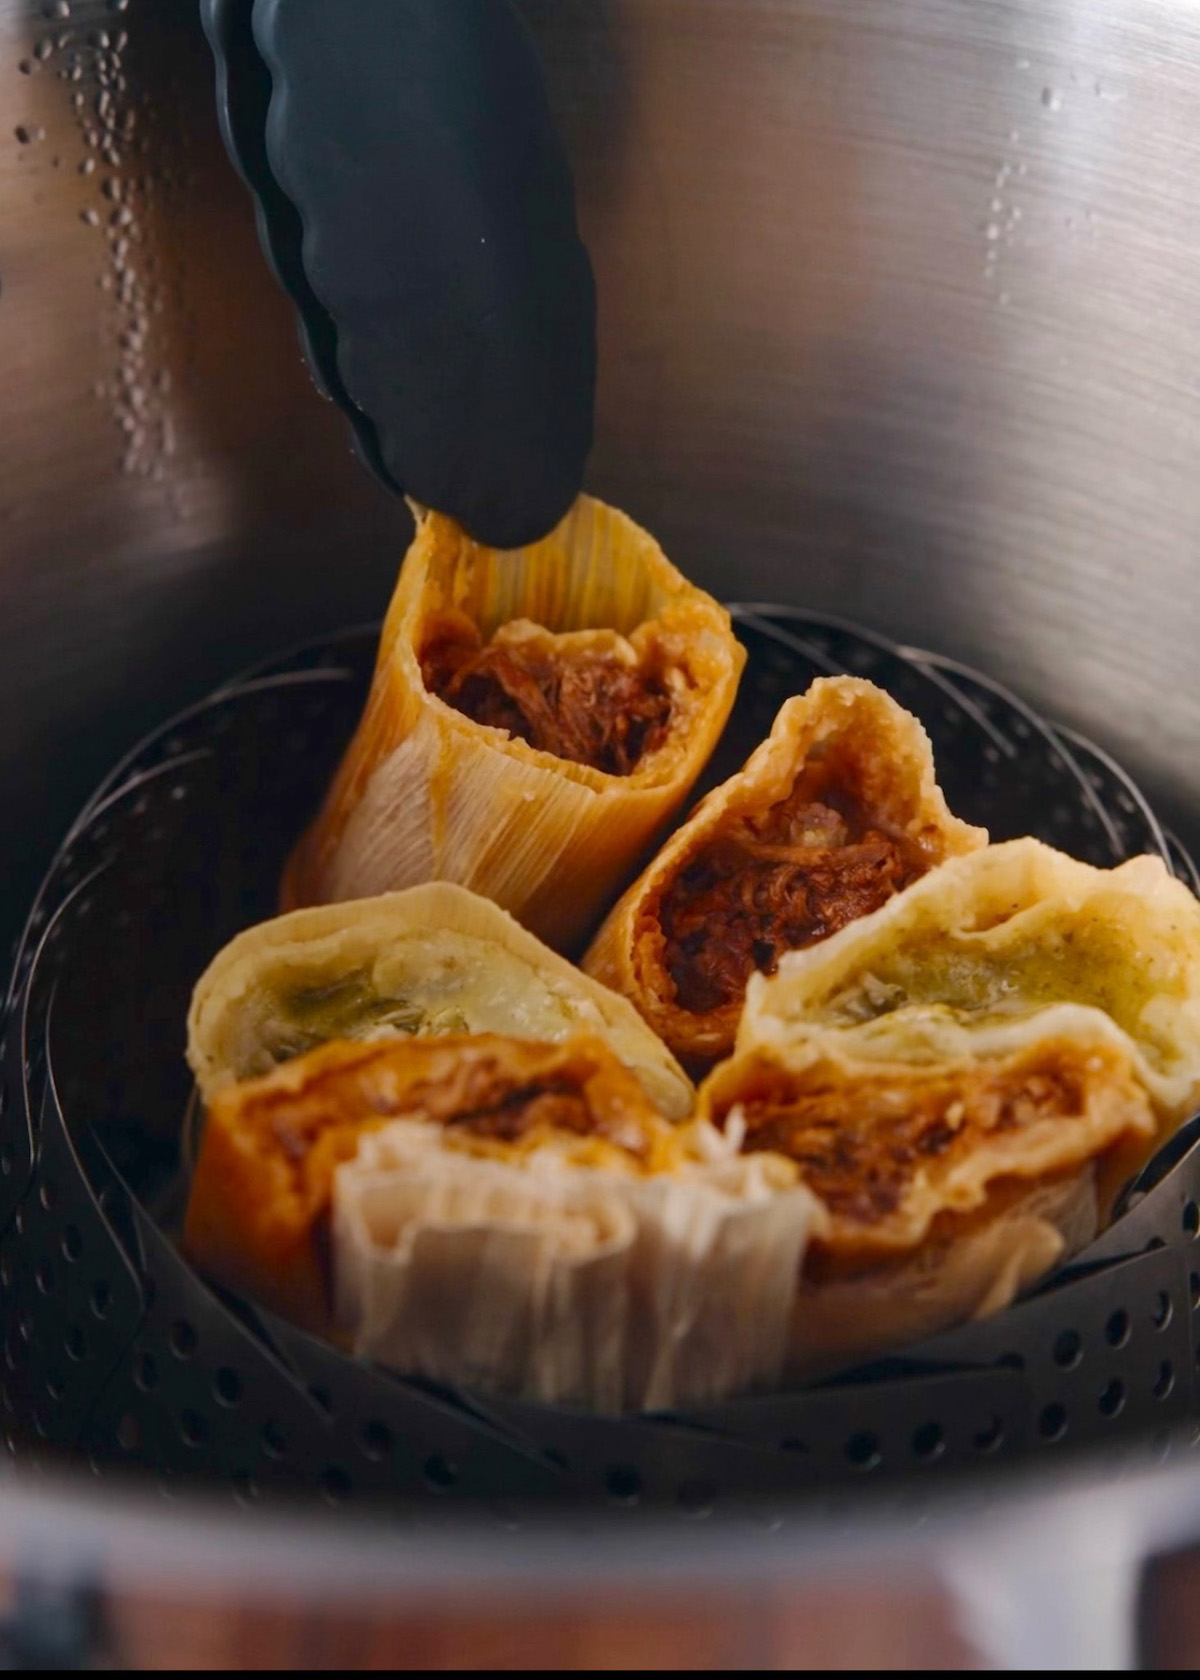
- Cooking Method: Tamales are steamed vertically until the masa is fully cooked and pulls away easily from the husk.
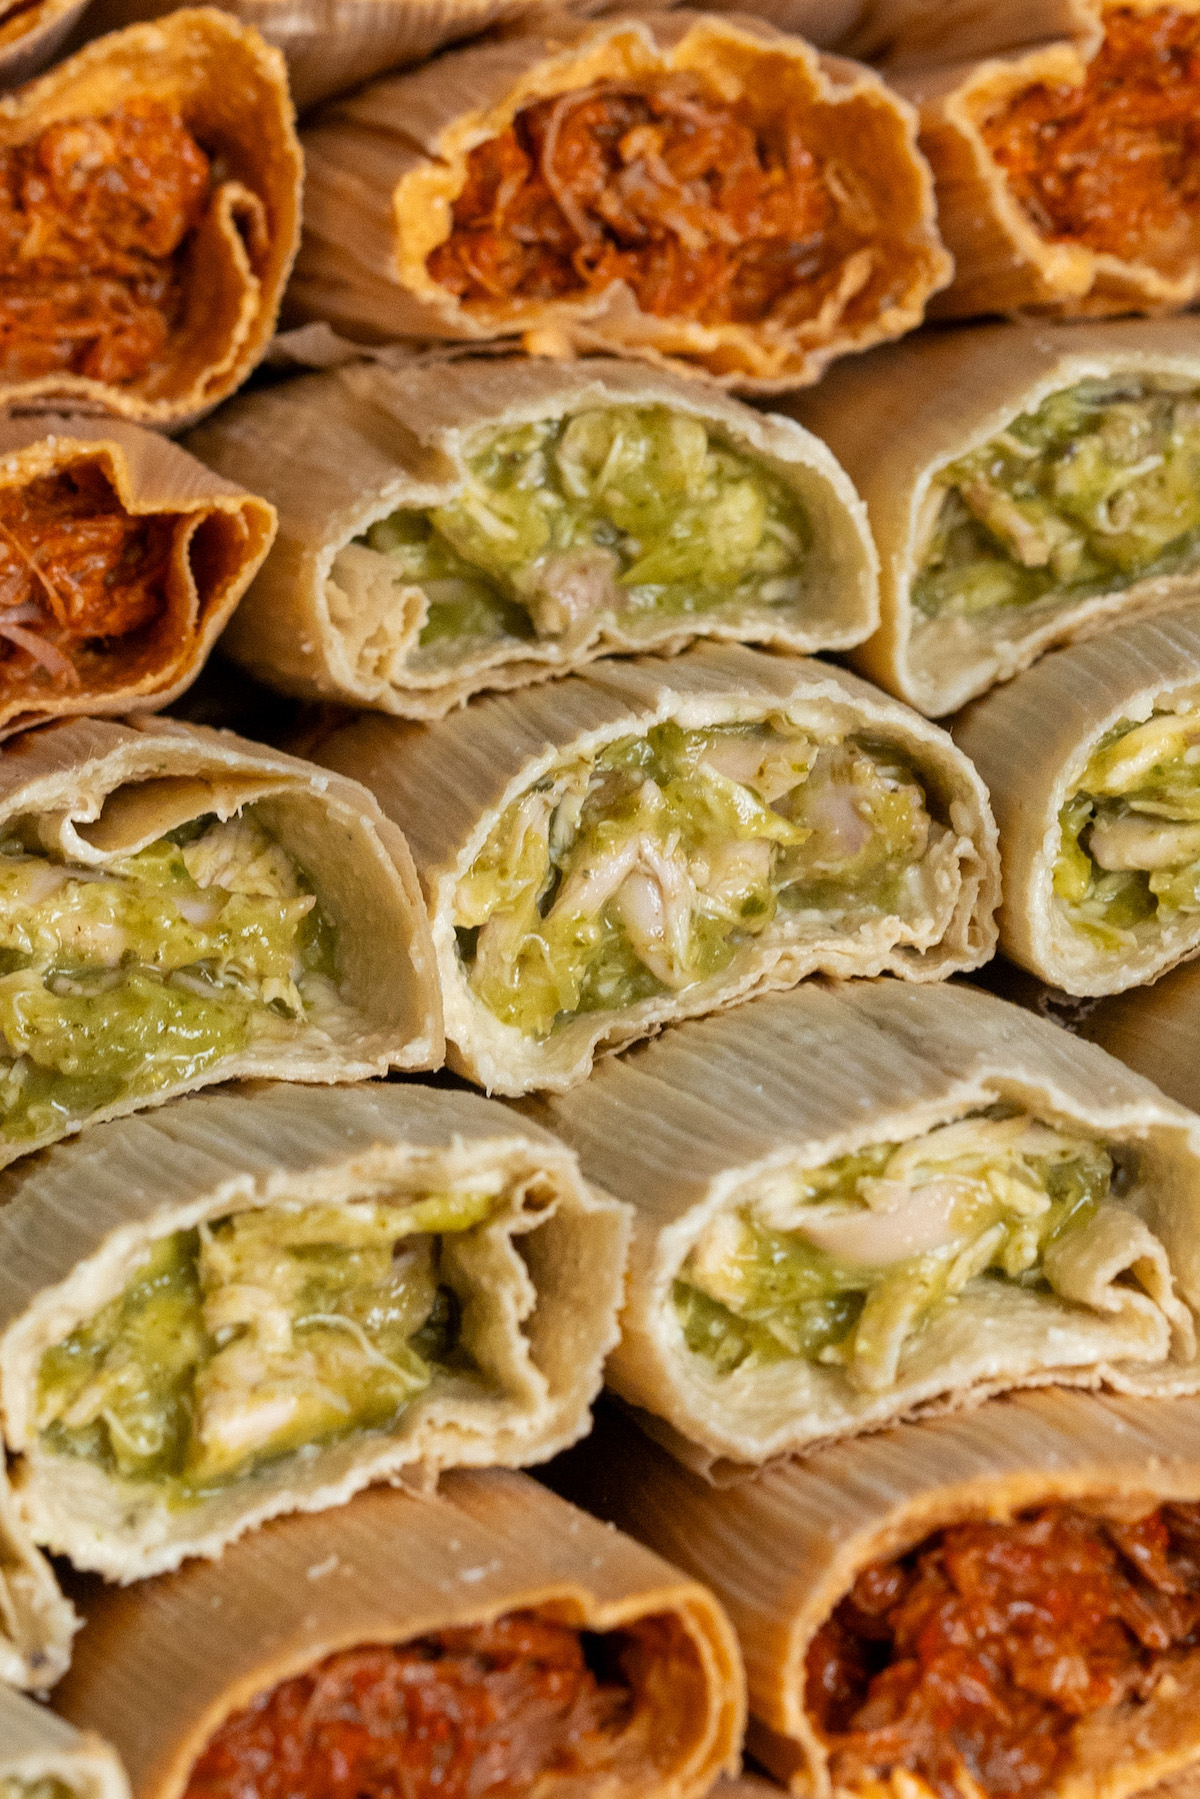
Why You’ll Love This Recipe
There are lots of amazing green chicken tamale recipes on the internet, and here’s why you should choose this one:
- My taste testers are Guadalajara natives (my Abuelita and Tia Rosa), and they tasted all the tamales I recipe tested until they approved this one. My Tia Rosa told me that these tamales are “officially VERY Mexicano y muy ricos!” That means very delicious 😋
- Made with traditional fresh masa and a SUPER flavorful salsa verde, these tamales deliver a true taste of authentic Mexican cuisine.
- Make-Ahead Friendly: you can make the chicken and salsa verde a day ahead to make it easier on you. The masa can be made 1-2 days later, and you don’t even have to steam them the same day! You can stretch this into a 3 day process if you really need to.
- Like all of my other recipes, I always provide pictures at every step of the process to make it as easy to follow as possible.
- If you want to make a different amount of tamales (even a mix of my red beef, red pork, and green chicken tamales), my sister helped me created a recipe converter spreadsheet so you don’t have to guess ingredient amounts! CLICK HERE TO DOWNLOAD THE RECIPE CONVERTER.
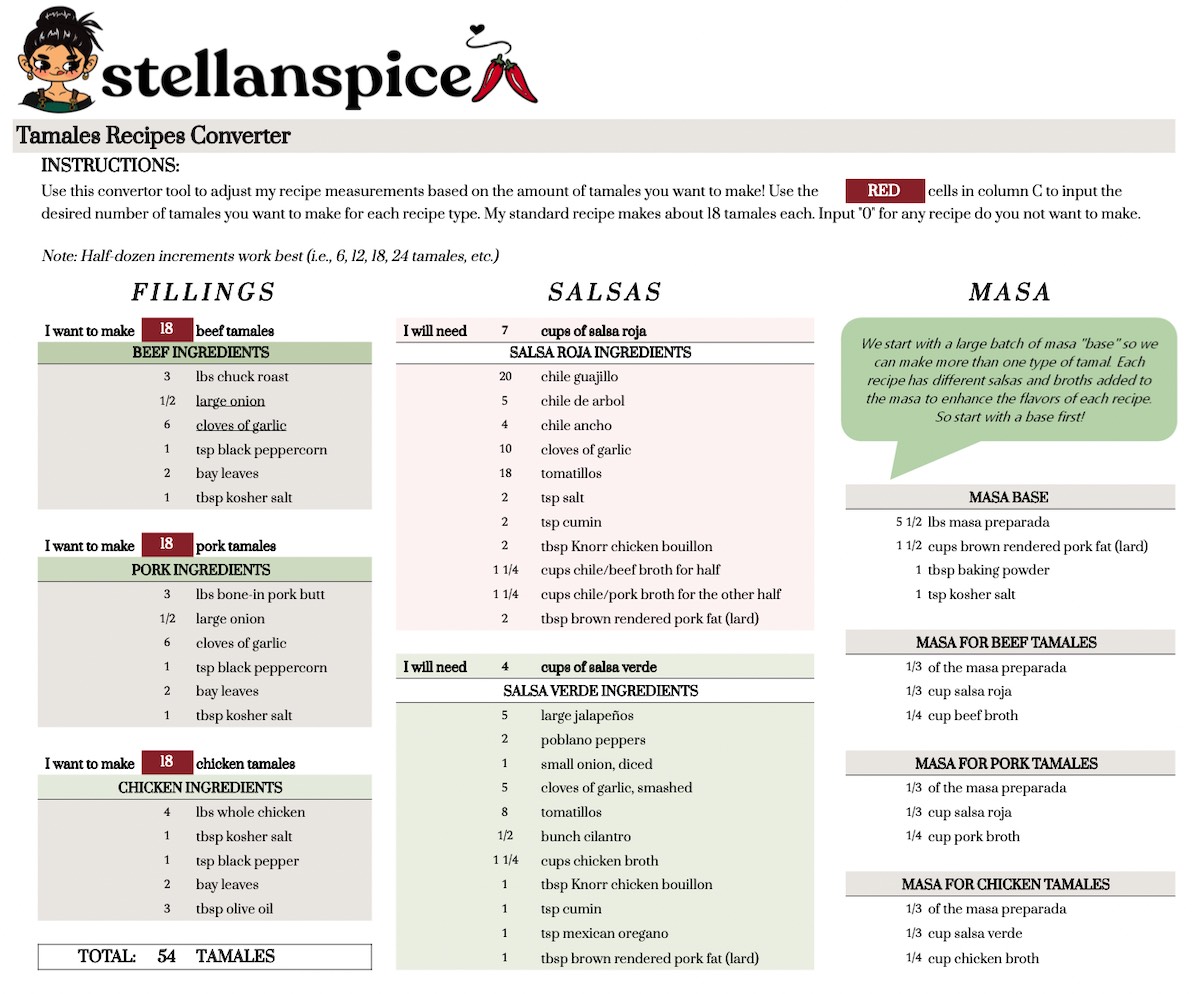
Download instructions for recipe converter:
- Once the file has been downloaded to your Desktop, open your Google Drive (or Microsoft Excel if you have it). You can find this in the app button menu at the top right corner of your gmail account.
- From there, find the +New button on the upper left corner of the page, then select Google Sheets.
- Click File > Import > Upload > Browse > then select the file you just saved to your Desktop.
- Set the import location to Replace Spreadsheet, then click Import Data.
- DO NOT make any changes to the spreadsheet besides the RED cells to input your desired amount of tamales. That’s it!
Ingredients
Making green chicken tamales involves three main components: the meat, salsa, and masa (dough).
For the Meat:
I like to prepare my chicken the same way I do for my pozole verde. It’s a little extra work, but it’s worth the flavor payoff! PLEASE TRUST ME- chicken needs a little extra work for bomb-ass tamales. I know you’re not here to make some mediocre tamales!
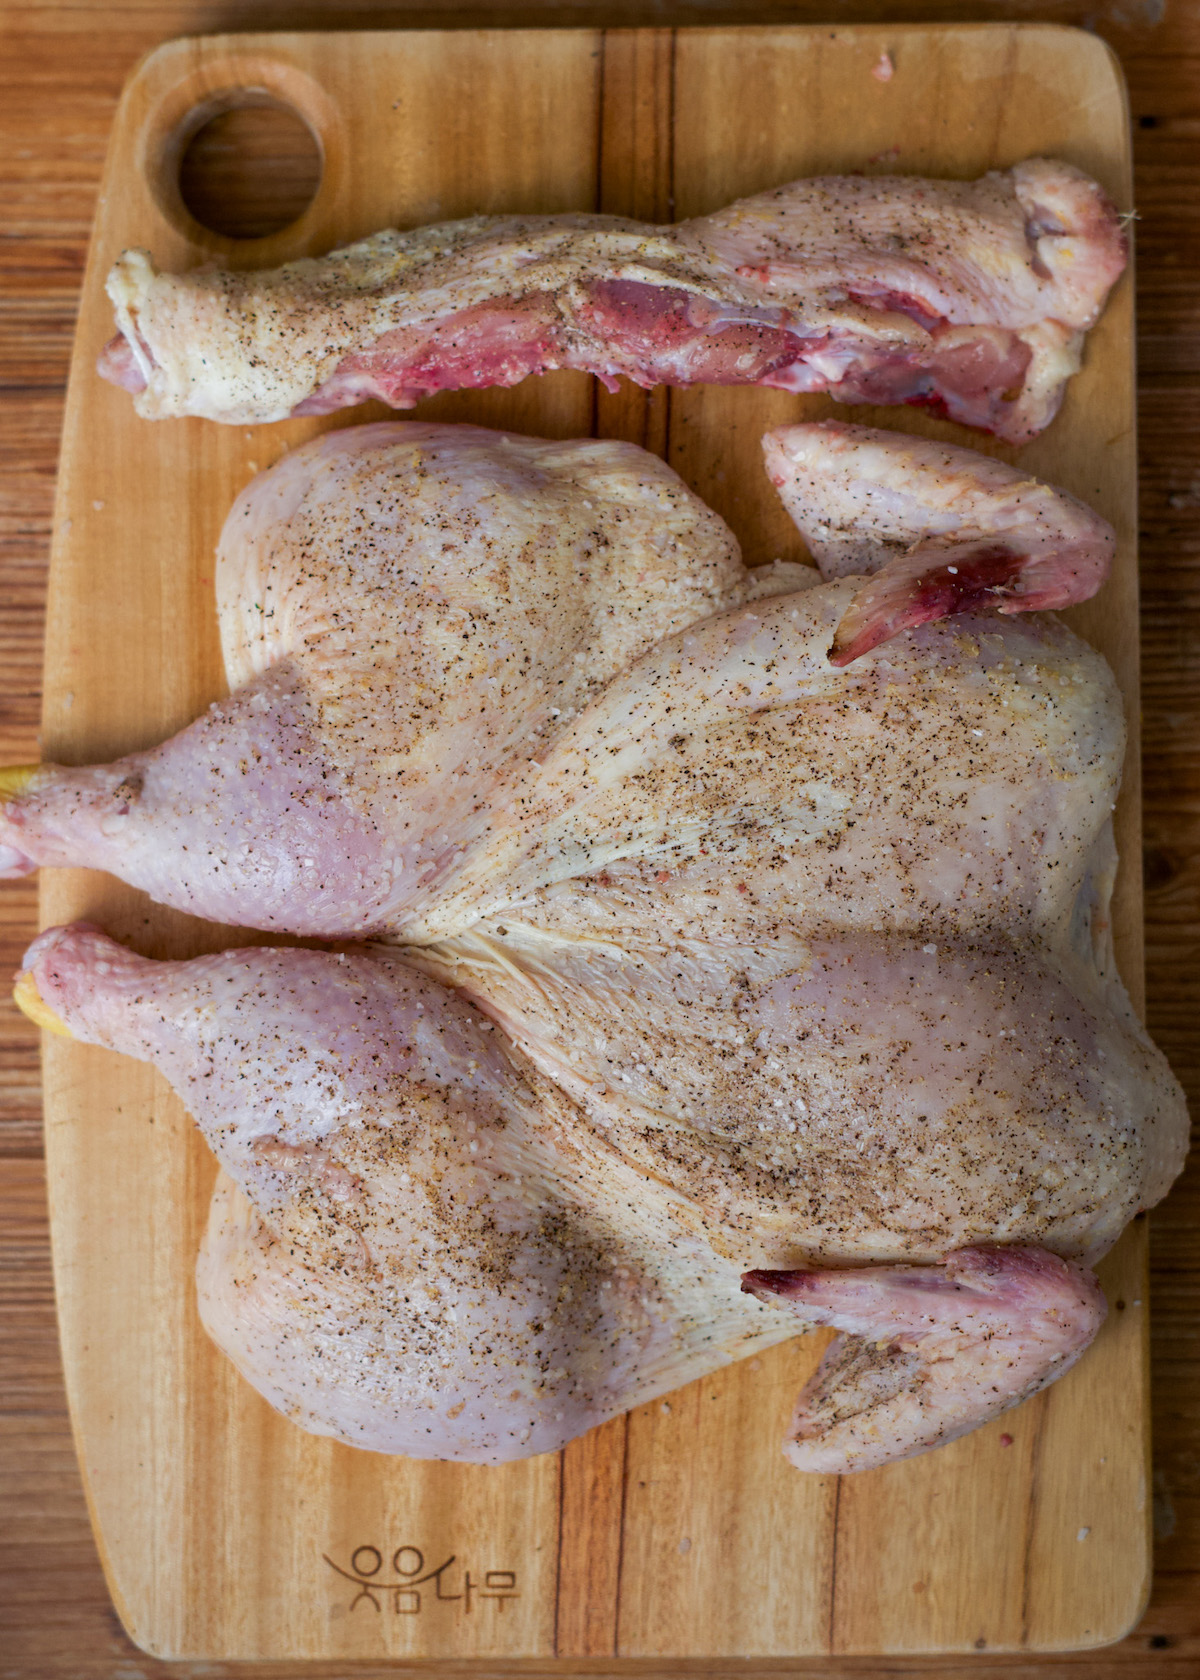
- Whole chicken- you can use bone-in pieces of chicken if you prefer, but the reason I use a whole chicken is to get more flavor into the broth (since it has more bones). I also recommend spatchcocking the chicken, because we will be searing it first to develop flavor.
- Seasoning- salt & pepper
- Aromatics- bay leaves & black peppercorns
- Water- just enough to cover the chicken
- Salsa verde- for mixing with the chicken once it has been cooked and shredded.
For the Salsa Verde:
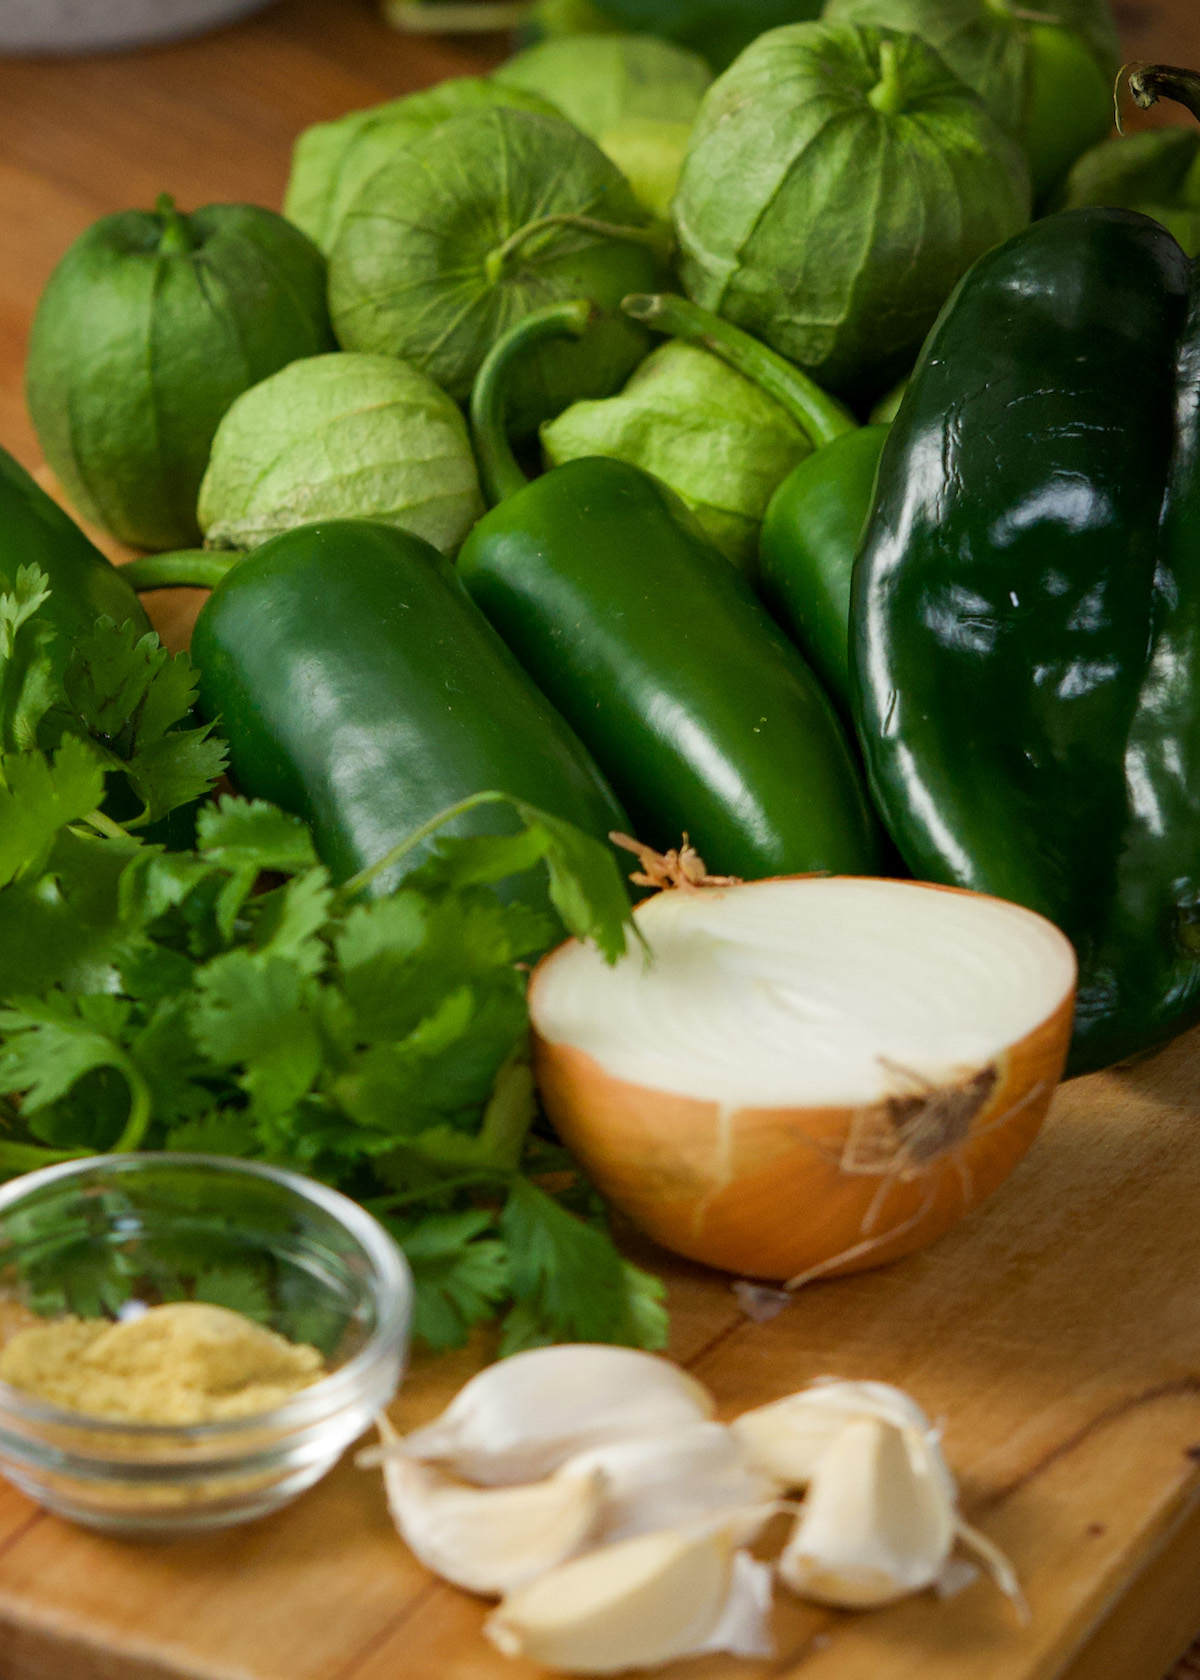
- Chili peppers- I like a mix of jalapenos and poblano peppers. If you want to make it extra spicy, you could also add some serrano peppers!
- Tomatillos- these are similar to tomatoes but have a tart, citrusy flavor.
- Onion & garlic- these will actually be sautéed in the same pot as the chicken, to make a “sofrito” along with some seasonings as a base for our salsa. This step is crucial for flavor development.
- Seasonings- Knorr chicken bouillon, cumin, Mexican oregano, and salt to taste (these will also be added to the onion & garlic mentioned above)
- Cilantro- adds a fresh, herbaceous flavor
- Chicken broth- use the broth from the boiling chicken
- Lard– for frying the salsa right before adding the shredded chicken.
For the Masa:
I prefer real masa made from nixtamalized corn. This process involves cooking dried corn kernels in an alkaline solution, which softens the kernels to be ground into dough.
You can also use masa harina (corn flour), but I do not recommend this if you have access to fresh masa. It’s a lot more work, and not as tasty in my opinion!
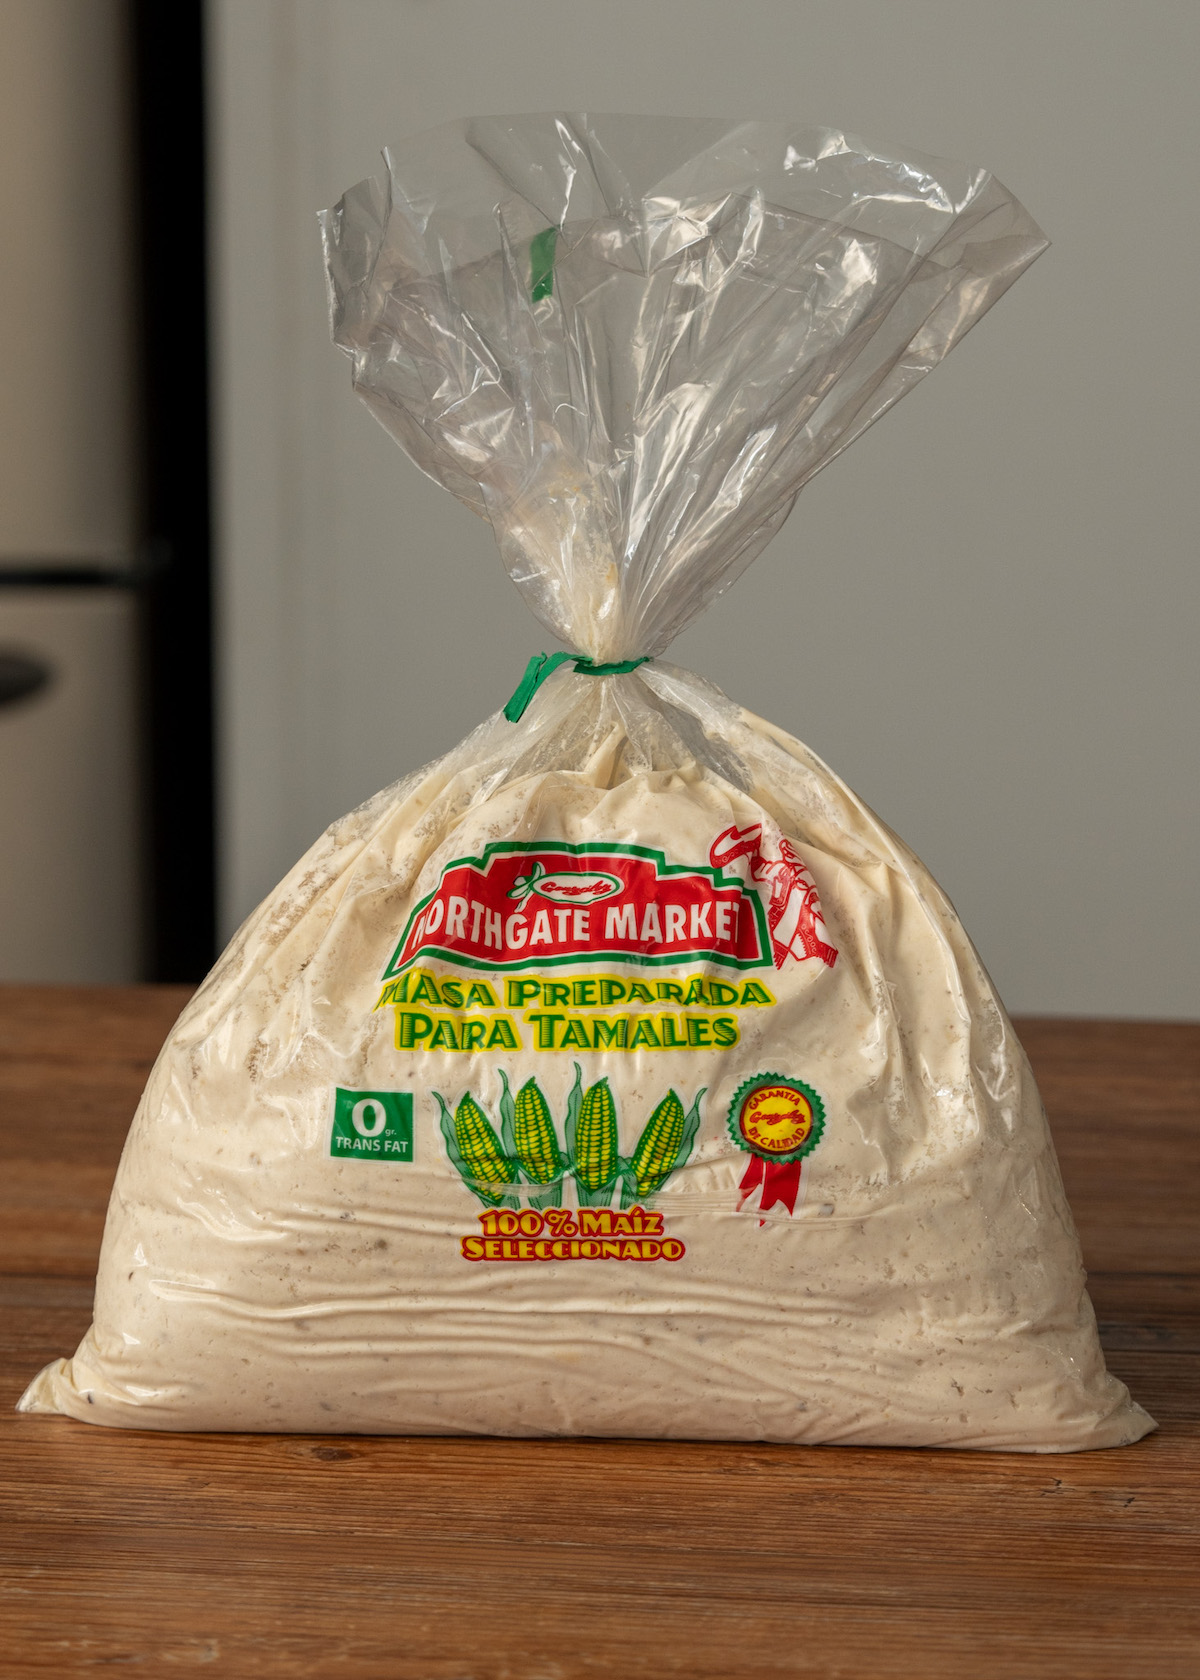
- Masa “preparada”- you can get it at any Mexican market. This is masa that has already been prepared for tamales, but we will be adding more ingredients to it to make it even better.
- Baking powder- to help create a lighter, fluffier texture
- Salt- not too much, because we will be adding more ingredients that are already salted.
- Broth- to enhance the flavor and add moisture to the dough
- Salsa verde- to infuse even more flavor and moisture to the dough
Whew! If this seems like a lot, don’t panic! It’s easier than you think. You can do this.
Equipment Needed
I always encourage using tools you already have in your kitchen to make any of my recipes, but sometimes it’s not possible. Here’s what you’ll need, or something similar that you may already have:
- Electric mixer– optional, but highly recommended! It can be a stand mixer or an electric hand mixer, doesn’t matter. It will make mixing the masa much easier than using your hands.
- Bench scraper– the old fashioned way to spread masa onto the corn husks is with a spoon, but I prefer a bench scraper because it’s faster and easier.
- Steamer basket or tamale pot– you can use a tamale pot with a built-in steaming rack, or any large pot paired with a steaming basket. The pot should be tall enough to hold the tamales vertically while they steam.
- Corn husks- these are not only for wrapping the tamales! You will also need some to cover the bottom of the steaming pot, and to cover the top of the tamales.
Storing Tamales
Tamales can last in the refrigerator for 4-5 days. Let them cool off completely before storing them in the fridge. I recommend using an airtight container to reduce drying out the masa.
You can also freeze your tamales! If you already steamed all of them, just let them cool off completely then put them in vacuum sealed bags or an airtight container.
In my opinion, it’s better to freeze tamales uncooked (the masa) if you know you want to freeze some. The pros of freezing them uncooked is that they will taste much better when reheated (cooked). The downside is the inconvenience of having to cook them. You can decide which is better for you!
Reheating Tamales
There are several ways to reheat cooked tamales, here are your options:
1. Steaming (Best for Maintaining Texture)
- This is my least favorite way to reheat tamales, but it’s also the best way to maintain the texture of the masa and reheat a large amount of tamales. Steam the tamales for 10-15 minutes (or 30-40 minutes if frozen). Let them rest for a few minutes before eating.
2. Microwave (Quick and Easy)
- Wrap each tamale in a damp paper towel to retain moisture. Place them on a microwave-safe plate and heat for 1–2 minutes (add 30-second intervals as needed). Let them rest for 1 minute before eating.
3. Pan Frying (For a Crispy Texture)
- Remove the corn husk from the tamales. Heat a non-stick skillet over medium heat and add a little oil or butter. Fry the tamales for 3–5 minutes on each side until heated through and slightly crispy.
4. On a Comal (Skillet)
- Heat your comal (or skillet) over medium heat. Keep the tamales inside their corn husks and place them directly on the hot surface. Let the tamales heat for about 4–6 minutes per side, turning occasionally until the husks are charred and slightly crispy. The masa inside will heat through while taking on a slightly smoky flavor from the comal.
My Top 10 Tips for Making the BEST Tamales
- Use meat with bones and keep it in one big chunk! Bones add flavor and collagen to the broth, and keeping it in one large piece rather than cutting it into small pieces ensures that it will be super tender and flavorful.
- Simmer (don’t boil) your meat properly! Never put raw meat into boiling water. It toughens the meat, limits flavor extraction, and traps some of the impurities inside. Start with cold water.
- Add salsa to your masa! This can sometimes make or break your masa. I like mine with lots of flavor, so I always add red or green salsa no matter what kind of savory tamales I’m making.
- Use fresh masa if you can. It tastes way better than instant masa in my opinion!
- Use unrefrigerated, brown rendered pork fat from a Mexican market (not the white hydrogenated lard), and melt it over the stove until it starts to smoke. My Tia says this part is important.
- Use the float test to determine if your masa is ready. Once your masa has enough air, drop a nickel-sized amount into a glass of water. If it floats, it’s ready. If it sinks, you might need to mix it more, or add more lard or broth/water.
- Taste test your masa by microwaving a small amount for 20 seconds (like I do with dumpings). It should be just a little bit saltier than you want, because some salt escapes during steaming.
- Use a towel to cover the tamales while steaming, to prevent water from dripping down the sides.
- Bring water to a boil, then turn the heat down to medium low when steaming tamales.
- Your tamales are done cooking when the husk easily peels away from the masa, but it may still look wet/uncooked to you. This is because you MUST let them rest for at least 10 minutes for the masa to set!
Frequently Asked Questions
Yes! I actually recommend making the chicken and salsa verde a day ahead to make the process easier on you. Tamales are a lot of work, so doing it all in one day can be a huge undertaking. Plus, it’s easier to remove the fat from the chicken broth once refrigerated. The fat solidifies at the top, making it super easy to remove the next day.
You can, and a lot of people prefer this to have more control over the lard and salt content. The reason I don’t, is because its a lot more time/work mixing air into the masa to get the fluffy texture we want. Tamales already take a long time to make, so I try to reduce that time by using masa preparada, and doctoring it up to my liking.
To make masa with Maseca, here’s what you’ll need:
– ¾ cup rendered pork fat (lard)
– 3 cups instant corn flour for tamales (Maseca)
– 3 ½ cups of warm chicken broth from the cooked chicken (fat removed)
– ½ cup salsa verde
– 1 tbsp baking powder
– 1 tsp salt (add more to your taste)
First whip the lard with salt and baking powder for 2-3 minutes. Meanwhile, combine the salsa and warm chicken broth. Add the corn flour to the whipped lard, and slowly mix in the liquids. Once fully combined, mix on medium speed for 10-15 minutes. If mixing my hand, it may take up to 30-40 minutes.
Yes, but I am not sure if they will all fit in one go. Use the “steam” function for 30-40 mintues.
Yes you can! You can freeze them cooked or uncooked. I recommend freezing them uncooked, because they retain more flavor and better texture. For best results, let your tamales thaw in the fridge over night. You can steam them frozen if you want to!
If you froze your tamales without steaming them first, I recommend letting them thaw in the fridge for a day before steaming them. You can steam them frozen, but it will take a little longer.
Steam thawed, uncooked tamales for 50 minutes to 1½ hours , or until the masa pulls away from the corn husks easily. The time depends on how many you are steaming. I would start checking at the 50 minute mark.
Add 10-15 more minutes if steaming them frozen.
This recipe make between 14-20 tamales, depending on how big they are and your ratio of masa to filling.
This time of year, Mexican markets will have brown lard for tamal making. It’s usually made in-house, or bought from a butcher shop. If you don’t have a Mexican market near you, you can try your local butcher shop! Sometimes they have it out already, but if not then you just have to ask them for it.
Green Chicken Tamales (Tamales de Pollo en Salsa Verde)
Equipment
- Corn husks
Ingredients
- 1 pack corn husks, You need enough corn husks to make between 14-20 tamales, and some extra husks for the steamer.
Chicken & Broth
- 4 lb spatchcocked whole chicken, or bone-in thighs, legs, breast
- 1 tbsp kosher salt
- 1 tsp black pepper
- 3 tbsp olive oil, divided
- 2 bay leaves
- enough water to cover the chicken, (about 14 cups)
Salsa Verde (Green Salsa)
- 5 jalapeno peppers
- 2 poblano peppers
- 8 tomatillos
- 1 small onion, diced
- 5 garlic cloves, smashed
- 1 tbsp Knorr chicken bouillon
- 1 tsp Mexican oregano
- 1 tsp cumin
- ½ bunch cilantro
- 1¼ cups chicken broth, from the boiled chicken
- 1 tbsp brown rendered pork fat (lard), for frying the salsa
Masa (Corn Dough)
- 1¾ to 2 lbs masa preparada, (fresh prepared corn dough from the Mexican market)
- ½ cup brown rendered pork fat (lard), use 1/3 cup if you prefer tamales with less lard
- 1 tsp baking powder
- ½ tsp kosher salt
- ⅓ cup salsa verde
- ¼ cup chicken broth, from the boiled chicken
Instructions
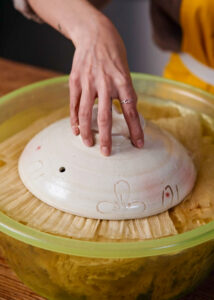
- Begin by soaking your corn husks in hot water to soften (or overnight with room temp water). Change this water a few times to rinse the husks while you're making the tamales.
Chicken & Broth
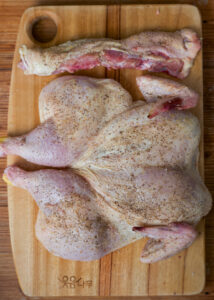
- Spatchcock your chicken- use heavy duty kitchen shears to remove the spine, then place the chicken breast side up and press firmly on the breast bone with your palms to flatten it as much as possible.
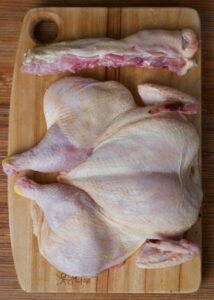
- Once flat, season on both sides with 1 tbsp kosher salt and 1 tsp black pepper. Season the spine too- this is also going into the broth. Note: You can also just cut a whole chicken into pieces, or you can use skin-on chicken thighs, drumsticks, and/or breasts.
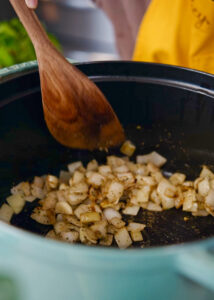
- In a large pot, sauté the diced onions in 2 tbsp olive oil on medium low heat until translucent. Reduce the heat to low, then add the smashed garlic and sauté for another minute or two. Then add the cumin, Mexican oregano, and Knorr chicken bouillon (most of these ingredients are listed under the salsa verde- you'll understand why later).
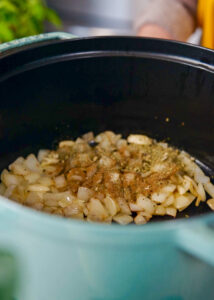
- Continue to sauté for 20 seconds. Don't let the spices burn. Then remove the onions/garlic from the pot and set them aside. This is going into the salsa verde.
- Add the remaining olive oil (1 tbsp) to the pot and increase the heat to medium. Then place the chicken skin side down (the removed spine too) for 3-4 minutes to get a good sear on the skin. Flip over and continue cooking for another 2-3 minutes.
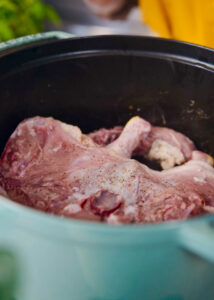
- Add enough room temp water to cover the chicken, and two bay leaves. Then bring to a gentle boil.
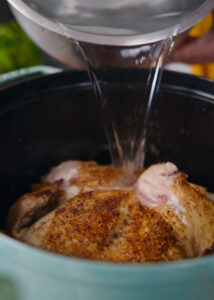
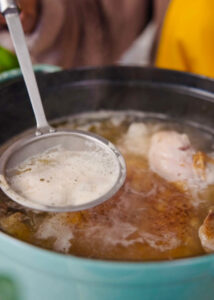
- Skim off any scum and excess oil that float to the surface, then reduce the heat to a gentle simmer, covered for 45 minutes. Tip: Once you cover the pot, the heat will naturally increase so make sure you check the strength of the simmer a couple minutes after you have covered it with a lid. You may need to adjust the heat. You don't want the water to boil too hot, or the chicken will be tough and dry.
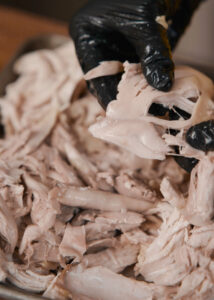
- Remove the chicken from the pot and let it cool. Shred the chicken, but don't over-shred into super thin strips or your tamales will have a mostly mushy texture. I like to include the chicken skin in my tamales, but you can discard the skin if you prefer. Cover with aluminum foil and set aside so it doesn't dry out.
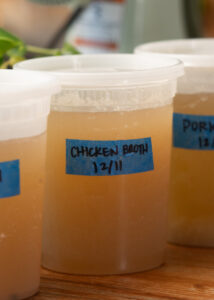
- Reserve at least 2 cups of broth (this will be used for the salsa and masa).*Optional* We just created a super flavorful chicken broth and a lot of it. You won't need it all for this recipe, but I like to have homemade chicken broth handy in my kitchen, so I add the bones back into the broth and continue simmering for another hour or so. This will result in a delicious broth full of collagen from the bones, that you can use to cook another dish, or just for drinking.
Salsa Verde
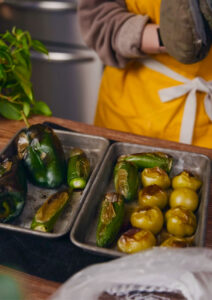
- Roast your washed peppers and tomatillos on a baking sheet for 20-30 minutes (or until they have softened and browned) at 400 degrees Fahrenheit.
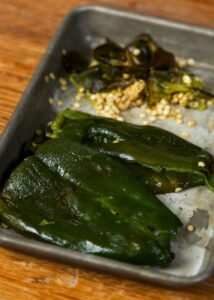
- Put the poblano peppers in a plastic bag for 10 minutes to sweat. Then remove the skin, stem and seeds. You can remove the seeds from the jalapenos too if you don't want it spicy (I leave them in).
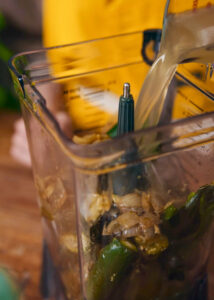
- Blend all the peppers, tomatillos, reserved onion & garlic from earlier, cilantro, and 1¼ cups of chicken broth from the boiling chicken. Add salt to taste- I added 1 tsp. This should make about 4 cups of salsa verde.*It's ok if your chicken broth still has a little fat (oil) at the top, but if you prefer a dryer masa, skim off the fat. I leave it in because flavor, and I prefer oily masa over dry masa. This makes a particularly big difference when reheating tamales, which is inevitable.
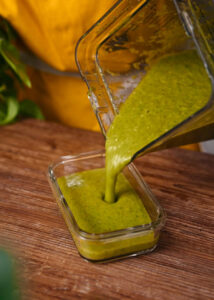
- Reserve 3/4 cup of salsa verde and set it aside (This will be for the masa + extra salsa as a topping)
Filling
- Melt 1 tbsp of lard in a saute pan over medium heat.
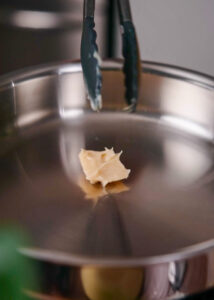
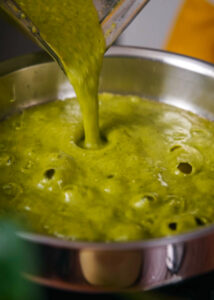
- Carefully pour the rest of the salsa (about 3 ¼ cups) into the pan, and fry the sauce for a couple minutes.
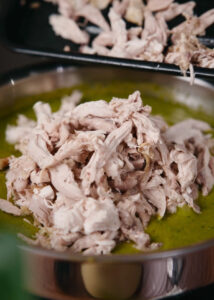
- Add the shredded chicken and cook over medium low heat for 5-10 minutes.
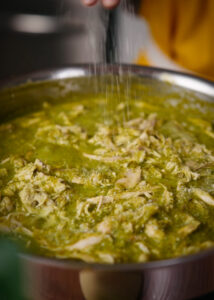
- Add salt to taste (I added about 1/2 tsp), then turn off the heat and cover.
Masa
- Melt ½ cup of lard (or ⅓ cup if you prefer less lard) in a saucepan over the stove until it just starts to smoke. I'm not 100% sure why, but my Tia says that your lard needs to be smoking to make great tamales. Let the lard cool down a bit before adding to the masa.
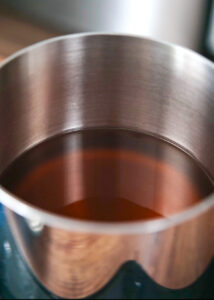
- Combine 1/3 cup of salsa verde and 1/4 cup warm broth in a measuring glass or cup.
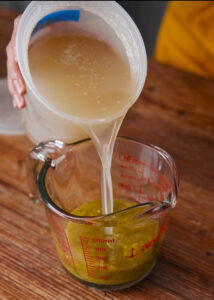
- To a stand mixer or mixing bowl with a electric hand mixer, combine the masa preparada, warm lard, baking powder, and salt. Mix on medium speed until well combined (about 5 minutes) then set the speed to low to slowly incorporate the salsa/broth mixture. Once fully combined, increase the speed to medium-high again for 5 to 10 minutes.If you don't have and electric mixer, you can just use your hands but it will take a bit longer- about 25 minutes total.
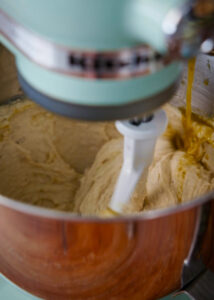
- You'll know the masa is ready once it is light & fluffy. My Tia never did the "float test" but I think it is really helpful in determining whether your masa is ready. Drop a coin sized amount into a glass of water. If it floats, your masa is ready. If it sinks, your masa may need some more chicken broth and/or lard mixed into it.

- To taste test your masa for salt, microwave about 1 tablespoon of masa for 20-30 seconds. You want the masa to be just a bit over-salted, as they will lose some saltiness while steaming.
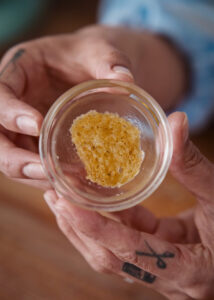
- Cover and let your masa rest for 20 minutes before you begin spreading it onto the corn husks.
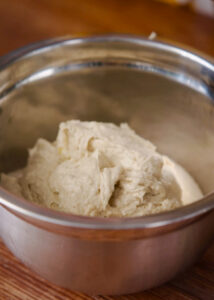
Assemble Tamales
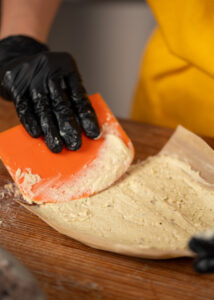
- Using a bench scraper or spoon, spread the masa evenly onto the corn husks, Make sure you spread it on the smooth side, not the ribbed side (look closely, it can be hard to tell). I prefer a thinner masa, but feel free to make yours to your liking!
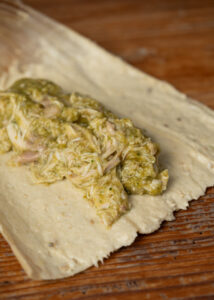
- Add the cooked chicken in salsa verde (cooled down). The amount I have is almost pushing it too far- careful not to overfill, especially if you have thinner masa.
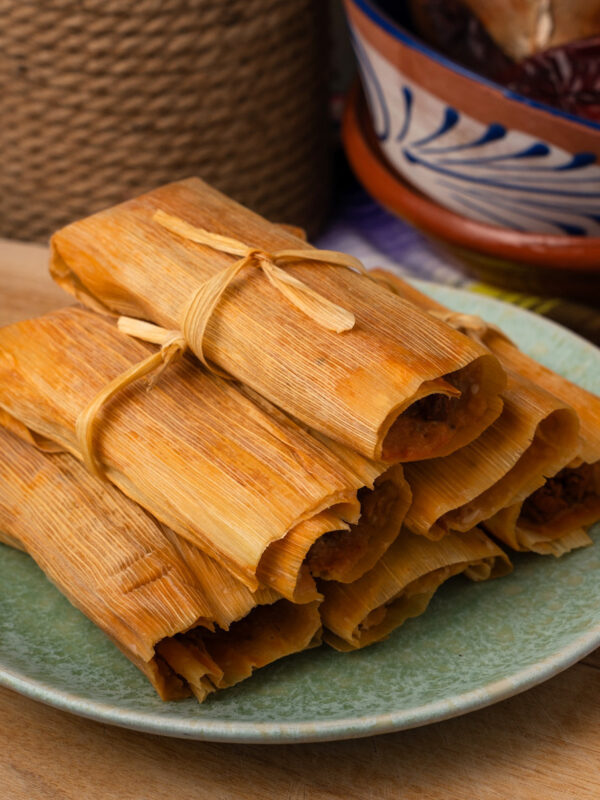
- Fold one side of the husk over the filling so the masa wraps around it, then fold the other side over to enclose the masa and filling completely. Fold the narrow bottom end of the husk up toward the center. This creates a little pocket to hold everything together. Then stack them at an angle so they hold their shape while you fold the rest. *If desired, tear a thin strip of corn husk and use it to tie the tamale, securing the folded bottom. This is also helpful for identifying different types of tamales if you're making more than one kind.
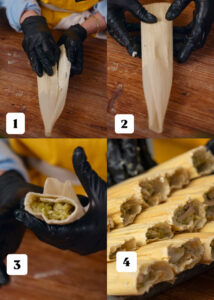
Steam the tamales
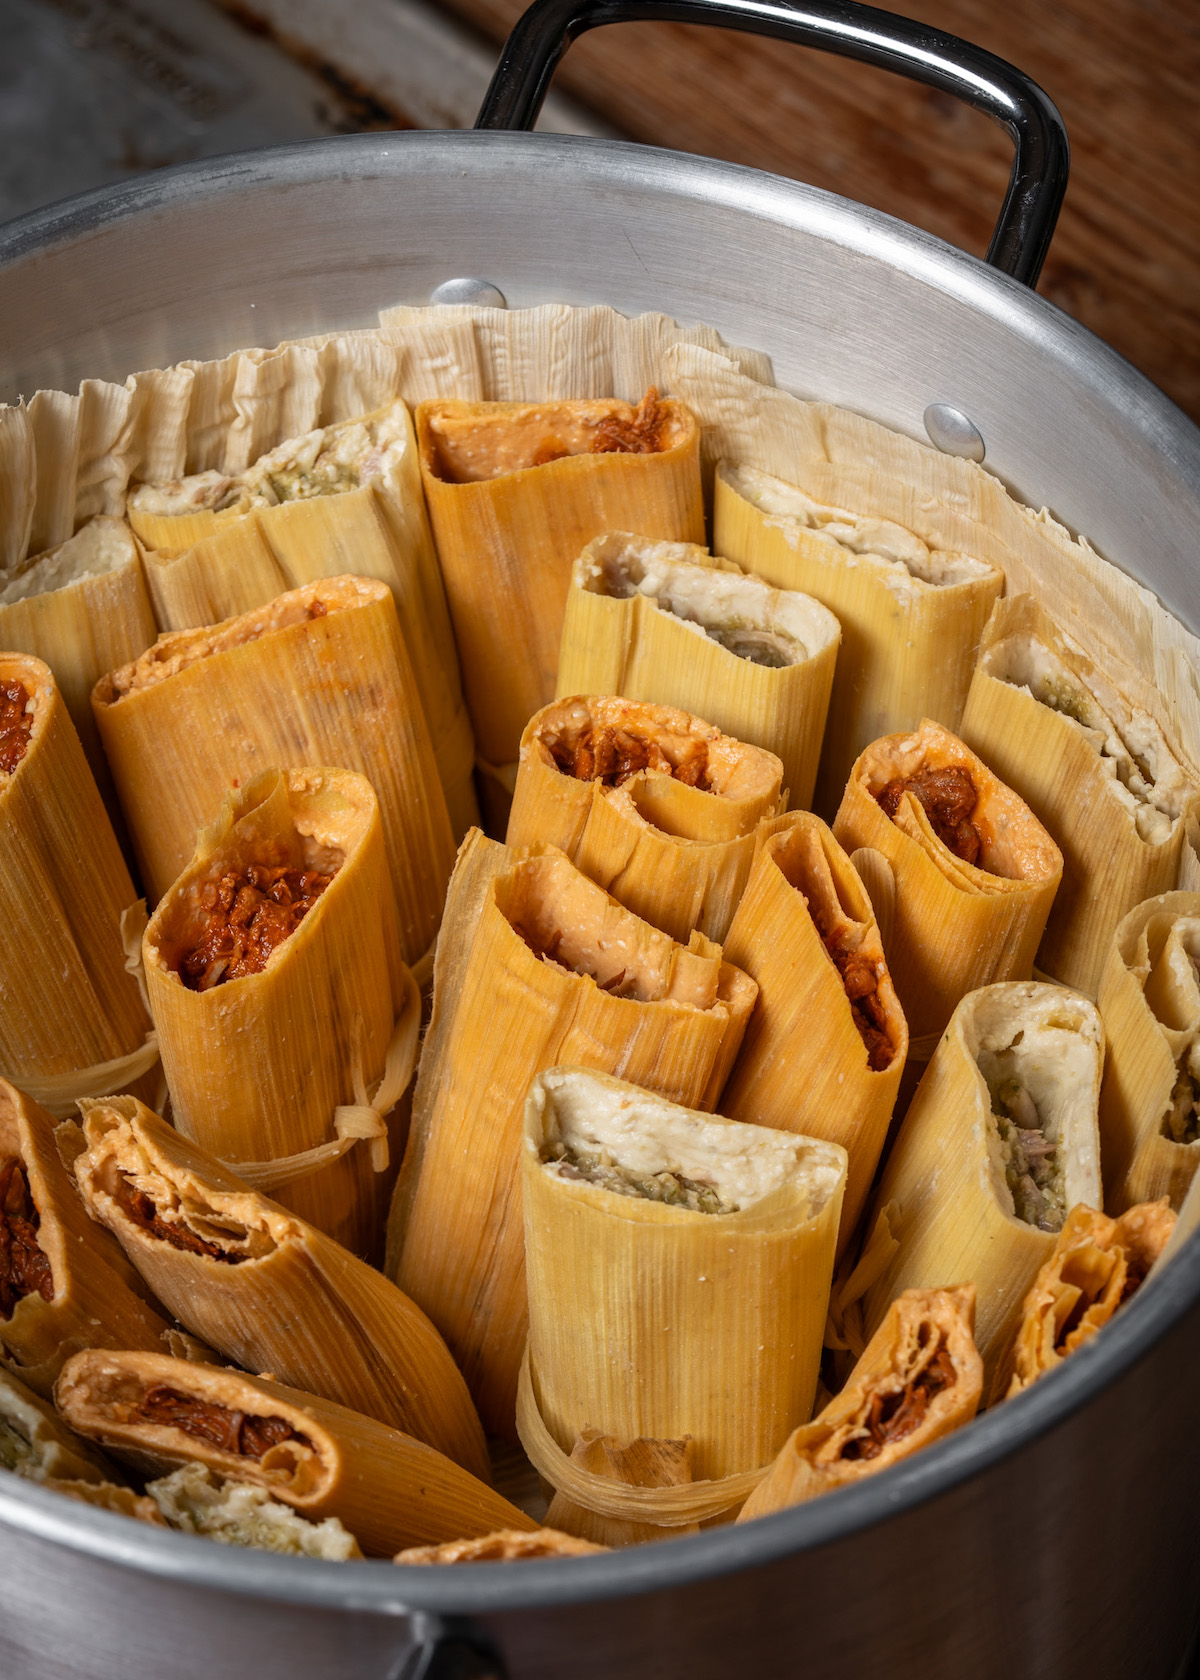
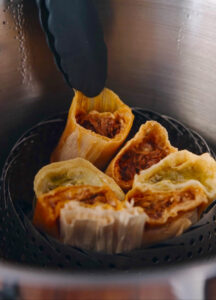
- Fill the bottom of a large steamer pot (or large pot) with water. Make sure the water level is below the steamer basket or rack—you don’t want the water to touch the tamales. Place the steamer basket or rack inside the pot, then cover the bottom with some corn husks.Stand the tamales upright in the steamer with the open ends facing up. Lean the tamales against each other to keep them standing; this prevents them from falling over. If you don’t have enough tamales to fill the pot, use a ball of foil or extra corn husks to help prop them up.
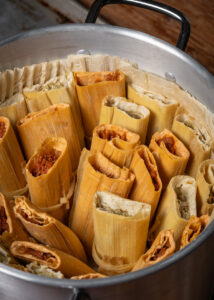
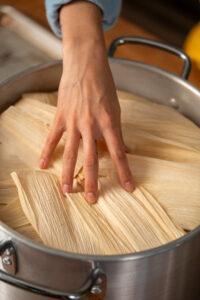
- Place any leftover corn husks on top of the tamales. I like to tuck the thin ends behind the tamales on the outer perimeter to make sure no water drips back down onto them while steaming.
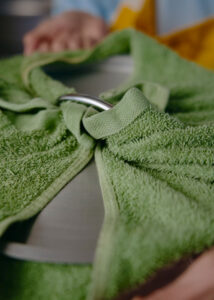
- Wrap a towel around the lid of the pot to collect water so it doesn't drip down the sides onto the tamales. Make sure the towel is securely tied at the top. I also put a weight on top of the lid so less steam escapes. Bring the water to a boil over high heat. Do NOT walk away from the tamales at this point! Wait for it to start boiling, then reduce the heat to medium-low to maintain a gentle steam.
- Let the tamales steam for 50 minutes to 1½ hours , or until the masa pulls away from the corn husks easily. The time depends on how many you are steaming. I would start checking at the 50 minute mark. Every 20–30 minutes, carefully check the water level to ensure the pot doesn’t boil dry. I do this by listening closely to the pot- you can hear if there is water simmering.
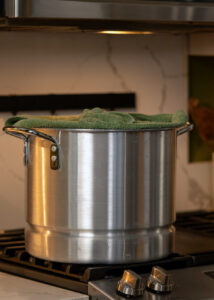
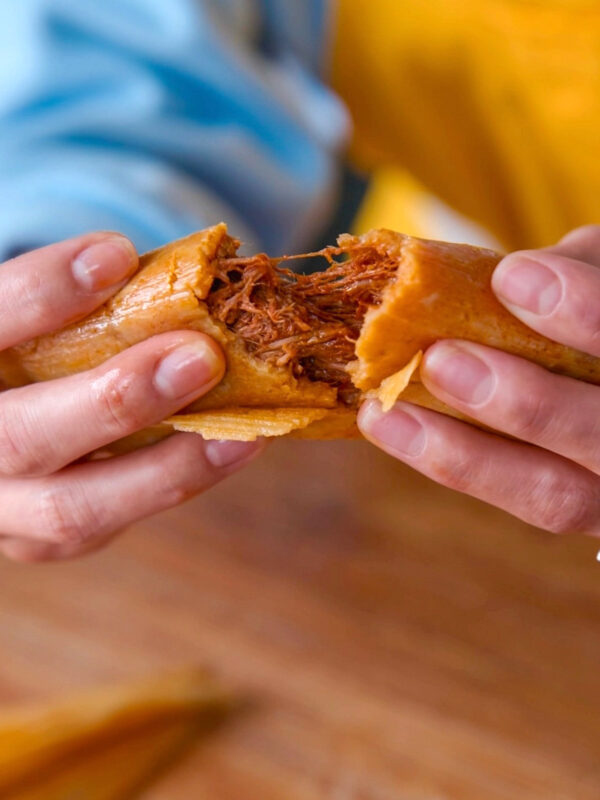
- The tamales are done when the masa easily pulls away from the corn husks. They masa may look undercooked, this is because you MUST let them rest for 10-15 minutes so the masa can set.
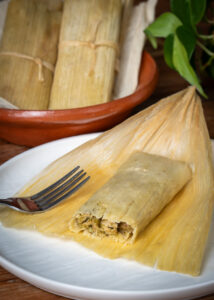
- That's it! I like my tamales with sour cream and lettuce. You may use some of the reserved salsa as well, but these tamales typically do not need extra salsa.
Notes
Don’t have access to fresh masa? Here’s how you can make it with masa harina (corn flour):
– ¾ cups rendered pork fat (lard)– 3 cups instant corn flour for tamales (Maseca)
– 3 ½ cups of warm chicken broth from the cooked chicken (fat removed)
– ½ cup salsa verde
– 1 tbsp baking powder
– 1 tsp salt (start here but add more to your taste) First whip the lard with salt and baking powder for 2-3 minutes. Meanwhile, combine the salsa and warm chicken broth. Add the corn flour to the whipped lard, and slowly mix in the liquids. Once fully combined, mix on medium speed for 10-15 minutes. If mixing my hand, it may take up to 30-40 minutes.
Nutrition information is automatically calculated, so should only be used as an approximation.


very authentic Mexican tamales! I was never showed how to make them and wanted to try making them and they came out so good! my whole family was impressed!
Can you elaborate more on how you let the tamales set? Is the lid covered still or do you take them out and let set outside?
Hi Sandy, it’s not super important which ever way you choose, but I’d say keep them in the pot (heat turned off) if you’re holding them for people to eat as the day goes on so they stay warm. But don’t leave them in there longer than 3-4 hours.
Take them out to rest & cool if you plan to refrigerate them as soon as possible.
These look really good and I’m going to try them. I’ve tasted green chile pork tamales before. Any tips on adapting this recipe to pork?
Hi Kathy, I meant to post a recipe for those this year too but I ran out of time 😭
If you want to make it with pork, you can follow my instructions for cooking the pork from my red pork tamales recipe. Then you can follow the instructions for making the salsa verde from this recipe, as well as the masa (but with pork broth and salsa verde) Everything else can pretty much stay the same!
You can sear the pork like I do with the chicken, but pork doesn’t need this much help so to save a little time you can just skip that part. Either way you will have to brown and soften the onion/garlic/seasonings so it’s really up to you!
How many tamales does this make? For about how many people?
This recipe will make between 14-20 tamales, more than enough to feed a family of 6 🙂