This post may contain affiliate links. I only recommend products or services that I personally use or trust, promise!

Happy Valentines Day! I made you a ❤️ shaped tahdig to celebrate! How cute is that?
After I posted my nurungji tutorial, I got thousands of comments from people all over the world sharing their country’s version of crispy rice. I decided to attempt to make some of them, starting with the Persian Tahdig!
I want to begin by saying that I am not Persian and did not grow up eating Tahdig. Most of the information I am sharing with you today came from my Persian friends that grew up eating this beloved dish. I also did a lot of my own research to prepare for this recipe. If you see any information that is incorrect, please let me know by leaving a comment!
What is Tahdig?
Tahdig means “bottom of the pot” in Farsi. It is a staple rice dish in Persian cuisine that has a crispy outer crust, and I’ve been told that family members often fight over these parts at the dinner table! It is prepared by steaming the rice with oil or butter (or both) to create a crispy bottom.
There are several ways to prepare tahdig, and there are also a few variations. Sometimes they are made with potatoes, lavash bread, yogurt, and even pasta. Today I am making a saffron & yogurt tahdig, and it is even more delicious than I expected!
I’m such a huge fan of all Middle Eastern cuisine (literally one of my favorites), and it has been so fun and rewarding learning how to make this beloved dish.
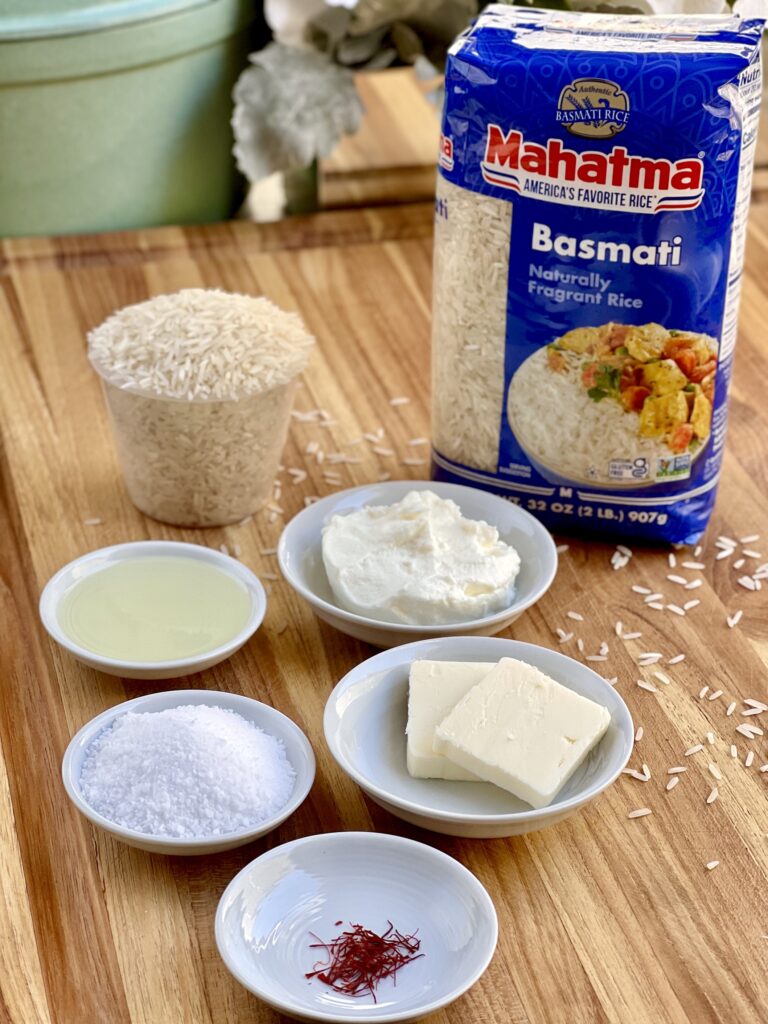
Ingredients:
- Rice- Persian rice dishes are made with long grain white rice, so our best option is basmati rice. Mahatma® Rice is my go-to brand for basmati rice. The grains are incredibly aromatic, long, and get a super fluffy rise when steamed.
- Kosher salt- you will need a lot more salt than you think! You need to heavily salt the boiling water until it tastes like the ocean- don’t worry about the rice being too salty. A lot of it will get rinsed off after parboiling.
- Butter- you can also use ghee. This adds flavor while also making the bottom crispy.
- Oil- Any neutral tasting oil will work. This will also help to make the bottom nice and crispy.
- Saffron- a few threads of saffron dissolved in hot water for flavor + color. This is optional, not all tahdig requires saffron. You can also use turmeric.
- Yogurt- full fat plain yogurt will help to hold the rice together at the bottom so that it comes out of the pot more easily. Some of my friends have also said they use eggs sometimes.
Tips for making tahdig
I have been told that making perfect tahdig is somewhat of a rite of passage. They say that once you master tahdig, you are ready for marriage! All jokes of course, but to me this was indicative of how difficult it can be to get a crispy bottom, and to get it clean out of the pot.
Here are some of the tips my friends gave me for making tahdig:
- Use an inexpensive, non-stick pot for the best results. A well seasoned cast iron works too, but may need a little more butter/oil to get it clean out of the pot.
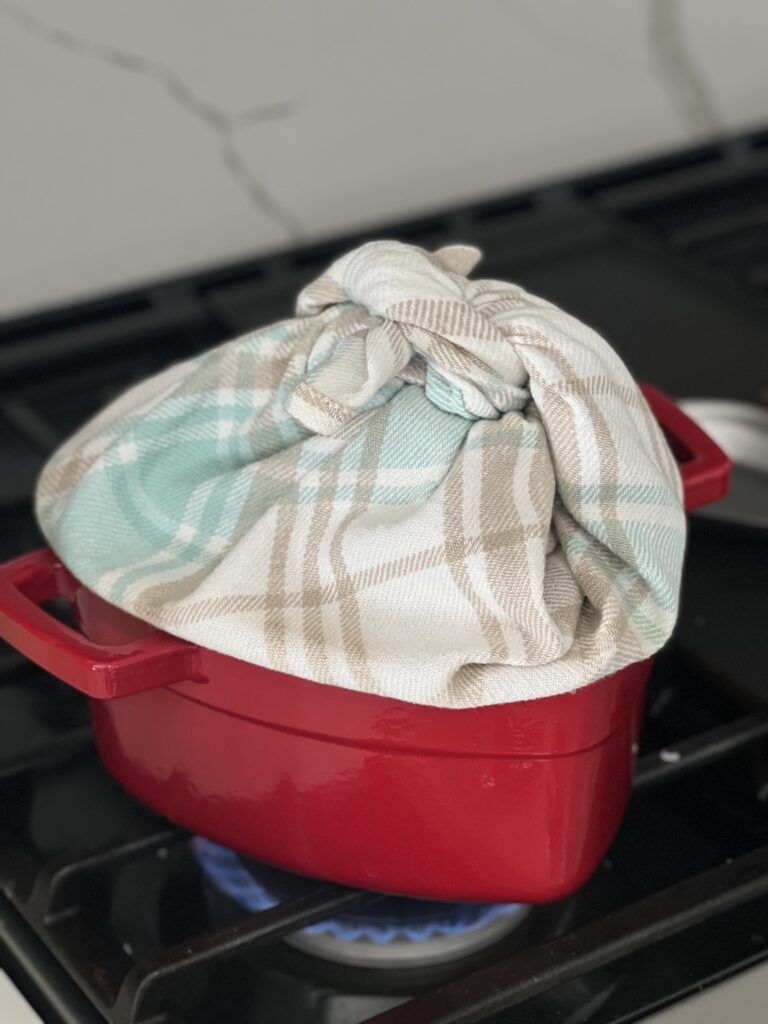
- Wrap the lid with a towel to collect any condensation so that it doesn’t drip back onto the rice. This will ensure that the rice at the bottom stays crispy and that the rest of the rice is nice and fluffy.
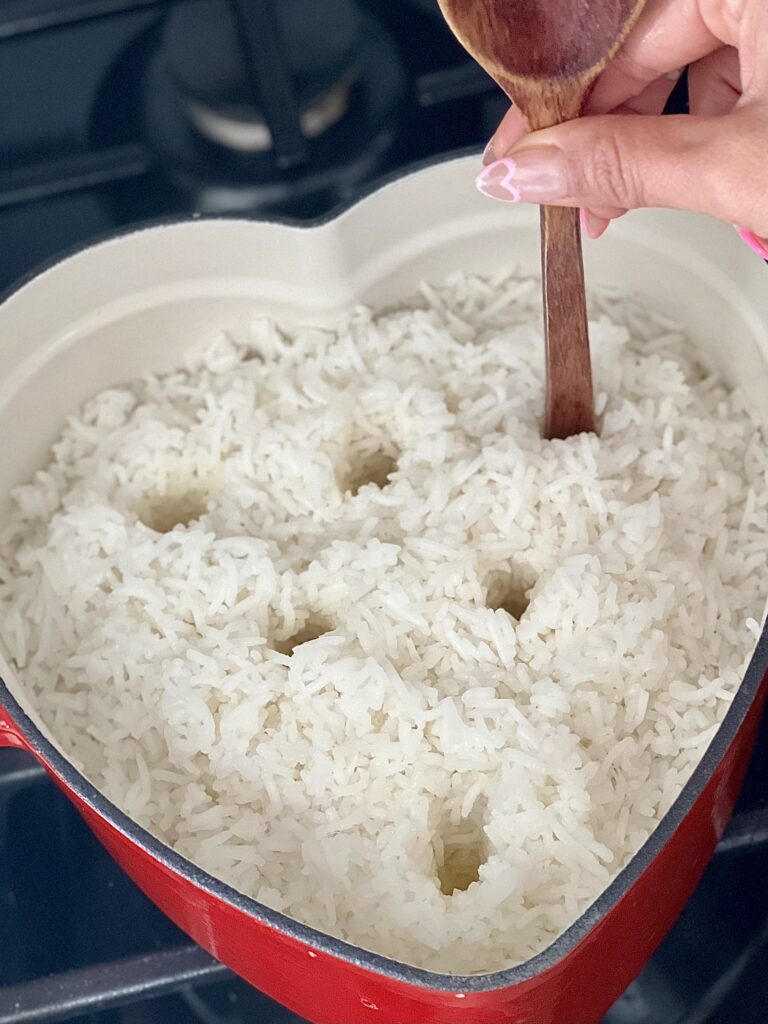
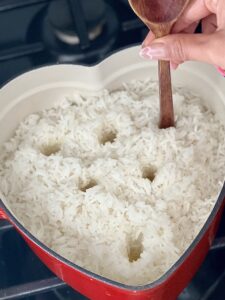
- Poke some holes into the rice with the handle of a wooden spoon. This creates little pockets that allow more steam to escape for a crispy bottom.
- Rotate the pot by 1/4 turn every 10 minutes so that the bottom cooks evenly.
Practice makes perfect
Would you believe me if I told you I actually nailed it on my first try? My tahdig came out perfect on my first attempt, but I think it made me a little overconfident because my next three pots were not successful. This tells me that I definitely had luck on my side for my first attempt.
If yours doesn’t turn out perfect on your first, second, or even third try- don’t give up! Rice can be quite fickle, especially when cooking on the stove. There are so many factors to consider, like the kind of pot you are using, the strength of your heat source, and the heat source itself (gas stove vs. electric).
Study your mistakes so that you can formulate your method for perfect tahdig. For example, if your tahdig comes cleanly out of the pot but the bottom is way too burnt, that means the heat was too high so you need to adjust that accordingly. If the bottom is stuck and won’t come out, you probably need more butter or oil.
And if your tahdig doesn’t come out in one piece, that’s ok too! Just scoop the tahdig out and serve it that way. It will taste exactly the same 🙂

This recipe is kindly sponsored by Mahatma® Rice. I carry their products in my kitchen at all times, especially their jasmine rice!

Saffron and Yogurt Tahdig (Crispy Persian Rice)
Ingredients
- 1 1/2 cups uncooked Mahatma® Basmati Rice
- 2 tbsp butter
- 2 tbsp neutral oil
- 1/4 tsp saffron threads
- 1/4 cup kosher salt
- 1/4 cup full fat plain yogurt
Instructions
- Measure 2 cups of Mahatma® Rice's basmati rice. Rinse with cold water until the water runs clear.
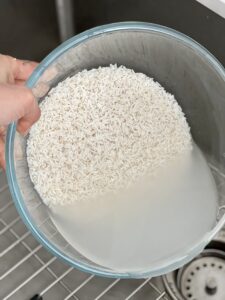
- Soak the rice in water and a hefty pinch of salt for 1 hour.
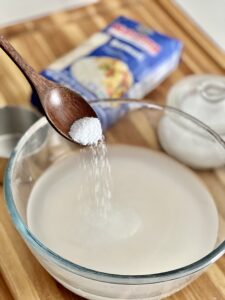
- After 1 hour bring a large pot of water to a boil then add 1/4 cup of salt.
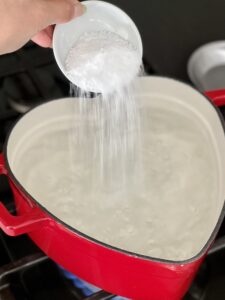
- Drain the soaked rice then add it to the boiling salt water and parboil for 5 minutes.
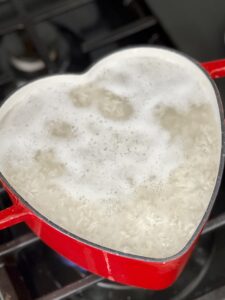
- After 5 minutes, the rice should puff up slightly and be soft on the outside but still a little hard on the inside.
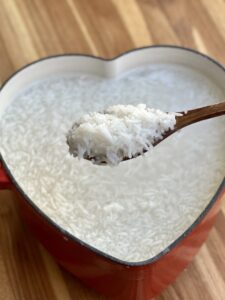
- Strain into a fine mesh colander and rinse under cold water to stop the cooking. Taste the rice- if it is too salty, rinse it some more.
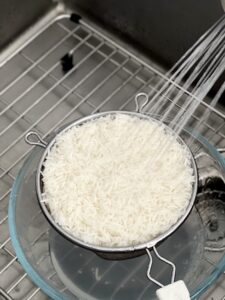
- Strain the rice well.
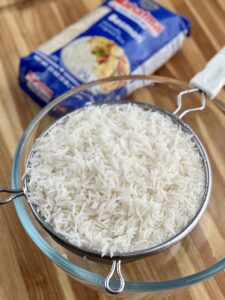
- Grind up the saffron threads with your fingers or a mortar and pestle. Dissolve with 2 tbsp of hot water. Let it infuse for 10-15 minutes.
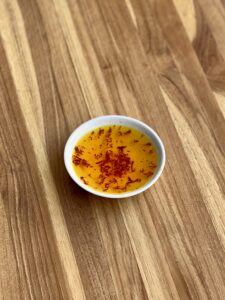
- Mix 1 1/2 to 2 cups of the rice with yogurt, oil, saffron water, and 1 tbsp melted butter.
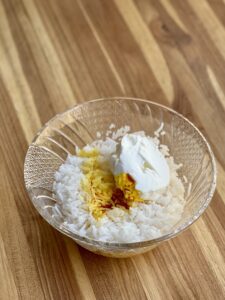
- Melt the remaining 1 tbsp butter in a non stick pan or dutch oven. Use a little more butter if you're using a pan with a larger diameter, like 10 + inches.
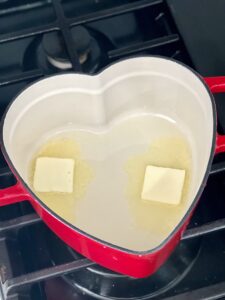
- Add the saffron & yogurt rice, spreading evenly but do not pack it down too tighlty.
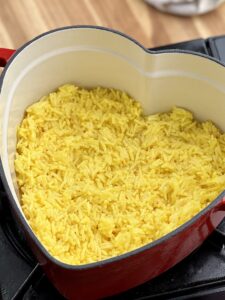
- Then add the remaining parboiled rice on top. Poke 6 to 8 holes into the rice using the back of a wooden spoon or spatula. This allows steam to escape so the bottom can get crispy.
- Wrap the lid with a kitchen towel, then cover and turn up the heat to medium for 7 minutes. Then turn the heat down to low for 40 minutes.
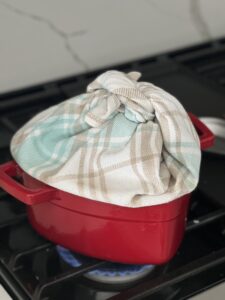
- Turn the pot by 1/4 turn every 10 minutes so the bottom cooks evenly.
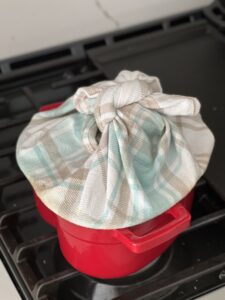
- When finished, you can use a flexible spatula to carve around the edges to help it come out cleaner. Press down and let the spatula bend underneath the tahdig to release it from the pan.Remove the lid and place a plate upside down over the top of the pot. Carefully grasp both sides and flip it over, then lift the pot upwards to release the tahdig onto the plate.

Nutrition information is automatically calculated, so should only be used as an approximation.



Hi!
I’m Persian and my family is from Iran, and I can confirm this is an authentic recipe! Almost identical to how my nana makes tahdig!
Thank you for posting this recipe with pictures! Helps a ton
Hi Lela, thank you so much for leaving a comment. I’m a visual learner so having pictures for every step is something I prioritize on this blog. Thanks for stopping by 🙂
I have tried so many recipes to get this result. Thank You!!!!