This post may contain affiliate links. Please see our disclosure policy.

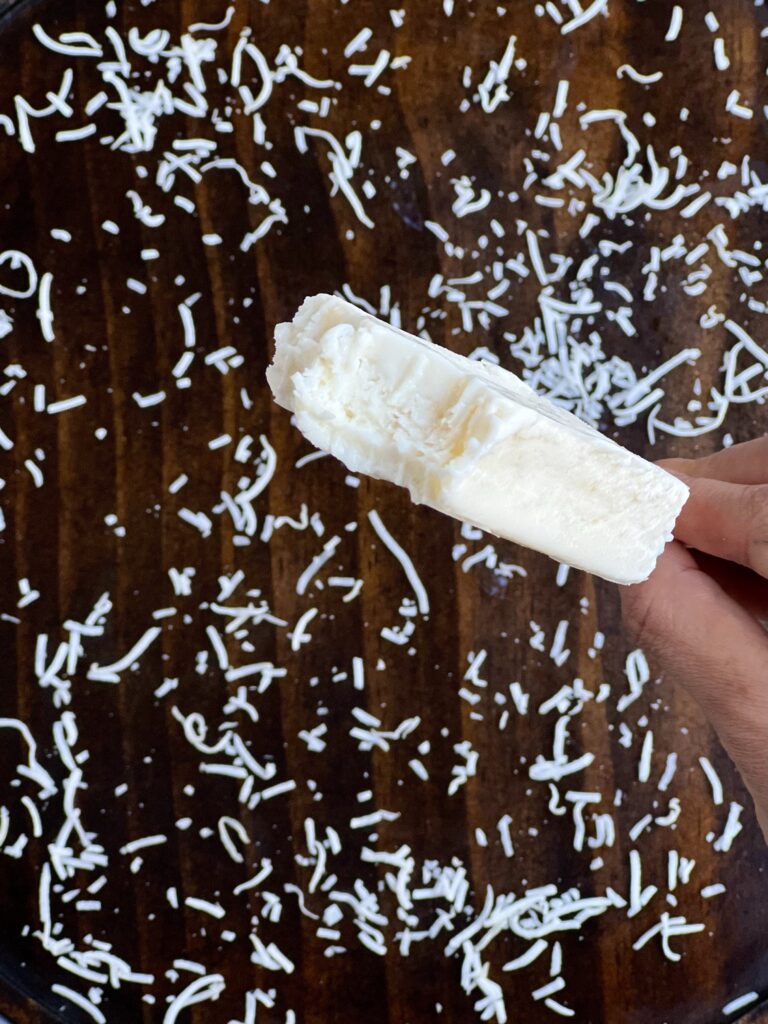
These paletas de coco (coconut ice cream) are sooooo creamy and delicious! I think coconut is a flavor that most people either love or hate, and if you’re not a fan I think these might change your mind!
I wasn’t planning to make coconut for my paleta series, but it was highly requested and I’m so glad that it was. I’ve never been a huge fan of coconut but that has definitely changed after making these creamy coconut paletas. I was pleasantly surprised by how much I loved them!
The best part is that you can prepare this in just 5 minutes! It’s SUPER easy to make.
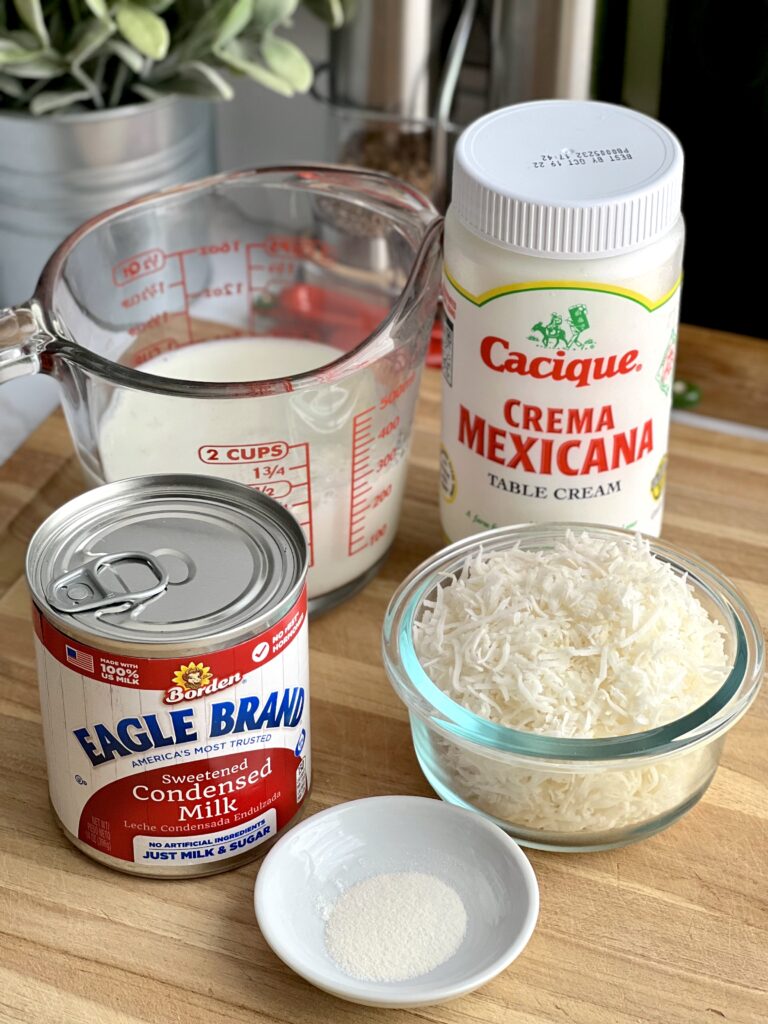
Ingredients:
- Shredded coconut- you’ll need 1 cup of unsweetened shredded coconut for this recipe. You can use fresh coconut if you have it!
- Cream- a combination of milk, sweetened condensed milk, and crema (Mexican sour cream) worked very well for me. The sweetened condensed milk also works as the sweetener, but you are welcome to add more sugar if you want. Mexican sour cream is not as sour as American sour cream so don’t worry about that ingredient- just trust me on this! It’s actually more like creme fraiche.
- Cellulose gum (or corn starch)- This is the secret to making the paletas consistently creamy and NOT icy. More details about this below.
Sweetness
I don’t like super sweet desserts so my recipe is a bit on the conservative side with the sweetened condensed milk. Make adjustments according to your taste.
Paletas, especially fruit based ones, tend to lose some of its flavor and sweetness when they are frozen, so keep that in mind before you freeze your mixture.
How to achieve a smooth, creamy texture
The cream portion of this recipe can be used as the base for any non-fruit flavor. For fruit flavored paletas, switch the milk with heavy whipping cream.
Two ways to make a creamy paleta:
- Use cellulose gum in your cream base. The cream base has whole milk, Mexican crema (creme fraiche), and sweetened condensed milk. If you don’t have cellulose gum, it’s totally fine to leave it out or see option #2. I highly recommend the cellulose gum because it really helps to stabilize ice cream so it’s super smooth and creamy.
- Heat the cream base and add cornstarch to thicken it. This activates the corn starch to absorb water and prevents icy crystals from forming, instead turning into a custard-like texture. The batch I made with this method was extremely creamy & smooth, but be careful not to undercook the cream base because you can end up with a starchy taste and texture if you don’t fully activate the corn starch.
Equipment needed:
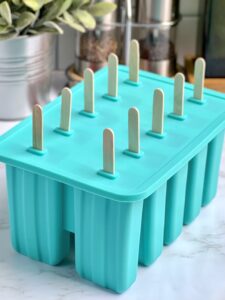
To make paletas, you will need a popsicle mold, popsicle sticks, and plastic bags for storing. You will also need a blender and electric hand mixer.
I recommend a silicone popsicle mold because they are easier to remove the popsicles from. The exact one I have is no longer available on Amazon, but I found a similar one that you can purchase. It also comes with the popsicle sticks and baggies. Here is the link to purchase:
Popsicle mold, sticks, & baggies
What is the difference between a popsicle and a paleta?
Though similar, paletas and popsicles do have some key differences that will prove paletas are way better, in my opinion.
Popsicles are mass produced and have lots of additives and artificial flavoring. Paletas use natural ingredients like fruits and are made fresh, so they don’t require additives or preservatives to extend shelf life.
Paletas also have a rich history and are culturally important to Mexican street snacks. Nowadays, you will find plenty of brick and mortar paleta shops but it is still common to get your paletas on the street from paleteros (ice cream carts).
Two Types of Paletas
There are MANY paleta flavors & combinations, but there are generally 2 types of paletas made:
- Water based- these are typically fruit pops that have a water or juice base. These paletas are more true to the integrity of the fruits, and are also healthier (and vegan too!). A few of my favorites on the blog are lime, strawberry, and mango & chamoy!
- Cream based- these are creamy paletas with a texture that is more similar to ice cream than a popsicle. They usually have some combination of heavy cream, milk, mexican crema, and/or sweetened condensed milk. These also tend to have more flavors available because it isn’t limited to fruits- some common popular flavors are arroz con leche, coffee, strawberry, and pistachio.
Try some of my other paleta recipes:
Click here to see a list of ALL of my paleta recipes!
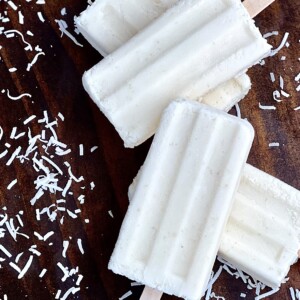
Paletas de Coco (Coconut Ice cream)
Ingredients
- 1 cup unsweetened shredded coconut
- 1 cup Mexican crema (creme fraiche)
- 1 cup whole milk
- 8-10 oz sweetened condensed milk
- 1/2 tsp vanilla extract, or coconut extract
- 1/4 tsp cellulose gum, or 2 tsp corn starch
Instructions
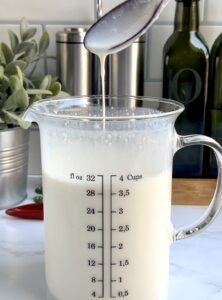
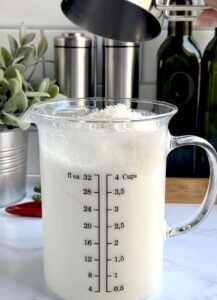
- Combine the milk, crema, sweetened condensed milk, vanilla extract, and cellulose gum with an electric mixer. The cellulose gum works as a stabilizer and gives you a paleta that is creamy, not icy. This mixture is not meant to thicken too much after mixing, so don't worry if it looks a little too runny to you.Alternatively: This is what I recommend if you're using cornstarch. Combine the milk, crema, and sweetened condensed milk in a small sauce pan. When combined (no chunks), turn on the heat to low. Stir and do not let it boil, but once it's hot add about 1/4 cup to a small bowl with the cornstarch and mix until smooth. Then add it back to the saucepan and continue cooking over low heat, stirring until it thickens. Let it cool completely before adding vanilla extract.

- Add the shredded coconut and mix until combined.

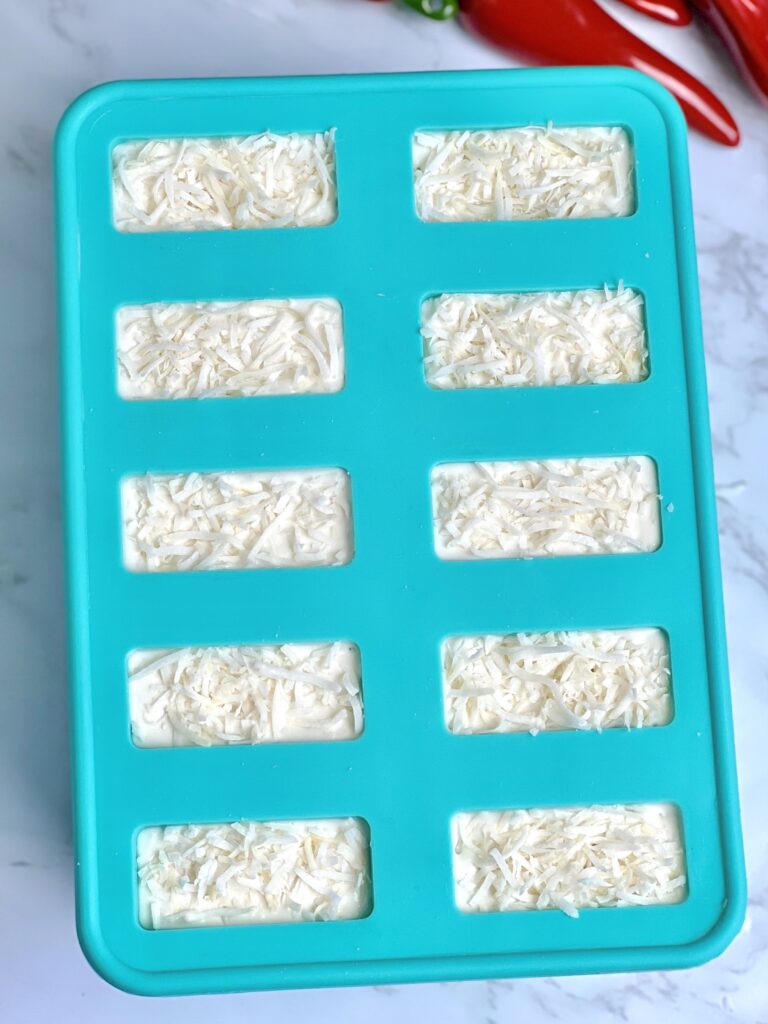
- Pour mixture into a sanitized popsicle mold and top with some more shredded coconut.

- It depends on your popsicle mold, but be mindful about the popsicle stick placement when you're sticking them into the mold. You don't want to push them all the way down because it leaves very little room to hold the stick, but you also want to make sure its deep enough. Also make sure it is centered from all sides.
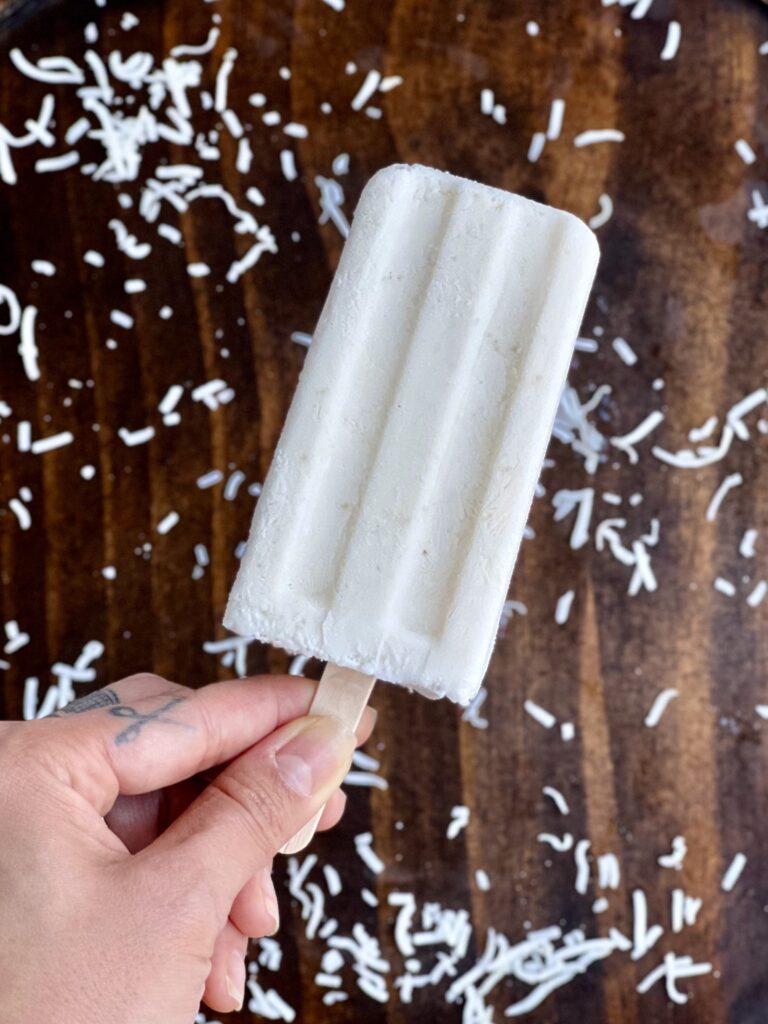
- Freeze for at least 8 hours. To remove the paletas from the mold, place it in warm water for about 20 seconds to loosen. With a little wiggling and force, the popsicles will slide out perfectly. I like to stretch the sides of the silicone mold to help loosen it up a bit more.


Notes
Nutrition information is automatically calculated, so should only be used as an approximation.


Made these using corn starch, they taste delicious but getting them out of the molds was hard and messy. All of the tops stuck! Any tips? Will be trying a fruit water-based recipe next!
Hi there, could coconut heavy cream be used in place of one of the other creams?
I love these paletas. They came out delicious.
This was my favorite of your paleta series. I love coconut paletas but don’t like them if they’re not creamy enough or have enough coconut! These have both and are so good!
Paletas de coco have been my absolute favorite since I was a kid. I first made these two summers ago and they turned out amazing, super creamy and not too sweet. I can’t wait to make them again this summer!
My favorite! Glad for this recipe because it is easy to follow and easy to make.